Alta Via 2 Ultimate Guide — Stages, Huts & Routes
Your complete resource for hiking Alta Via 2 — stages, huts, best season, difficulty, ferrata sections, logistics, and safety tips for a confident Dolomites journey.
Quick links
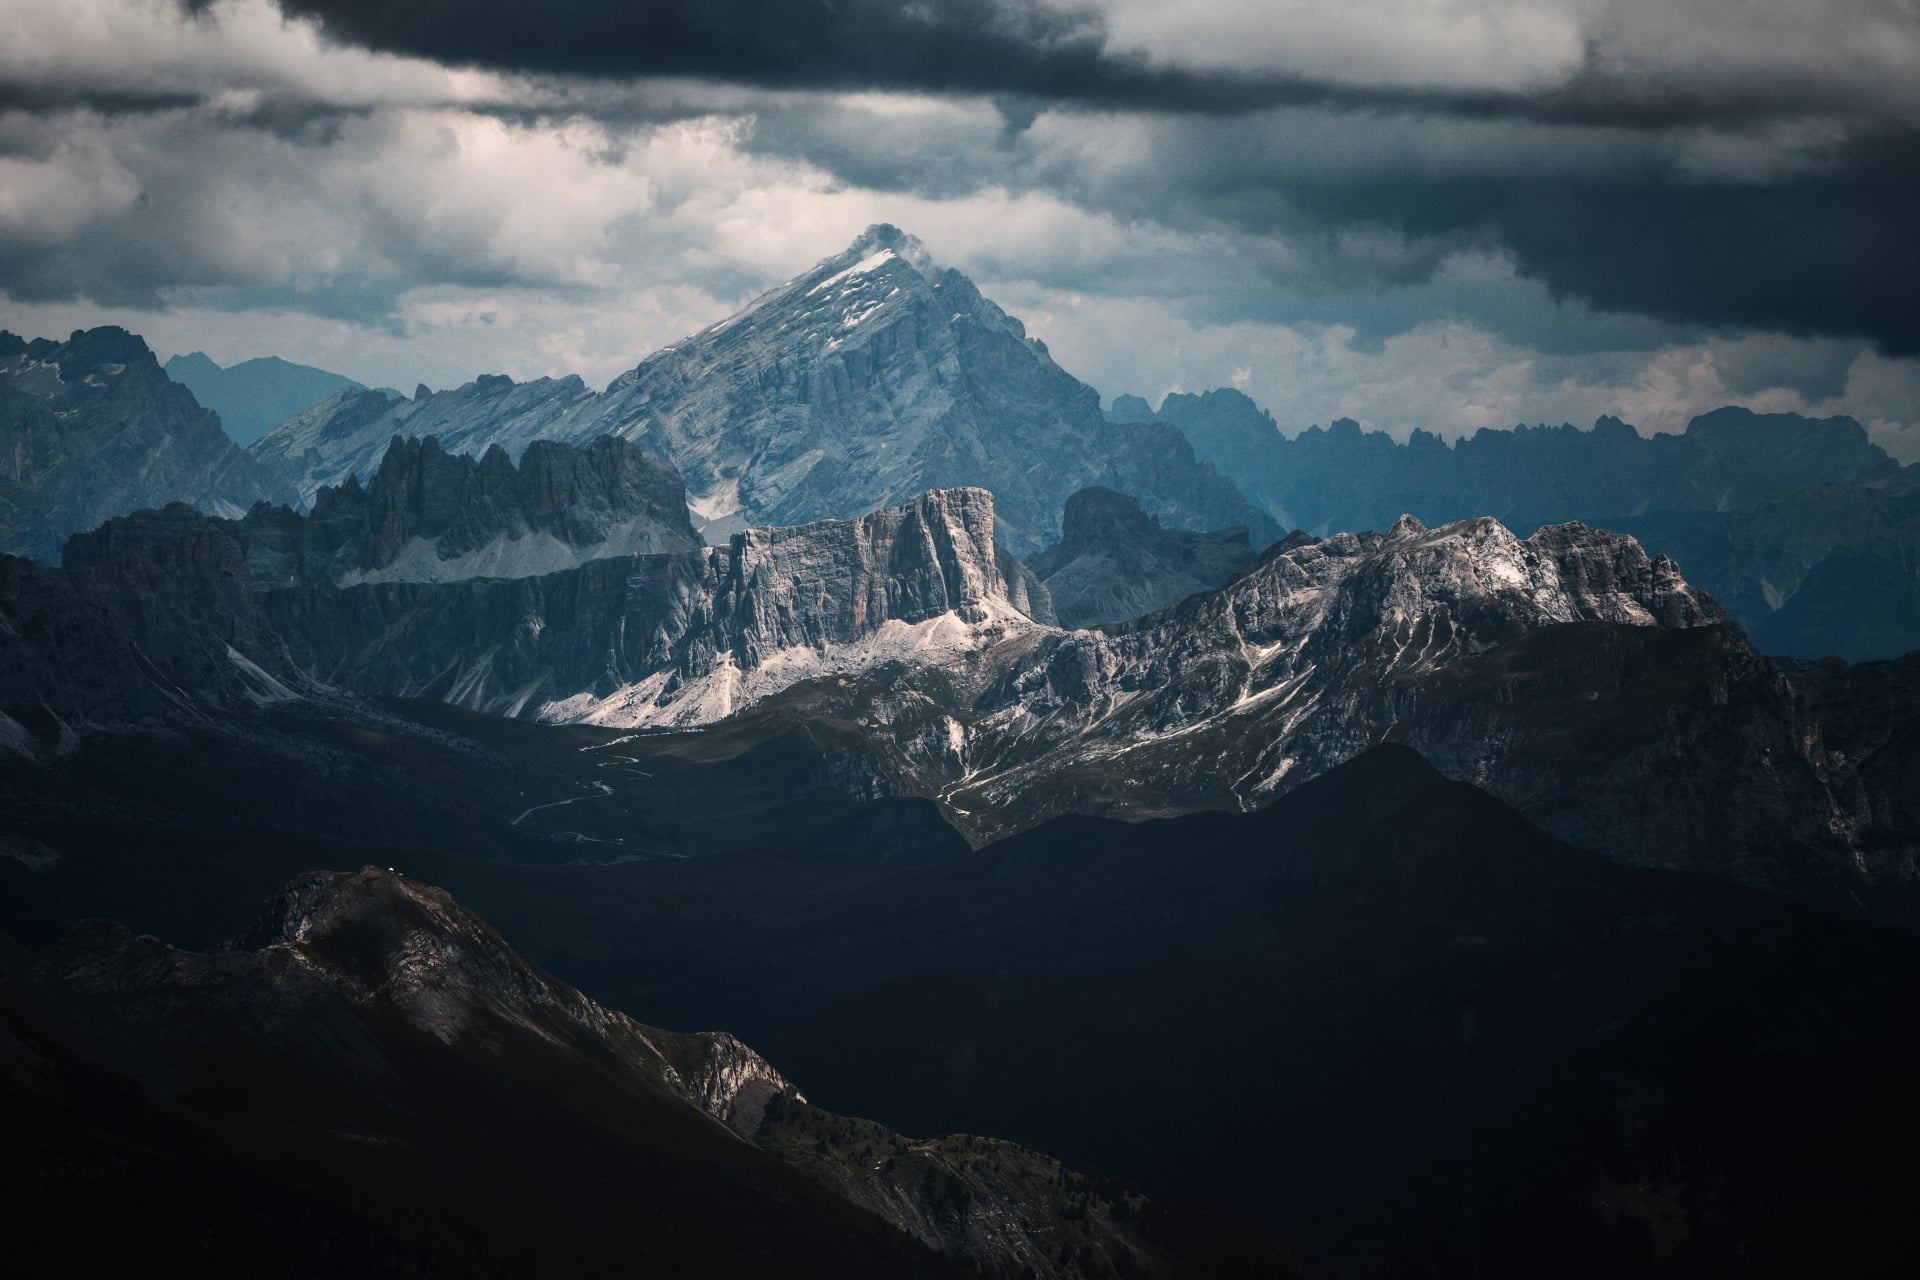
Did you know Alta Via 2 crosses over 160 kilometers of high-altitude Dolomite terrain, linking the Puez–Odle, Sella, Marmolada, Pale di San Martino, and Bellunesi mountain ranges — all on a single continuous traverse?
This route is one of the Dolomites’ most committing, technical, and scenic long-distance hikes, combining exposed passes, rugged limestone plateaus, and some of the region’s most iconic alpine landscapes.
It’s no coincidence Alta Via 2 is often described as the “classic alpine route” of the Dolomites — demanding enough for experienced hikers, rewarding enough to justify every step.
This guide gives you a clear, practical overview of everything you need before stepping onto the trail, including:
and much more...
Use this guide as your starting point for planning a safe, well-prepared, and memorable Alta Via 2 trek.
What Is Alta Via 2?
Total distance: ~160 km
Total elevation: ~11,000 gain and11,000 loss
Typical duration: 13–14 days
Number of stages: 13 hiking days + arrival/departure days
Highest points: Forcella della Piza (2,534 m), Léch dl Dragon plateau (2,680 m), Passo delle Farangole (2,812 m)
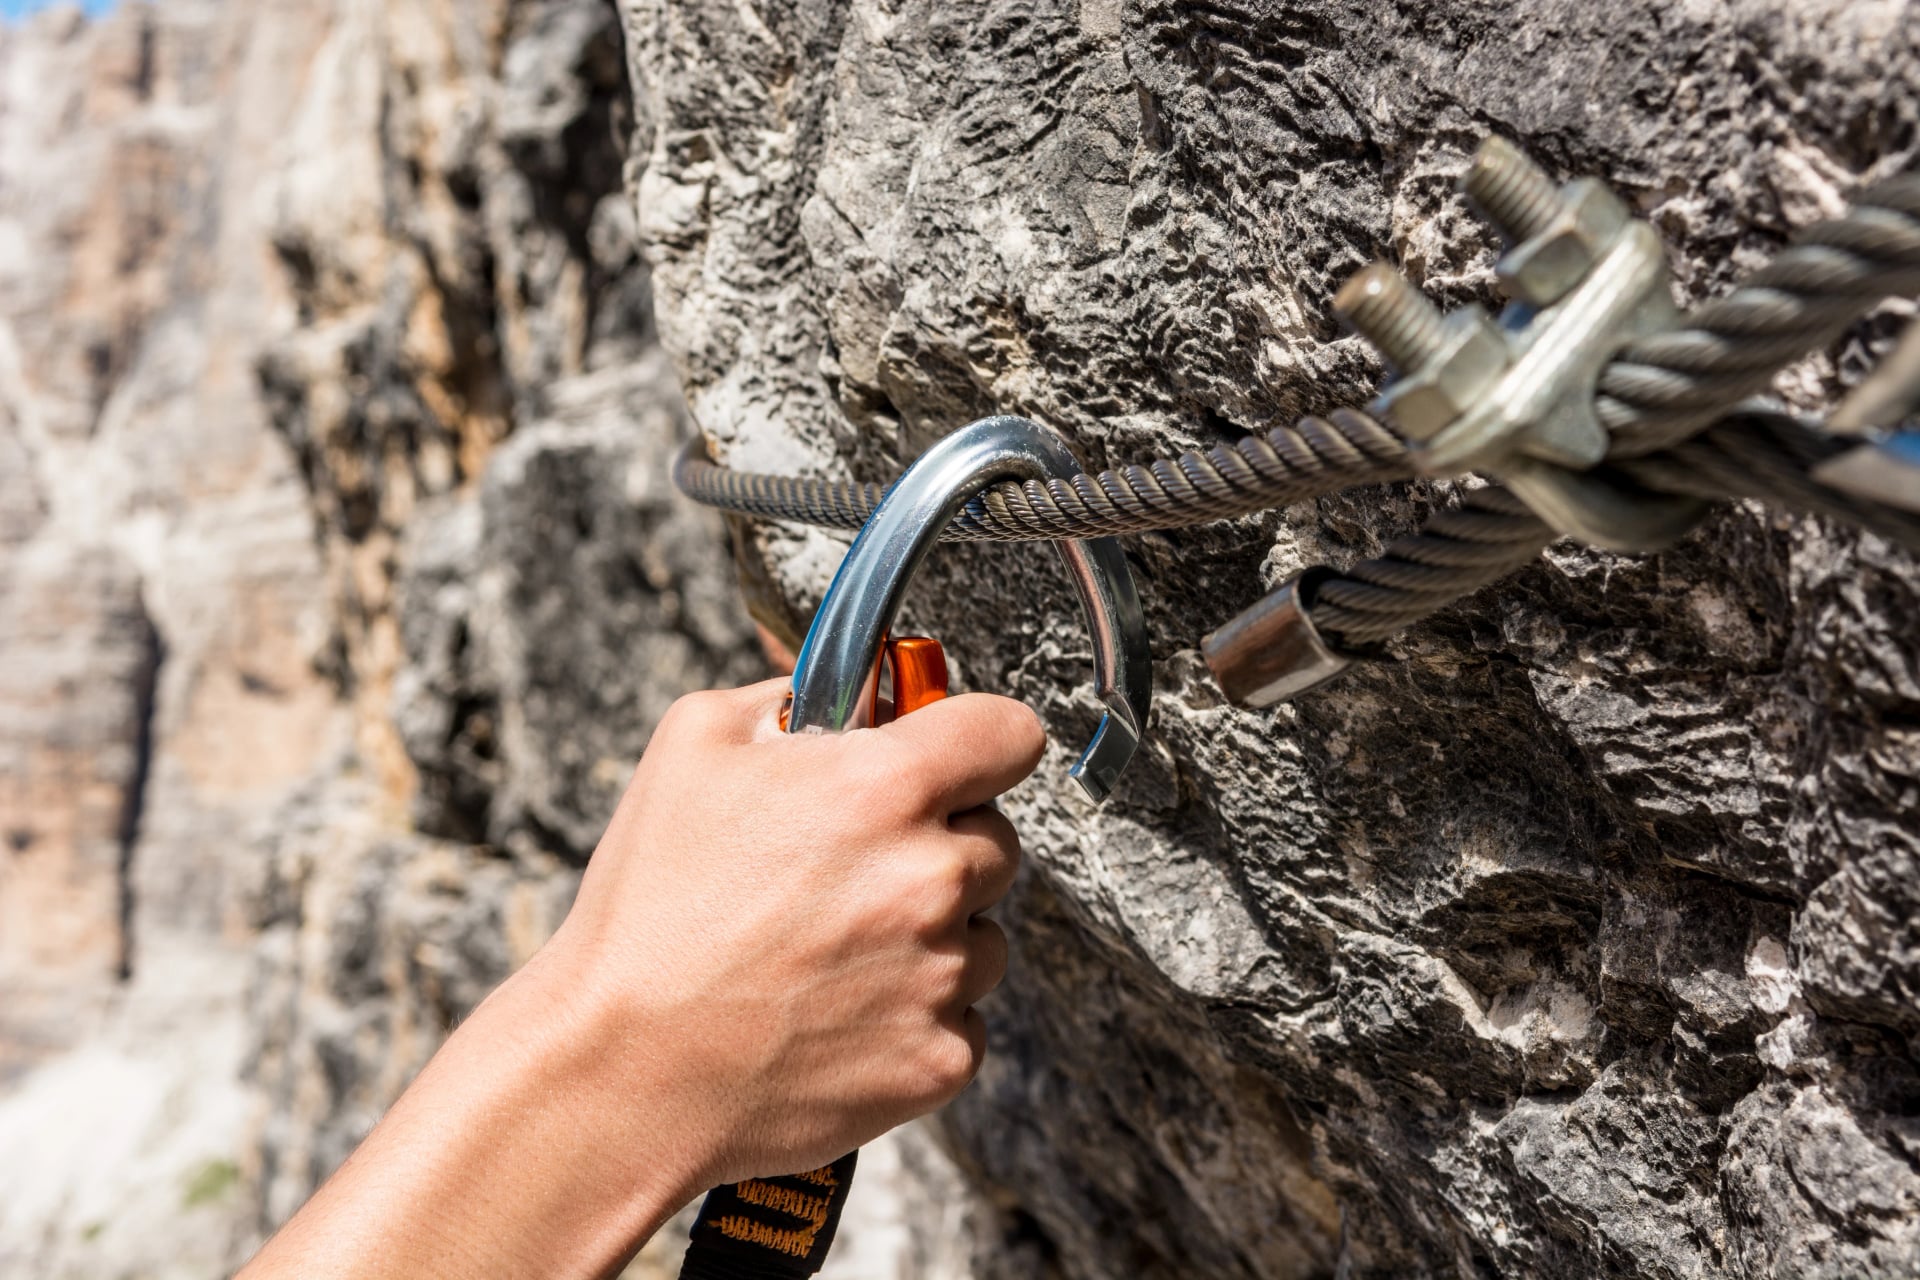
Technical sections: Short via ferrata or fixed-cable passages
Difficulty rating: Demanding — sustained elevation, exposed terrain, variable weather
Best season: Late June to mid-September
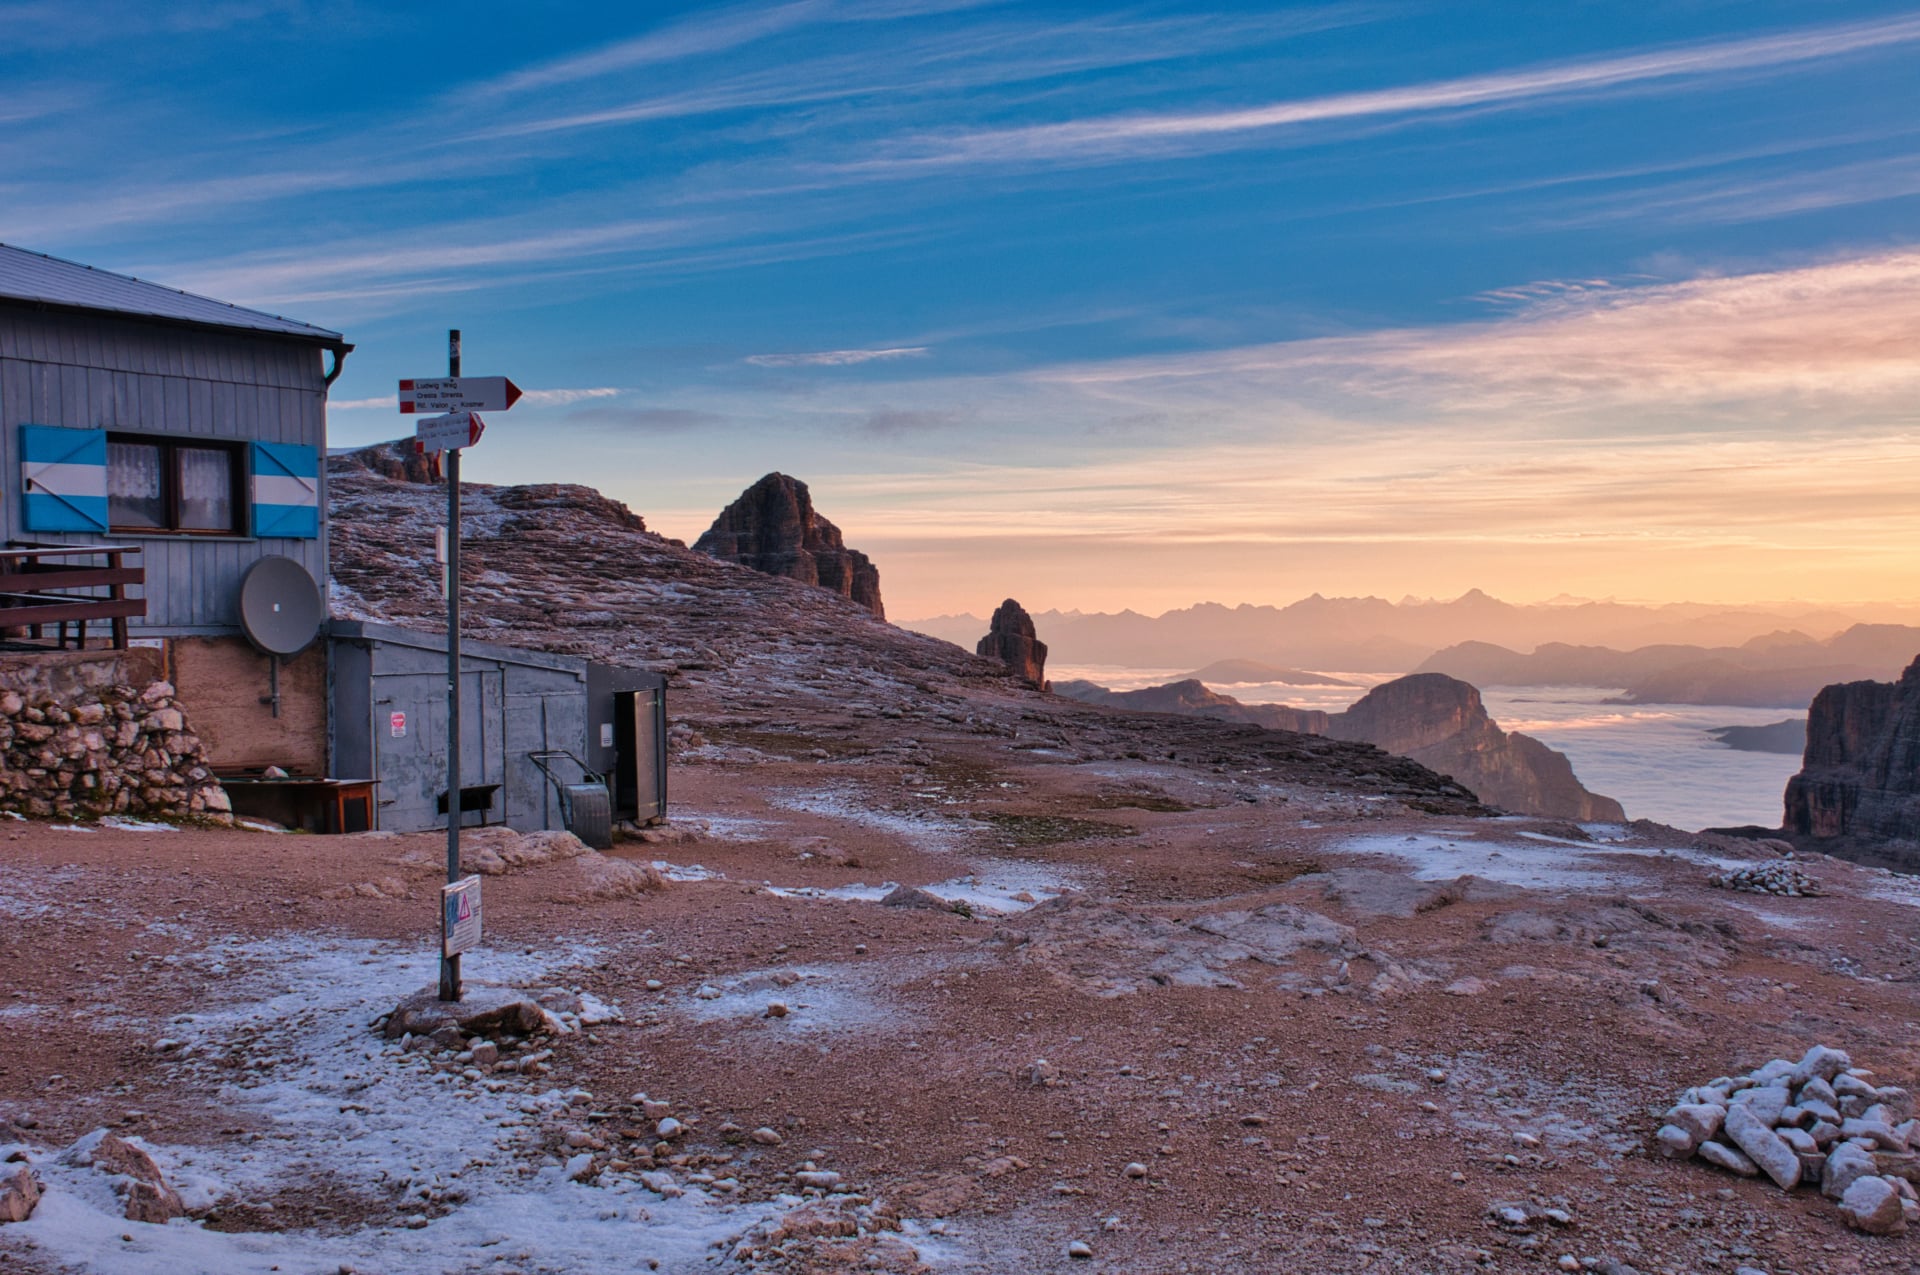
Alta Via 2 Map
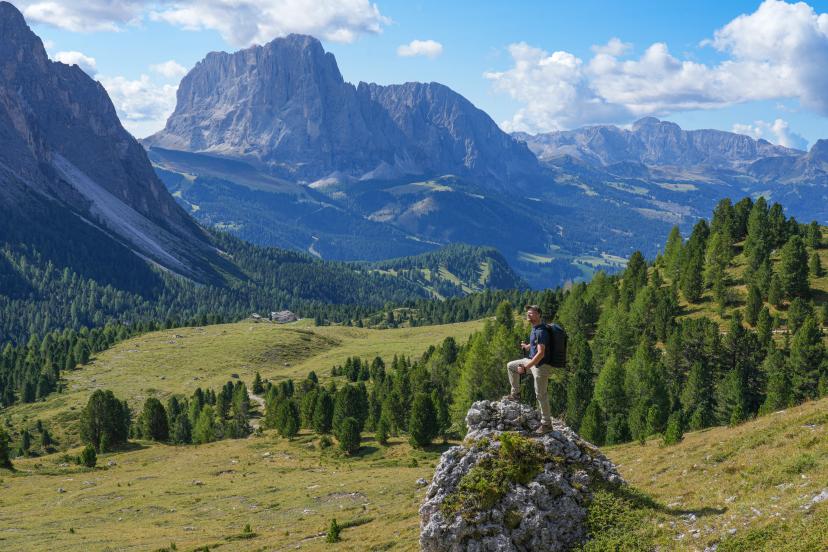
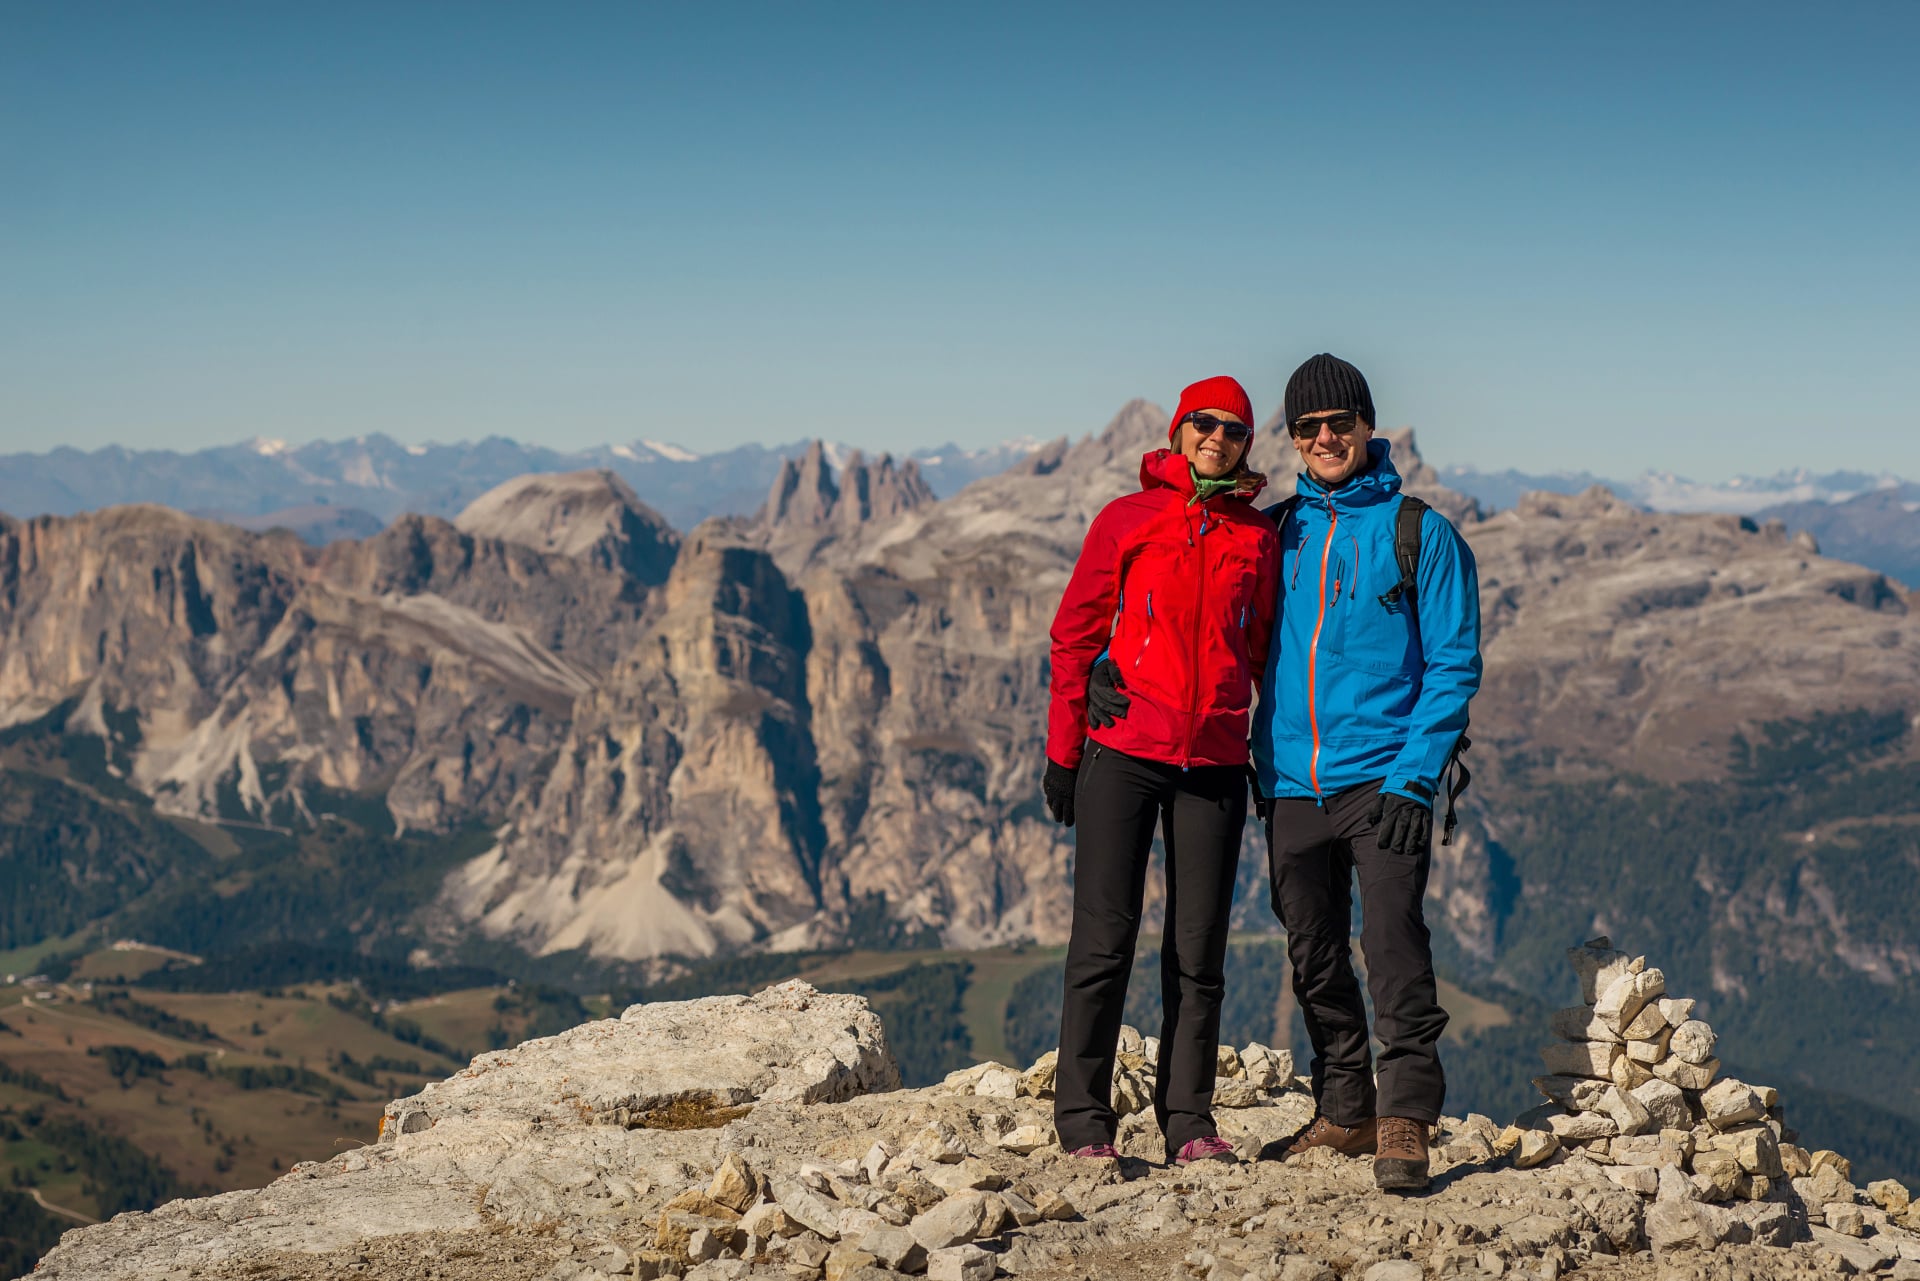
Why Go on the Alta Via 2?
Alta Via 2 is a 13–14-day high-altitude trail that crosses the central and southern Dolomites from Bressanone to Feltre.
The route follows a mostly continuous ridge line, linking major massifs such as Puez–Odle, Sella, Marmolada, Pale di San Martino, and the Bellunesi.
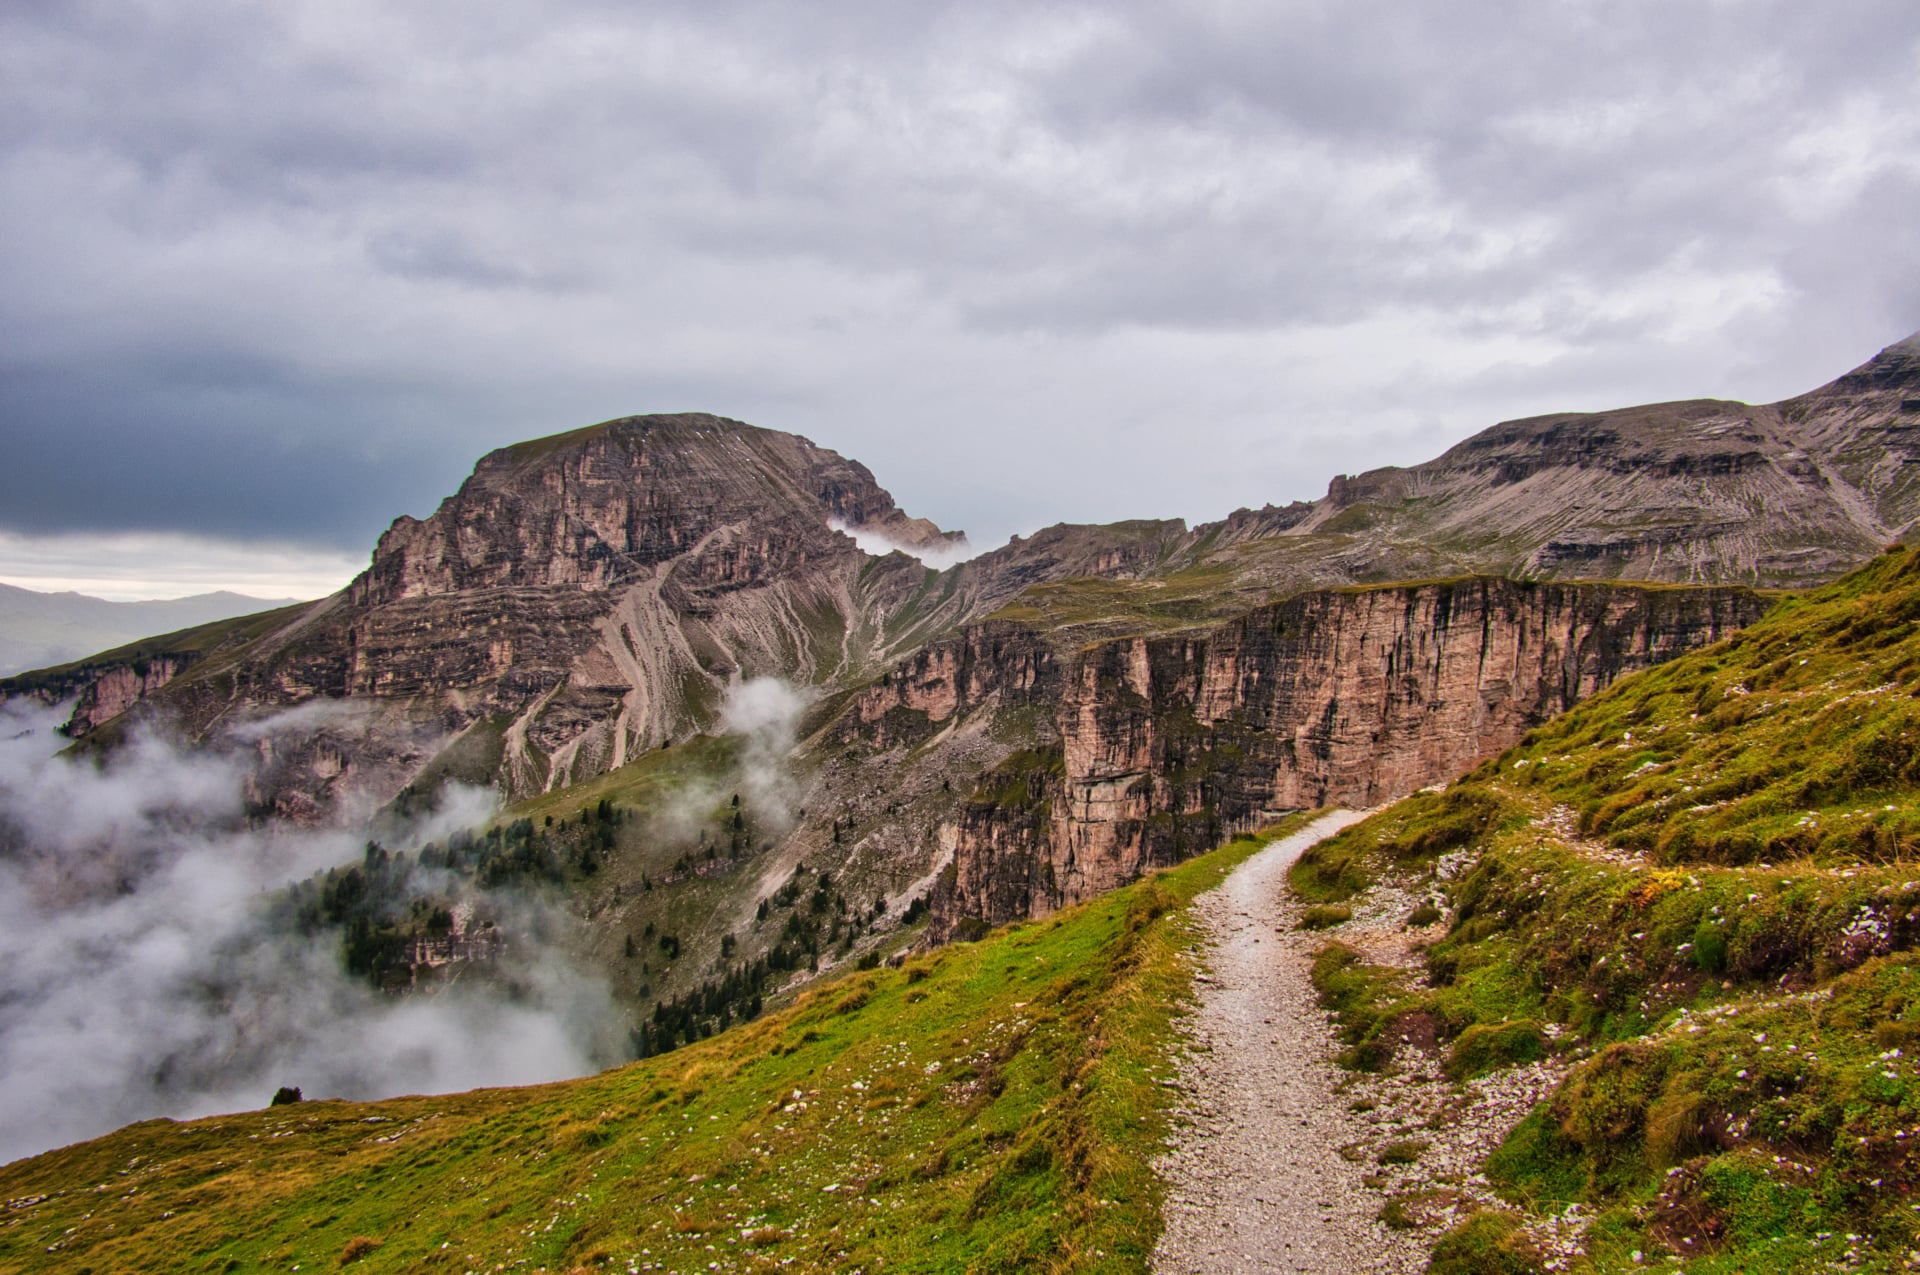
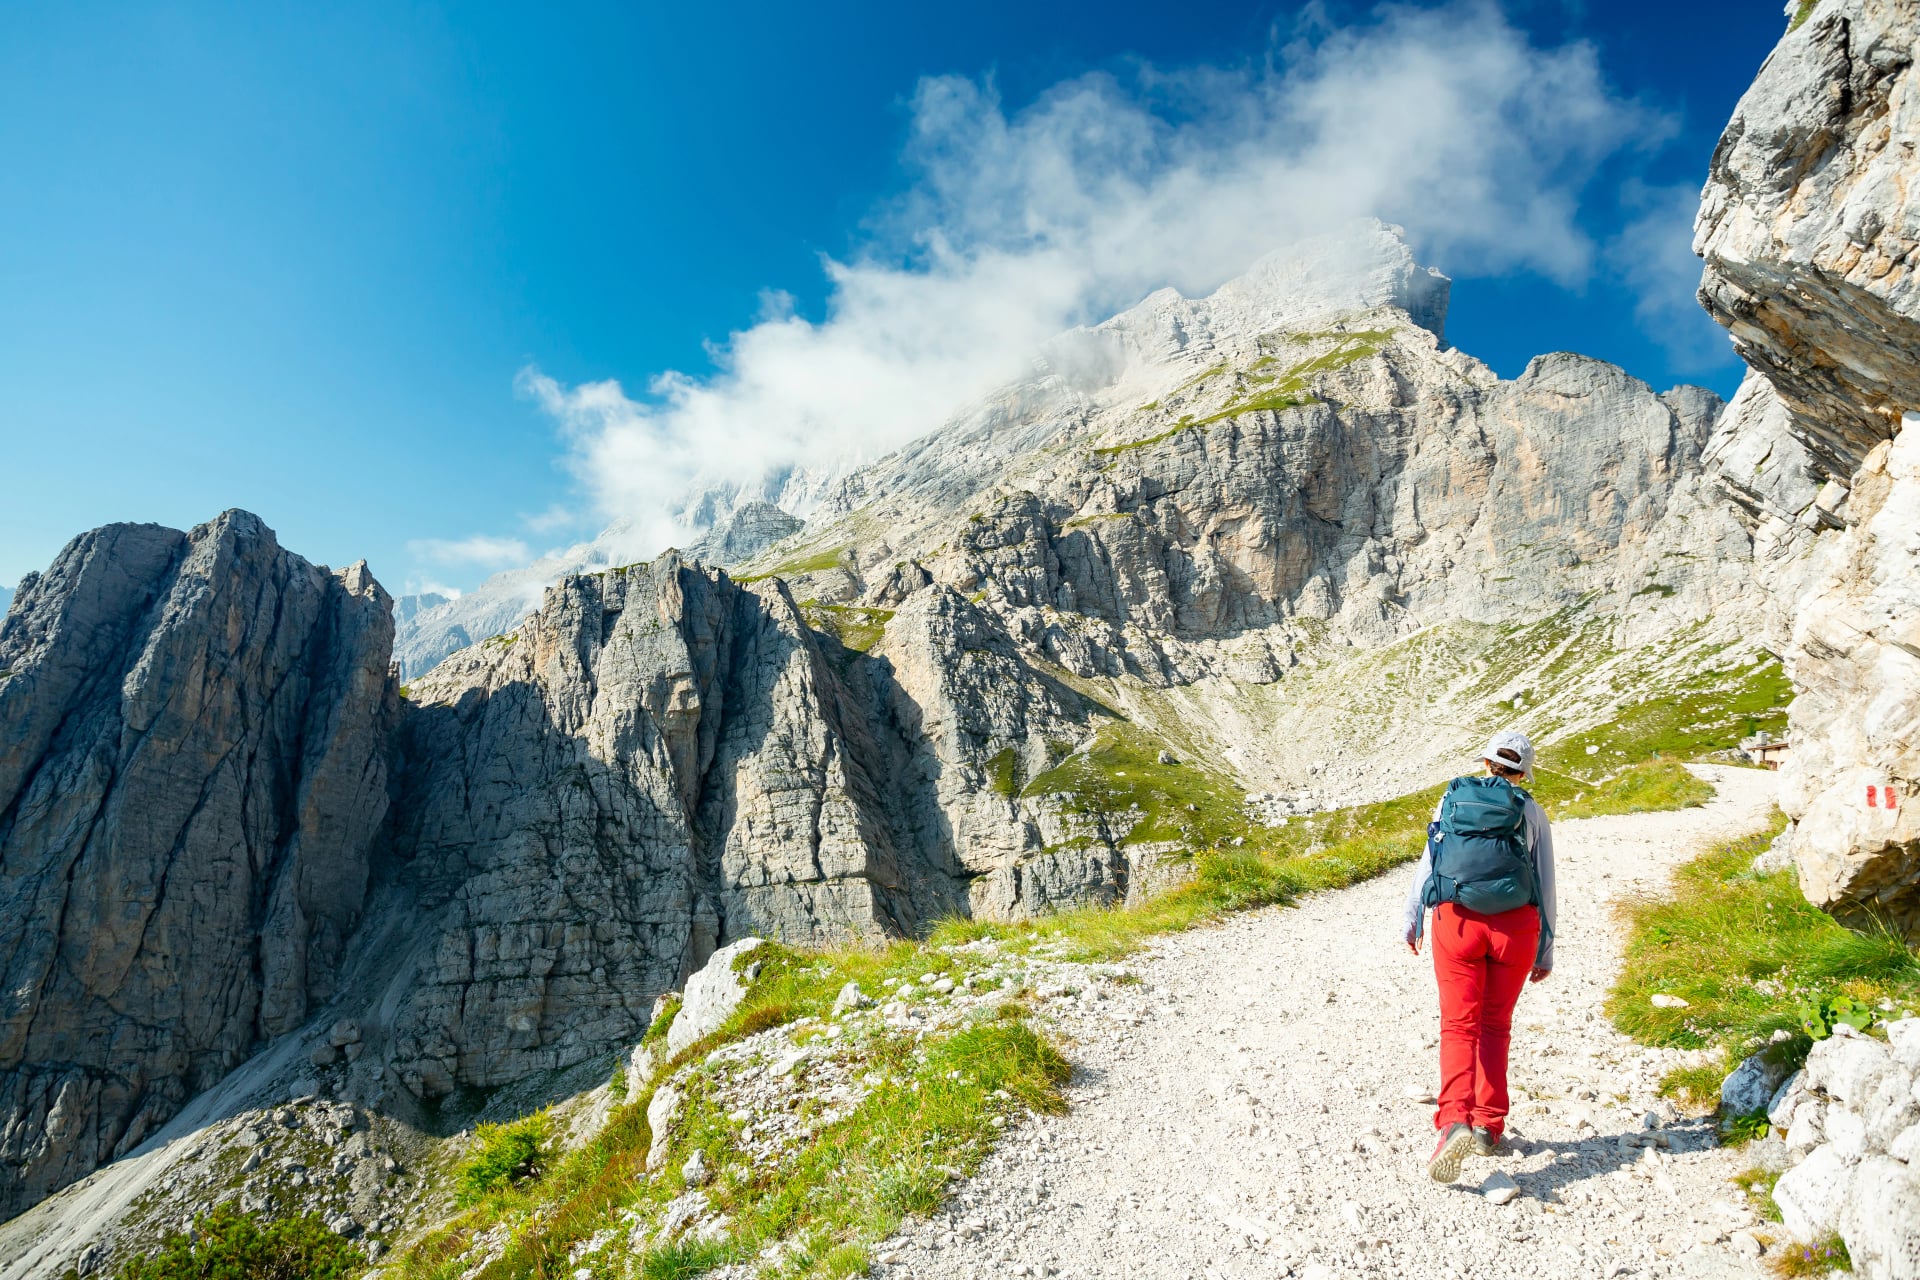
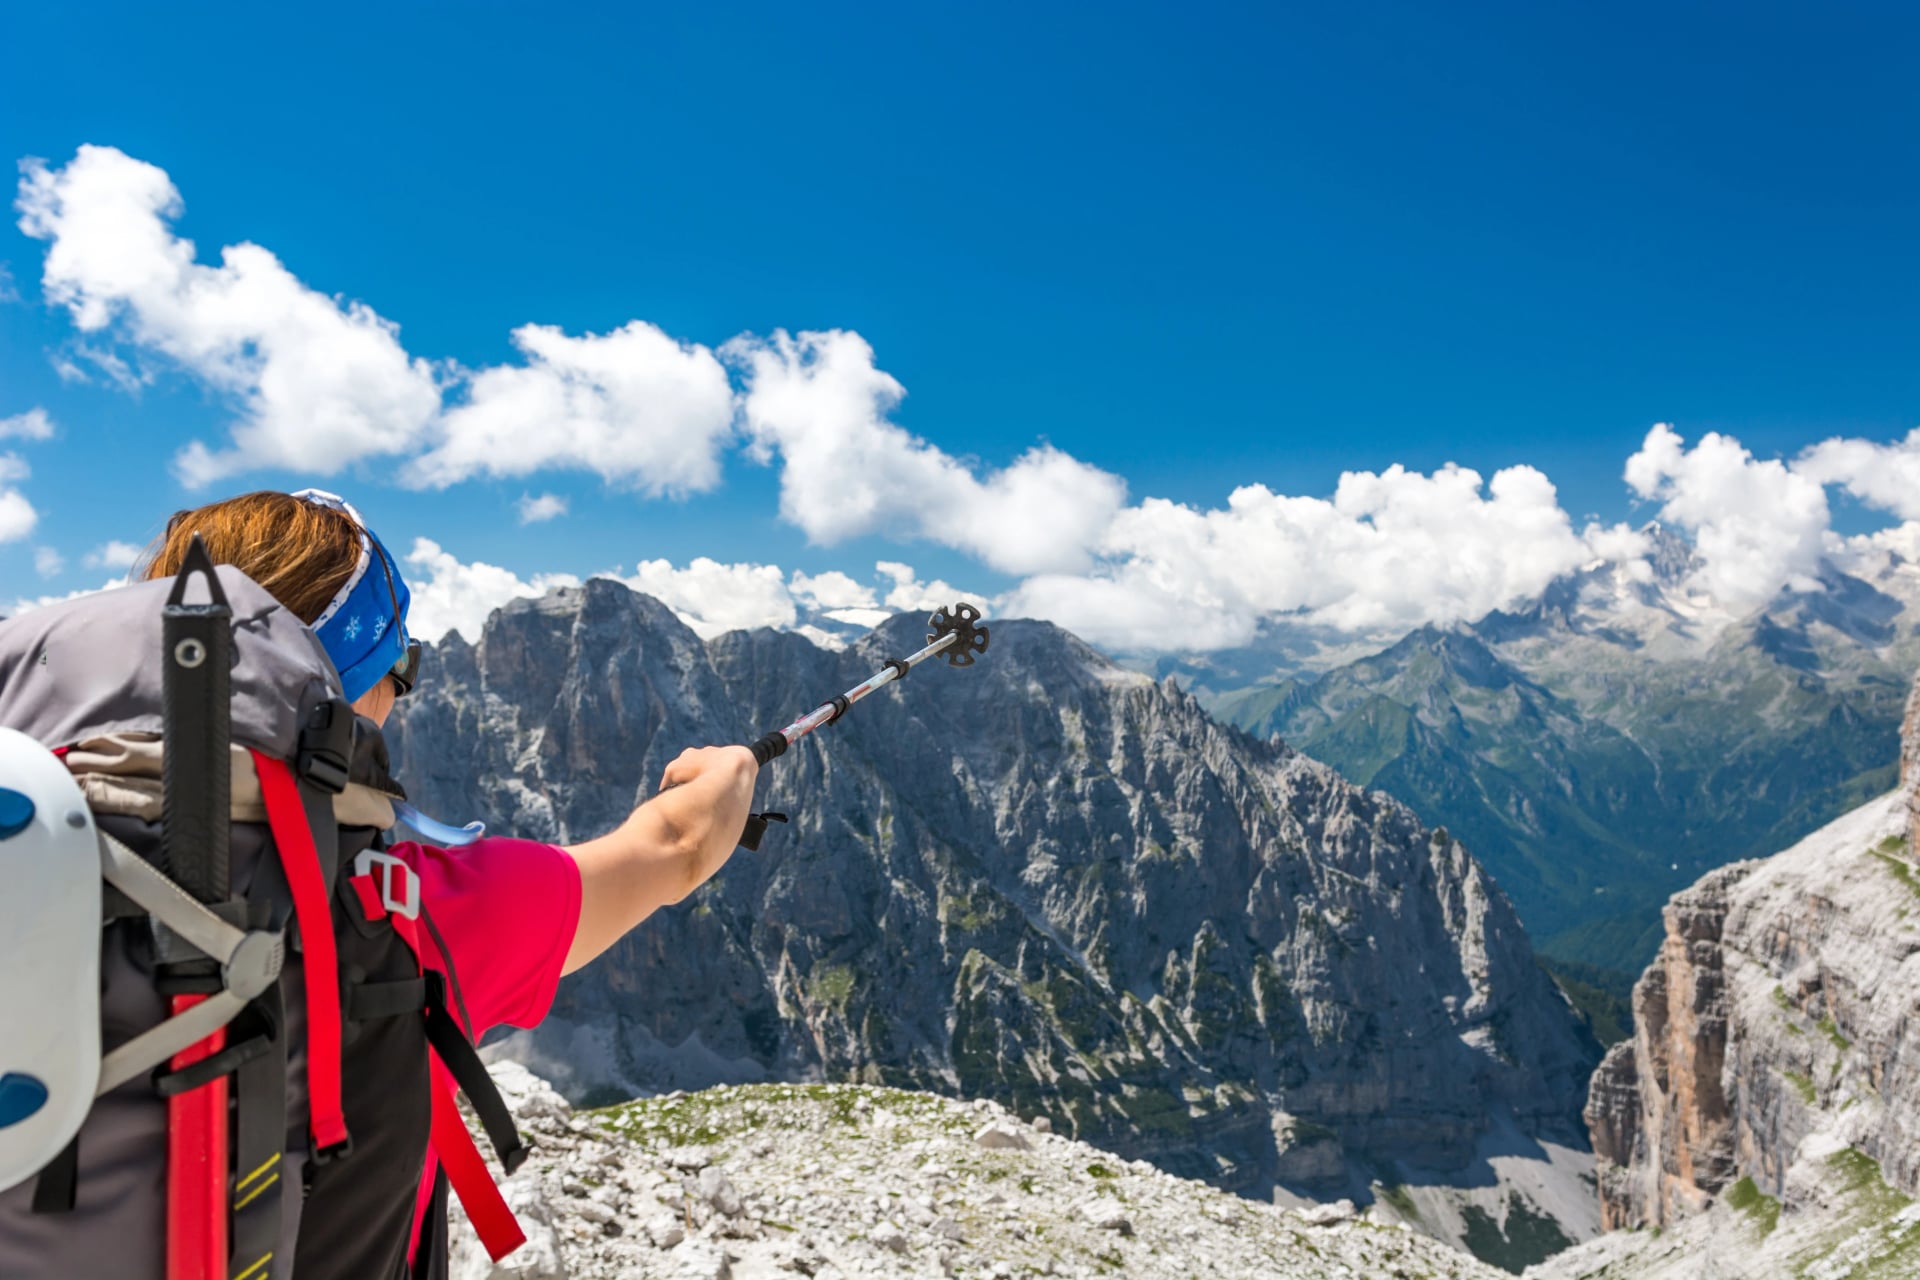
Terrain is consistently steep, rocky, and exposed, with several sections requiring secure footing and occasional use of fixed cables. Alta Via 2 is known for its consistently rugged profile. Stages often include steep ascents, narrow ledges, loose scree, and occasional short via ferrata or fixed-cable passages.
Weather plays a significant role at altitude, and several sections sit above 2,000–2,500 meters for extended periods, requiring good judgment and solid mountain skills. This makes the route ideal for hikers who are comfortable with challenging alpine terrain and looking for a more technical multi-day adventure in the Dolomites.
Do You Need a Ferrata Set ?

When a ferrata set is useful
Passo delle Farangole (Day 9): the most exposed section; a useful safety tool for less confident hikers.
Early-season conditions: snow patches or icy slabs can increase risk on otherwise moderate cables.
Wet weather: limestone becomes extremely slippery after storms, making clipped protection reassuring.
When a ferrata set is optional
Experienced hikers who are comfortable on steep, rocky ground and have good balance on loose scree.
Dry, stable weather windows where cable sections function more as handholds than safety features.
Puez–Odle and Pisciadù segments, which are short and manageable for confident hikers without gear.
A full ferrata kit adds weight, so hikers should balance safety with efficiency. Those familiar with exposed terrain will complete AV2 without it, while others may appreciate the psychological and practical security of clipping into the cables at key points.
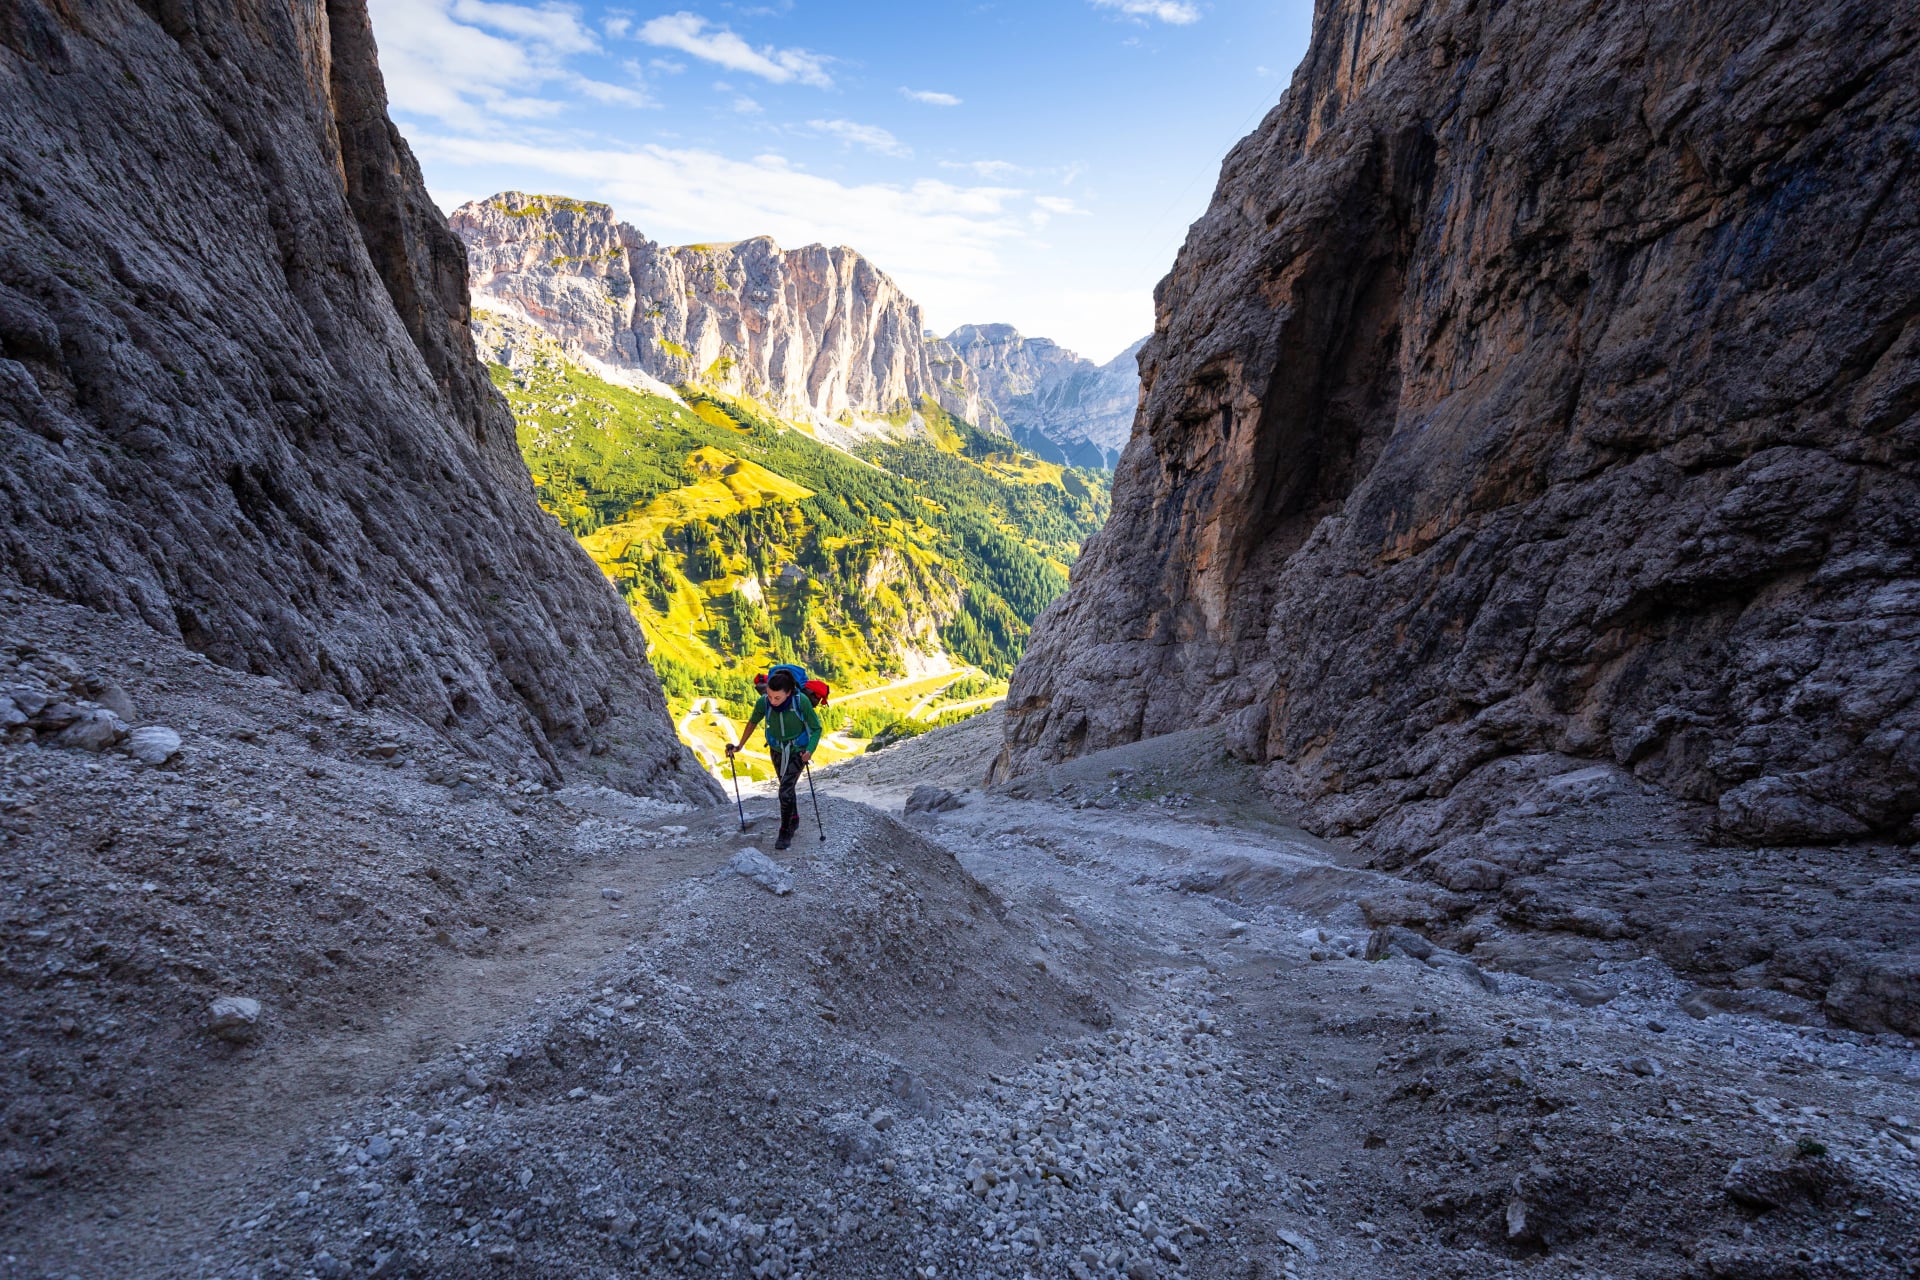
Via Ferrata Sections On the Way
Alta Via 2 includes a small number of short but exposed cable-protected passages. These are not full via ferrata routes, but they require secure footing, comfort with height, and attention to weather conditions.
Forcella della Roa (Puez–Odle, Day 4) – Steep limestone steps and short fixed cables marking the first technical point of the trail.
Val Setus Descent (Sella / Pisciadù, Day 5) – Loose scree and cable-assisted slabs on a steep descent toward the Pisciadù basin.
Passo delle Farangole (Pale di San Martino, Day 9) – The most demanding section: exposed ledges, chimneys, and multiple cable lengths.
Seasonal conditions influence the difficulty of these passages. Early summer often brings lingering snow in gullies, while afternoon storms in July and August can make limestone extremely slippery. Hikers should assess weather windows carefully, especially on days involving exposed traverses.
There are limited alternatives around these technical points. While some variants avoid short cable segments, no complete bypass exists for the standard route over Farangole. Less experienced hikers may prefer carrying a lightweight ferrata set for added security.
Route planning remains essential. Start early on days involving high passes, avoid cable sections during unstable weather, and expect rapid changes once above 2,000–2,500 meters. Refuges along the route provide reliable advice on conditions each morning.
Alta Via 2 vs Alta Via 1
Alta Via 2 and Alta Via 1 follow similar north–south lines through the Dolomites, but their character differs significantly. The key distinctions involve terrain, exposure, and the level of alpine experience required.
Aspect | Alta Via 2 | Alta Via 1 |
|---|---|---|
Overall difficulty | Demanding | Moderate |
Terrain | Steep, rocky, more technical | Smoother, more forgiving paths |
Via ferrata / cables | 3 cable-protected sections | None on standard route |
Exposure level | Higher, multiple narrow ledges | Generally low |
Daily elevation gain | More sustained climbs | More even pacing |
Stage consistency | Big variation between days | More uniform difficulty |
Remoteness | More isolated, fewer exits | More accessible throughout |
Weather sensitivity | High — passes become hazardous quickly | Lower, fewer exposed zones |
Best suited for | Experienced alpine hikers | Fit beginners & intermediates |
Alta Via 2 is the more rugged and technical option, ideal for hikers comfortable on exposed, high-altitude terrain. Alta Via 1 remains the more accessible long-distance traverse, offering a classic Dolomites experience with fewer technical demands.
When to Hike?
Alta Via 2 is a high-altitude route, and conditions change quickly throughout the season. The best time to hike depends on snow levels, hut availability, and your comfort on exposed, technical terrain. Because the route includes steep passes and cable-protected sections, choosing the right month directly affects safety and difficulty.
Seasons At a Glance:
Spring (April–June): Lower trails thaw, but snow remains above 2,200–2,400 m until late June. Temperatures range from 5–15°C, with cold nights at altitude
Summer (July–September): The main hiking season with fully open trails, long days, and stable mornings. Typical temperatures are 10–25°C, though ridges can drop below 5°C in storms
Autumn (September–October): Cooler, quieter conditions with clear air and early-season color. Daytime temperatures range from 5–18°C, with freezing nights common above 2,000 m
Winter (November–March): High routes are not hikeable, with deep snow, ice, and closed huts. Temperatures vary from –10 to 5°C, often colder during storms or on exposed passes
Peak Season: Summer (Late June to September)
This is the primary window for completing Alta Via 2. By late June most high passes begin to clear, rifugi open, and the route becomes fully accessible. July and August offer the most predictable weather, though afternoon storms remain common.
Why Summer Is Ideal:
Most high passes are snow-free, including Forcella della Roa, Val Setus, and Passo delle Farangole
Reliable hut access along all stages
Typical temperatures: 10°C–20°C at 2,000–2,500 m
Long daylight hours for sustained elevation days
Best overall conditions for technical, exposed terrain
Summer provides the safest and most flexible environment for completing the full AV2 route.
Autumn (September to Early October)
Early autumn is one of the most scenic times to hike. Temperatures cool, visibility improves, and crowds thin significantly. However, high passes may see early snow, and huts begin closing from late September.
Why Autumn Works Well:
Cooler weather ideal for long ascents
Fewer hikers and quieter trails
Clear, crisp air improves visibility on high ridges
Typical temperatures: 5°C–15°C at altitude, with nights dropping near or below freezing
Check hut closing dates carefully; several rifugi shut down by late September, limiting itinerary flexibility.
Spring (May to Late June)
Spring is generally not suitable for Alta Via 2. High passes remain snow-covered, cable-protected sections become hazardous, and many huts remain closed. Lower valleys open earlier, but the main AV2 corridor stays blocked well into June.
Why Spring Is Limited for AV2:
Deep snow persists on steep passes and gullies
Huts open only in mid–late June
Wet rock, meltwater, and icy slabs increase risk
Typical temperatures: 5°C–18°C depending on altitude, with cold mornings and a high likelihood of snow above 2,000 m
Spring is ideal for valley hikes, but not for the technical terrain of AV2.
Winter (November to April)
Alta Via 2 is not hikeable in winter. Snow, ice, closed huts, avalanche risk, and extreme exposure make the route unsafe and logistically impossible. Winter is reserved for skiing and snowshoeing in lower valleys.
Why Winter Is Not Suitable:
All high passes are snowbound or avalanche-prone
Extreme weather and very short daylight hours
Typical temperatures: –10°C to +5°C at altitude, with severe wind chill
No hut access along the route
Winter in the Dolomites is beautiful, but it is not compatible with Alta Via 2. Check out our skiing offer in the dolomites instead!
Staying Updated on Weather
Weather in the Dolomites changes quickly, especially above 2,000 meters. Even in peak season, afternoon storms can develop suddenly and make exposed cable sections dangerous. Start early each day and check the forecast before committing to long stages.

Reliable Weather Resources:
Weather South Tyrol (official meteorological service)
Mountain-specific forecasts for the Dolomites
Daily updates from your next rifugi before departure
Want to know more about the weather in the Dolomites in general? Consult our guide about hiking in the Dolomites!
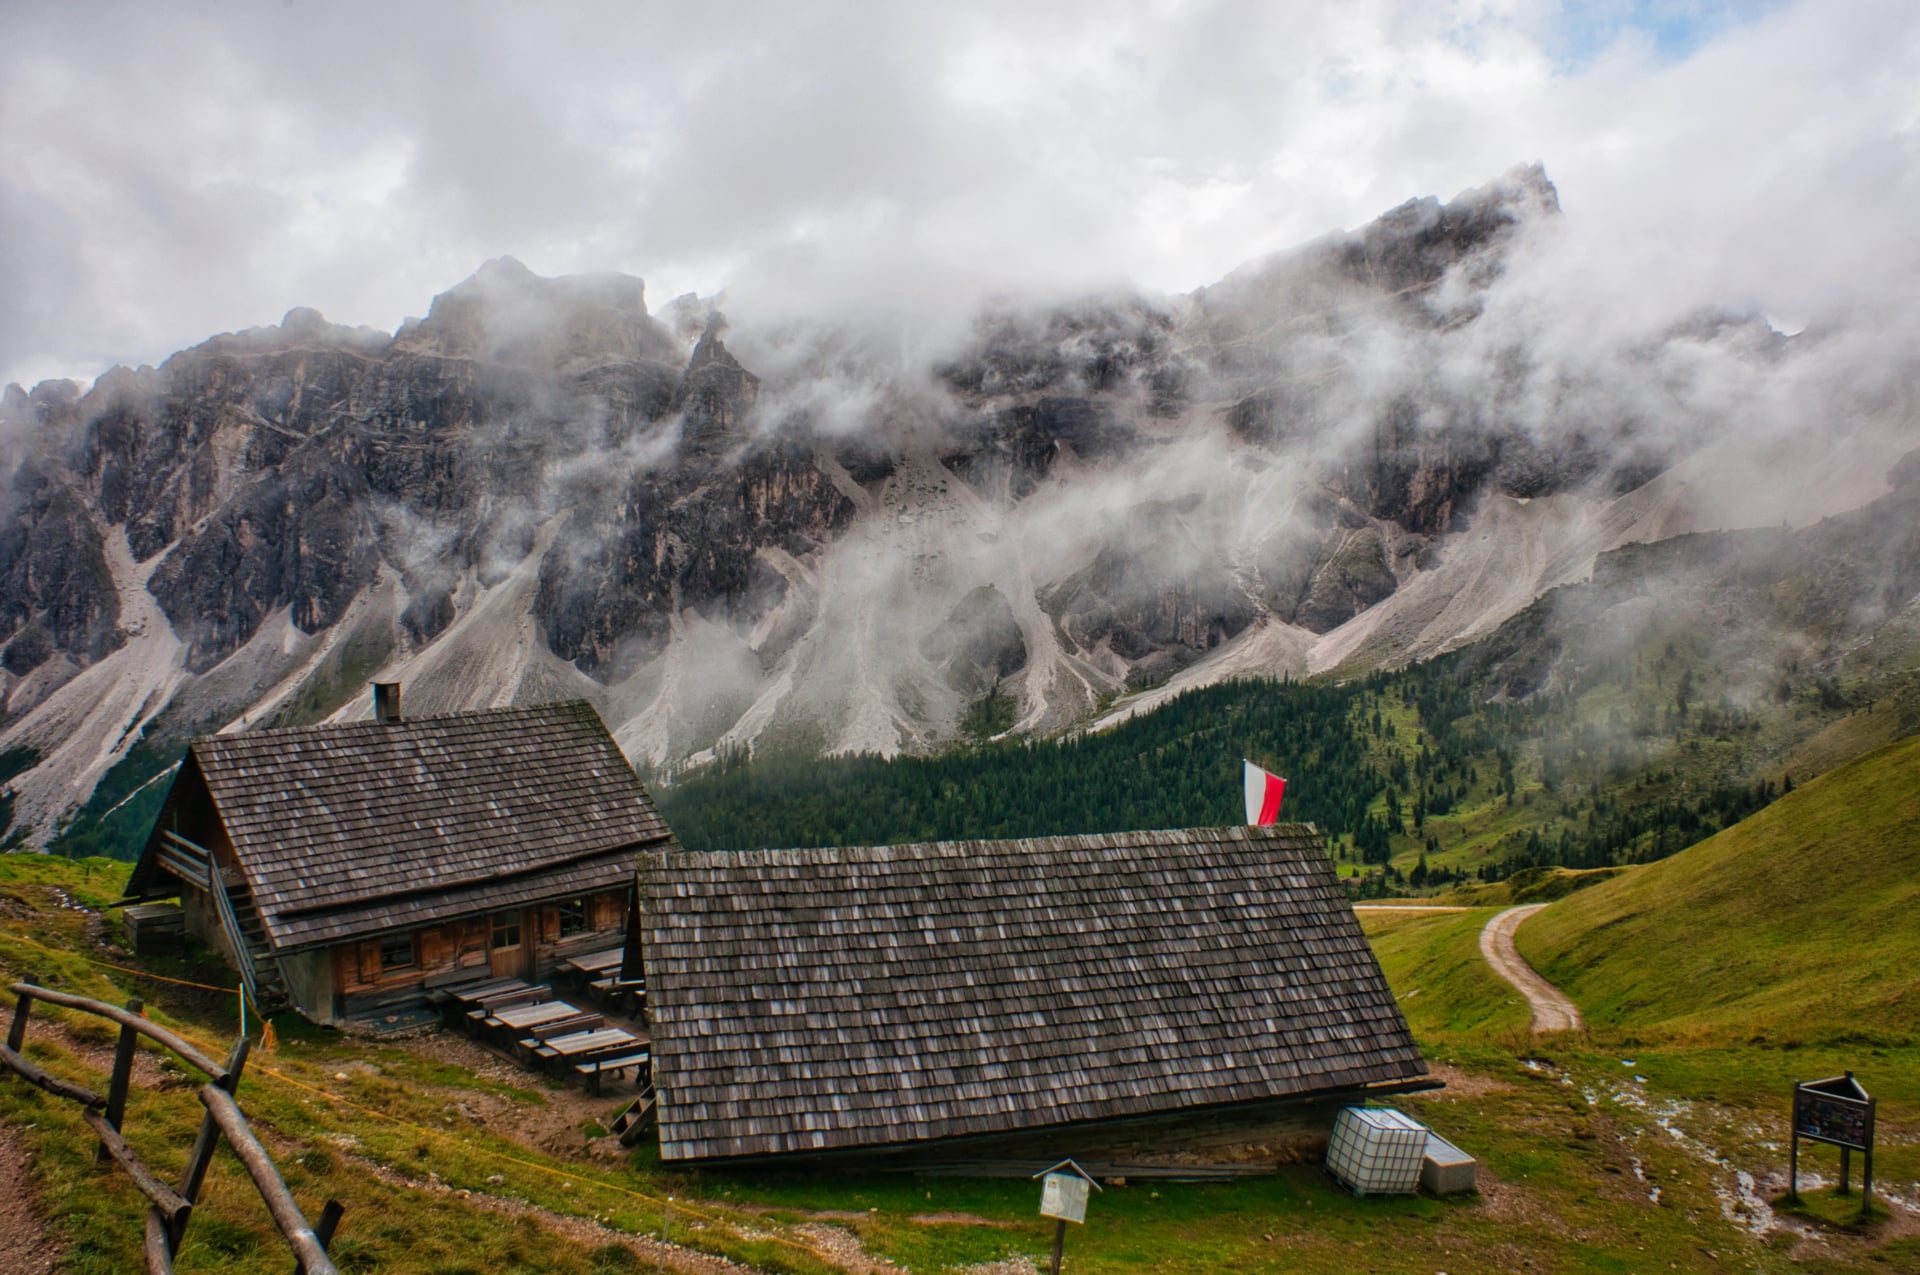
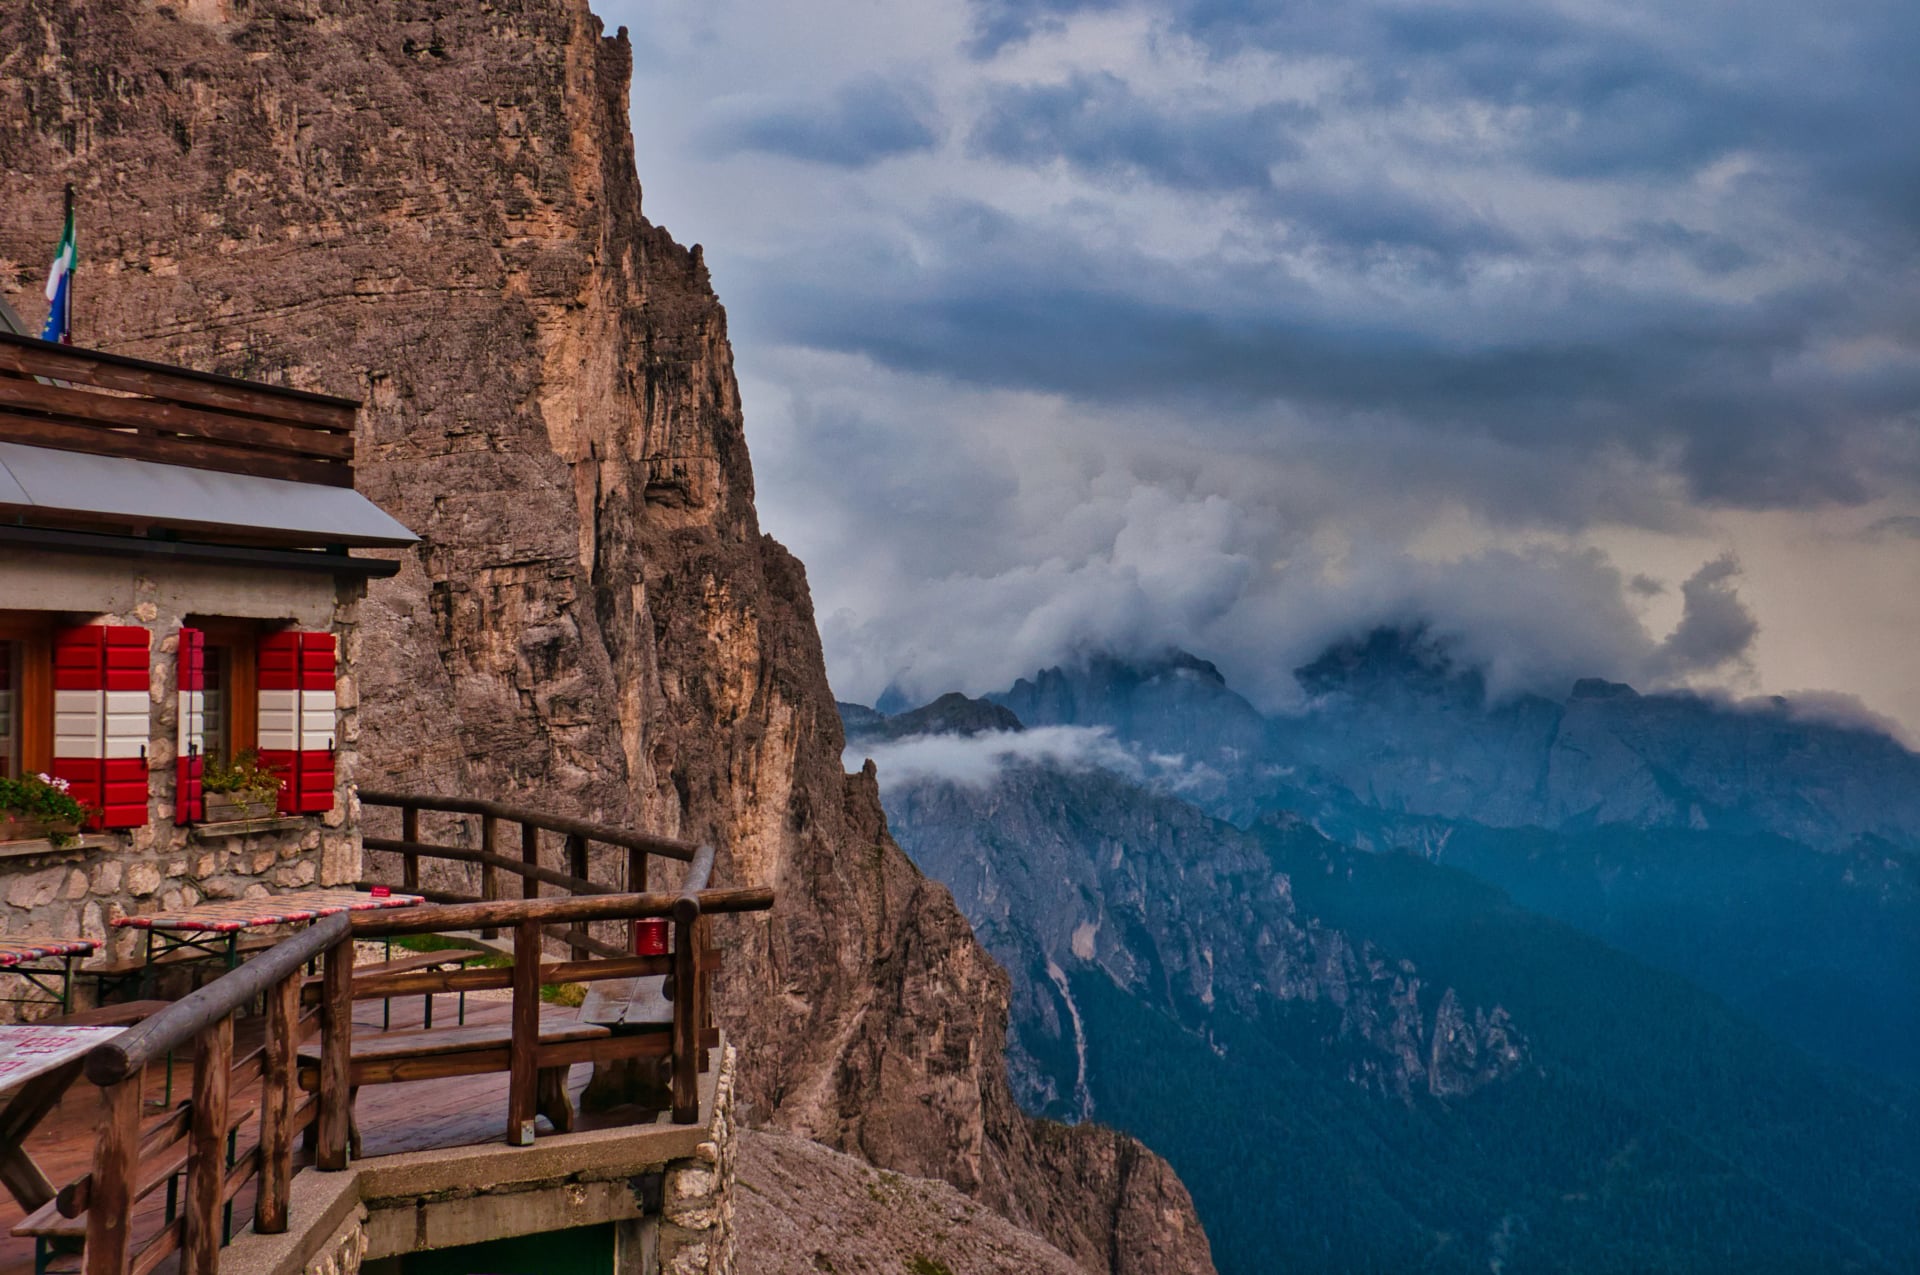
Where to Stay: Rifugios On the Way

Because AV2 crosses several isolated massifs, reservations are essential—especially from July to late August. Many huts book out weeks in advance, and a deposit is often required during peak season.
Best Huts Along the Trail
When Do Mountain Huts Open?
Most rifugi along Alta Via 2 operate mid-June to late September, depending on snow levels
Higher huts (above 2,300–2,500 m) often open later in June and may close earlier in September
Heavy late-spring snowfall can delay opening dates on the Puez, Sella, and Pale di San Martino sections
Early autumn storms sometimes trigger early closures for huts in the southern Bellunesi ranges
Exact dates vary by hut, so checking current season schedules is essential when planning
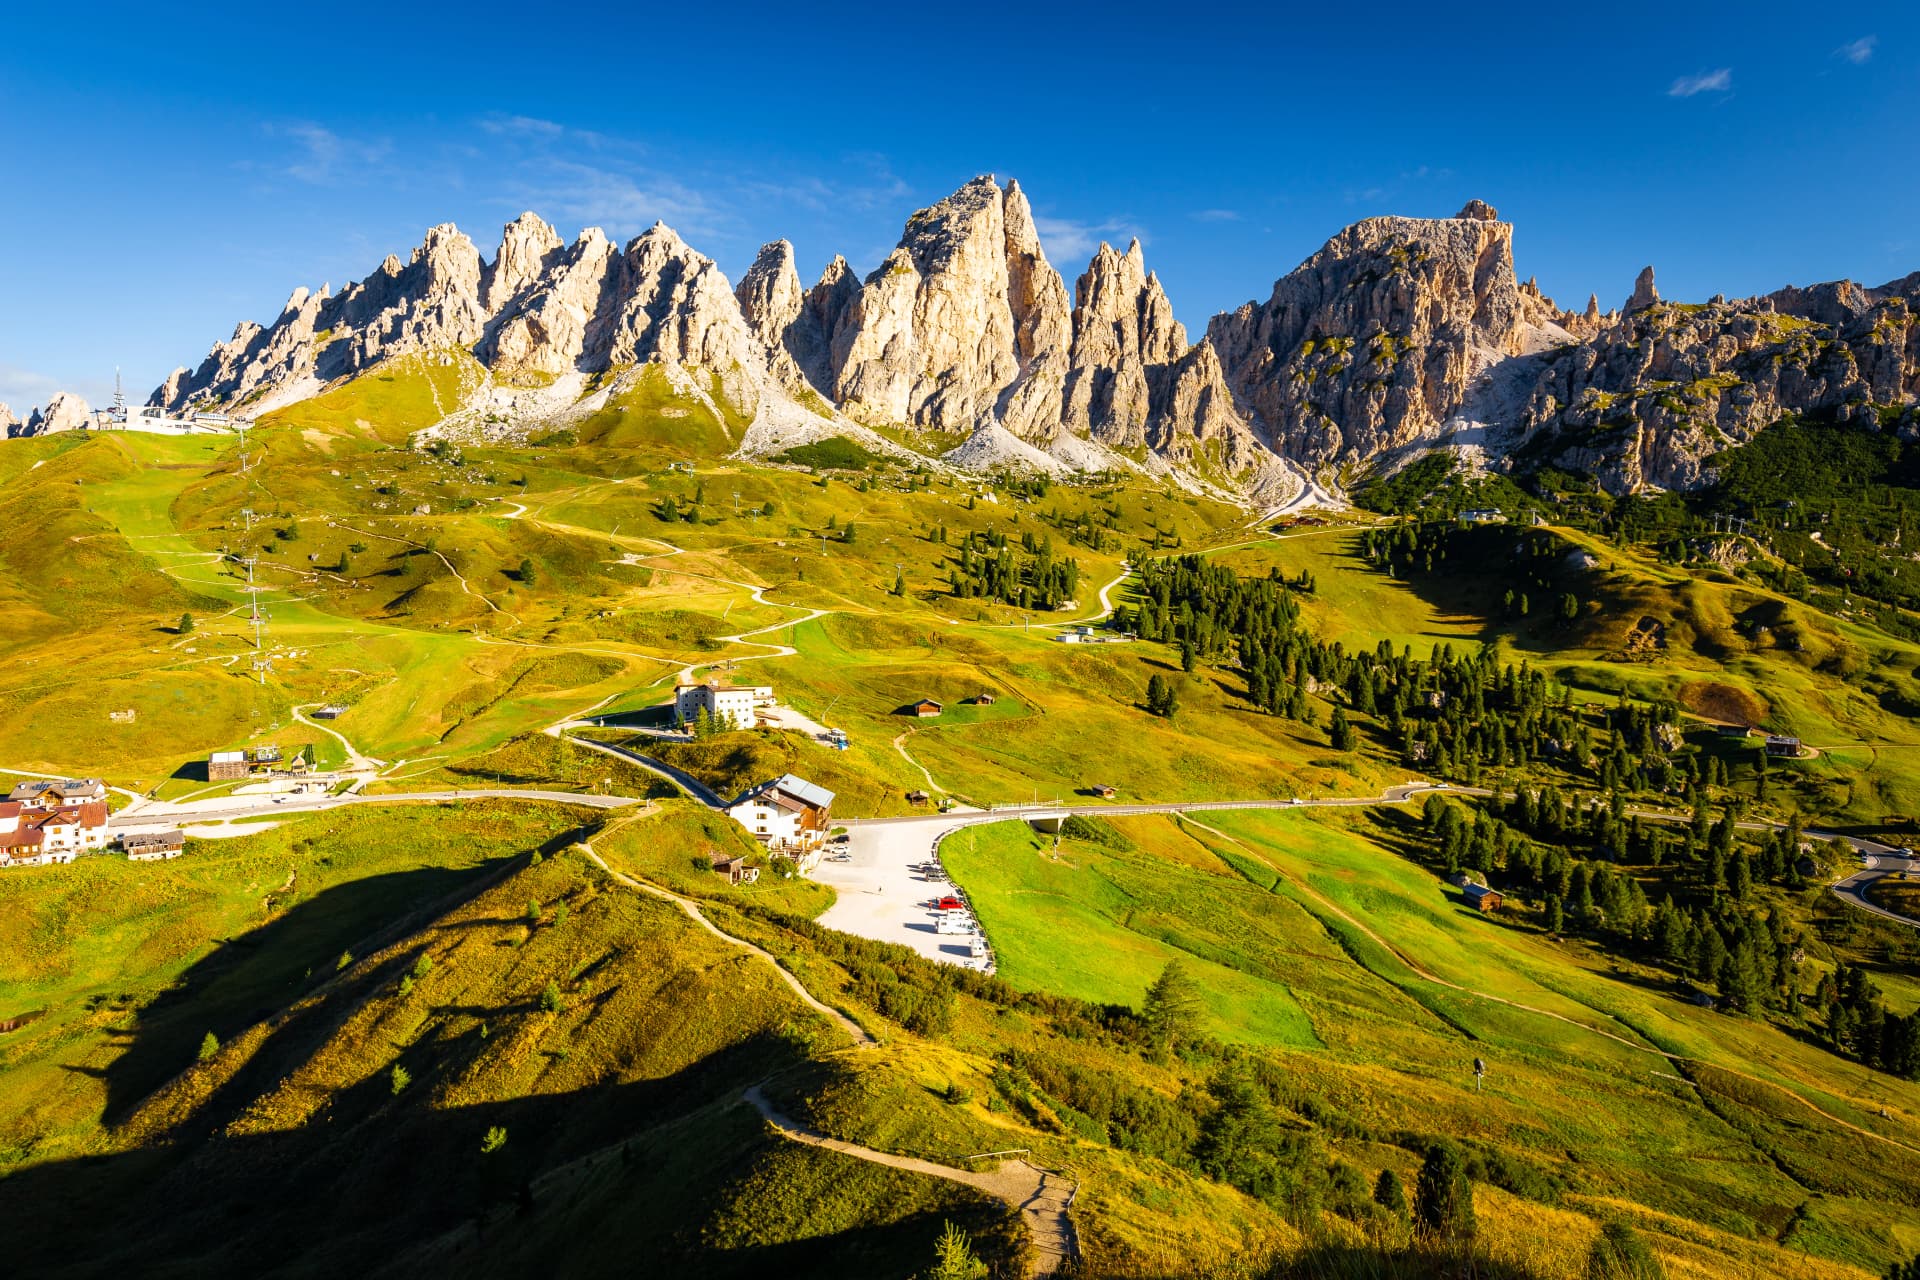
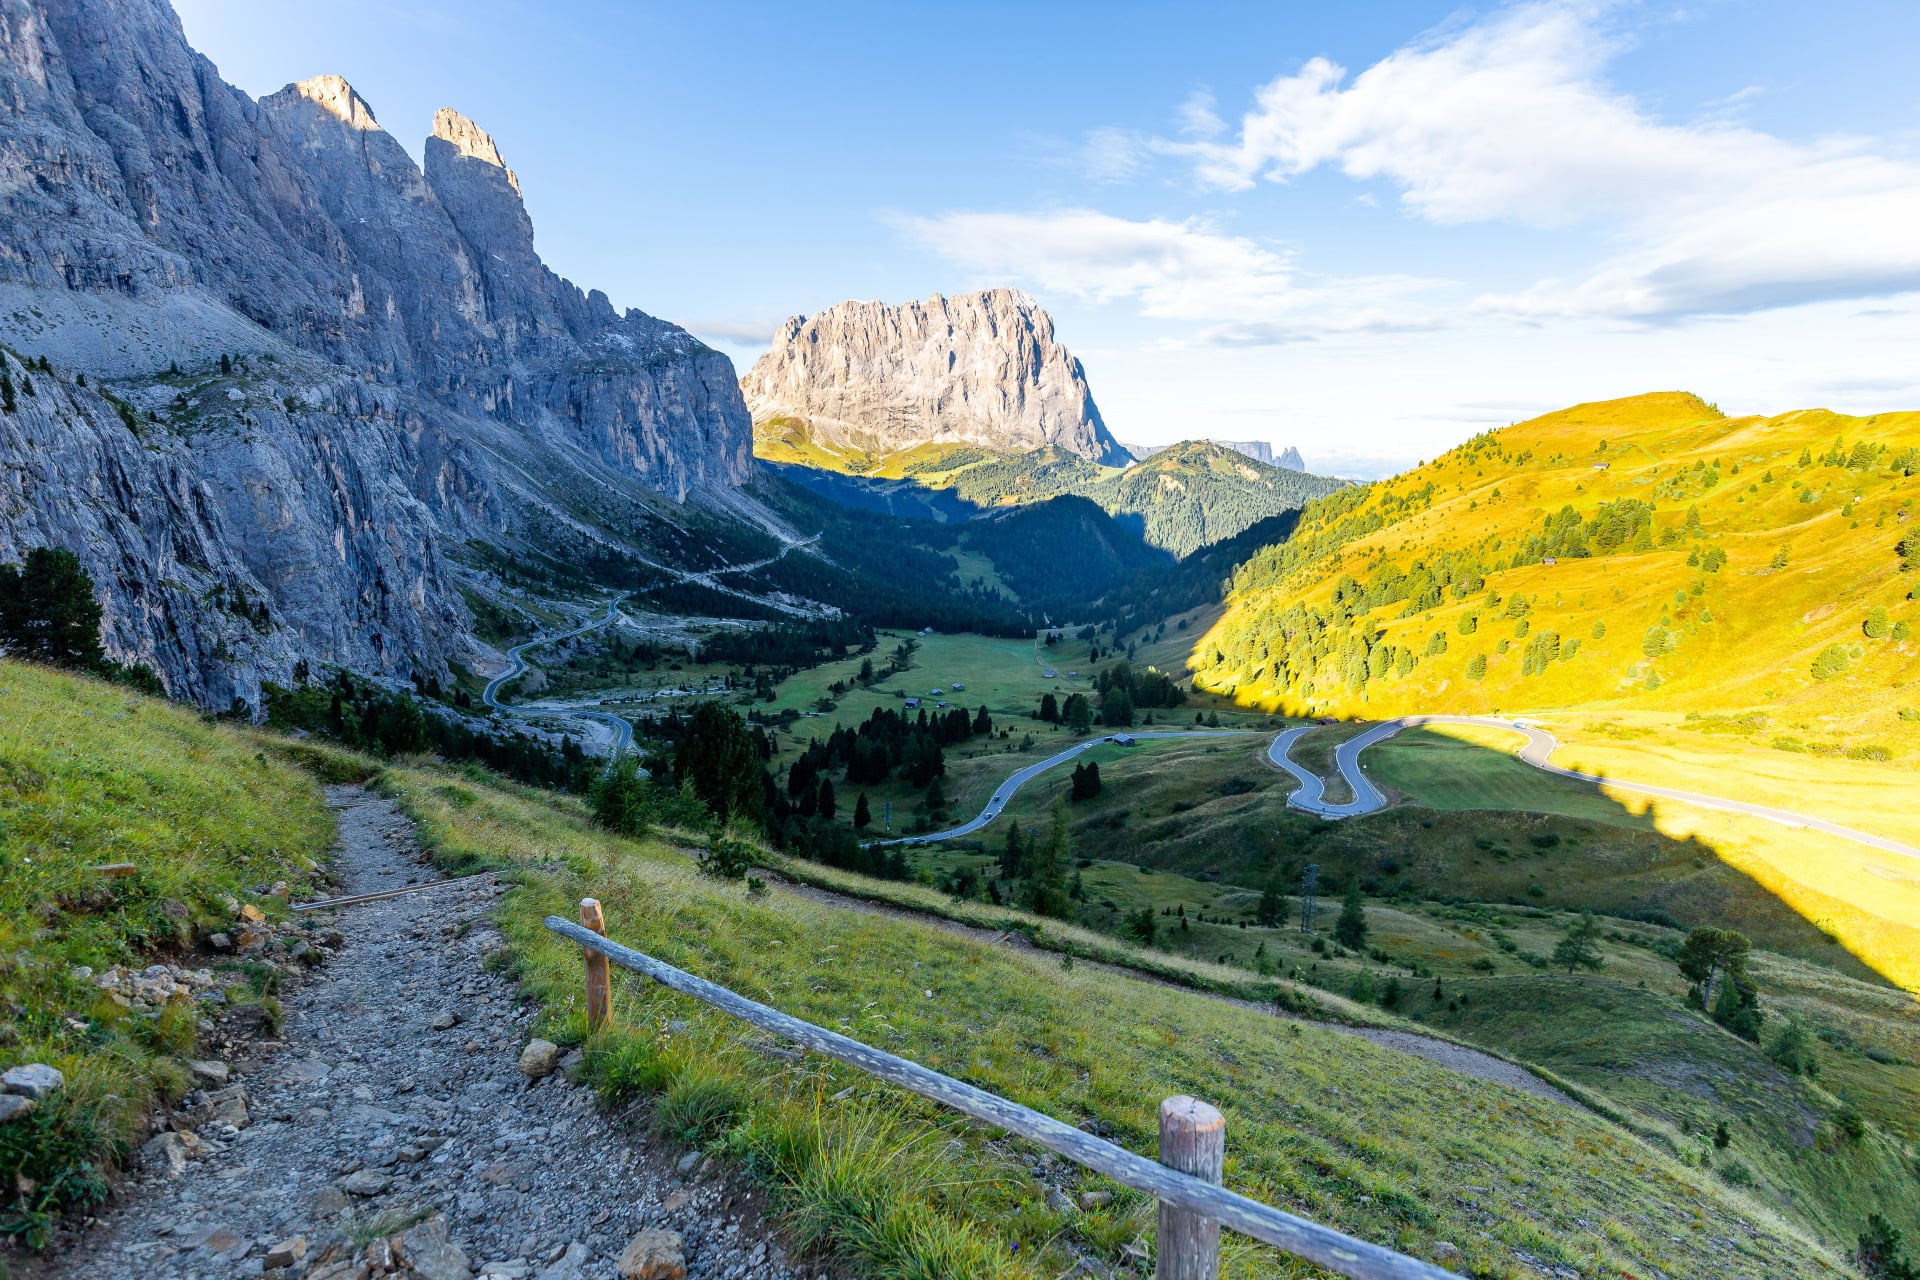
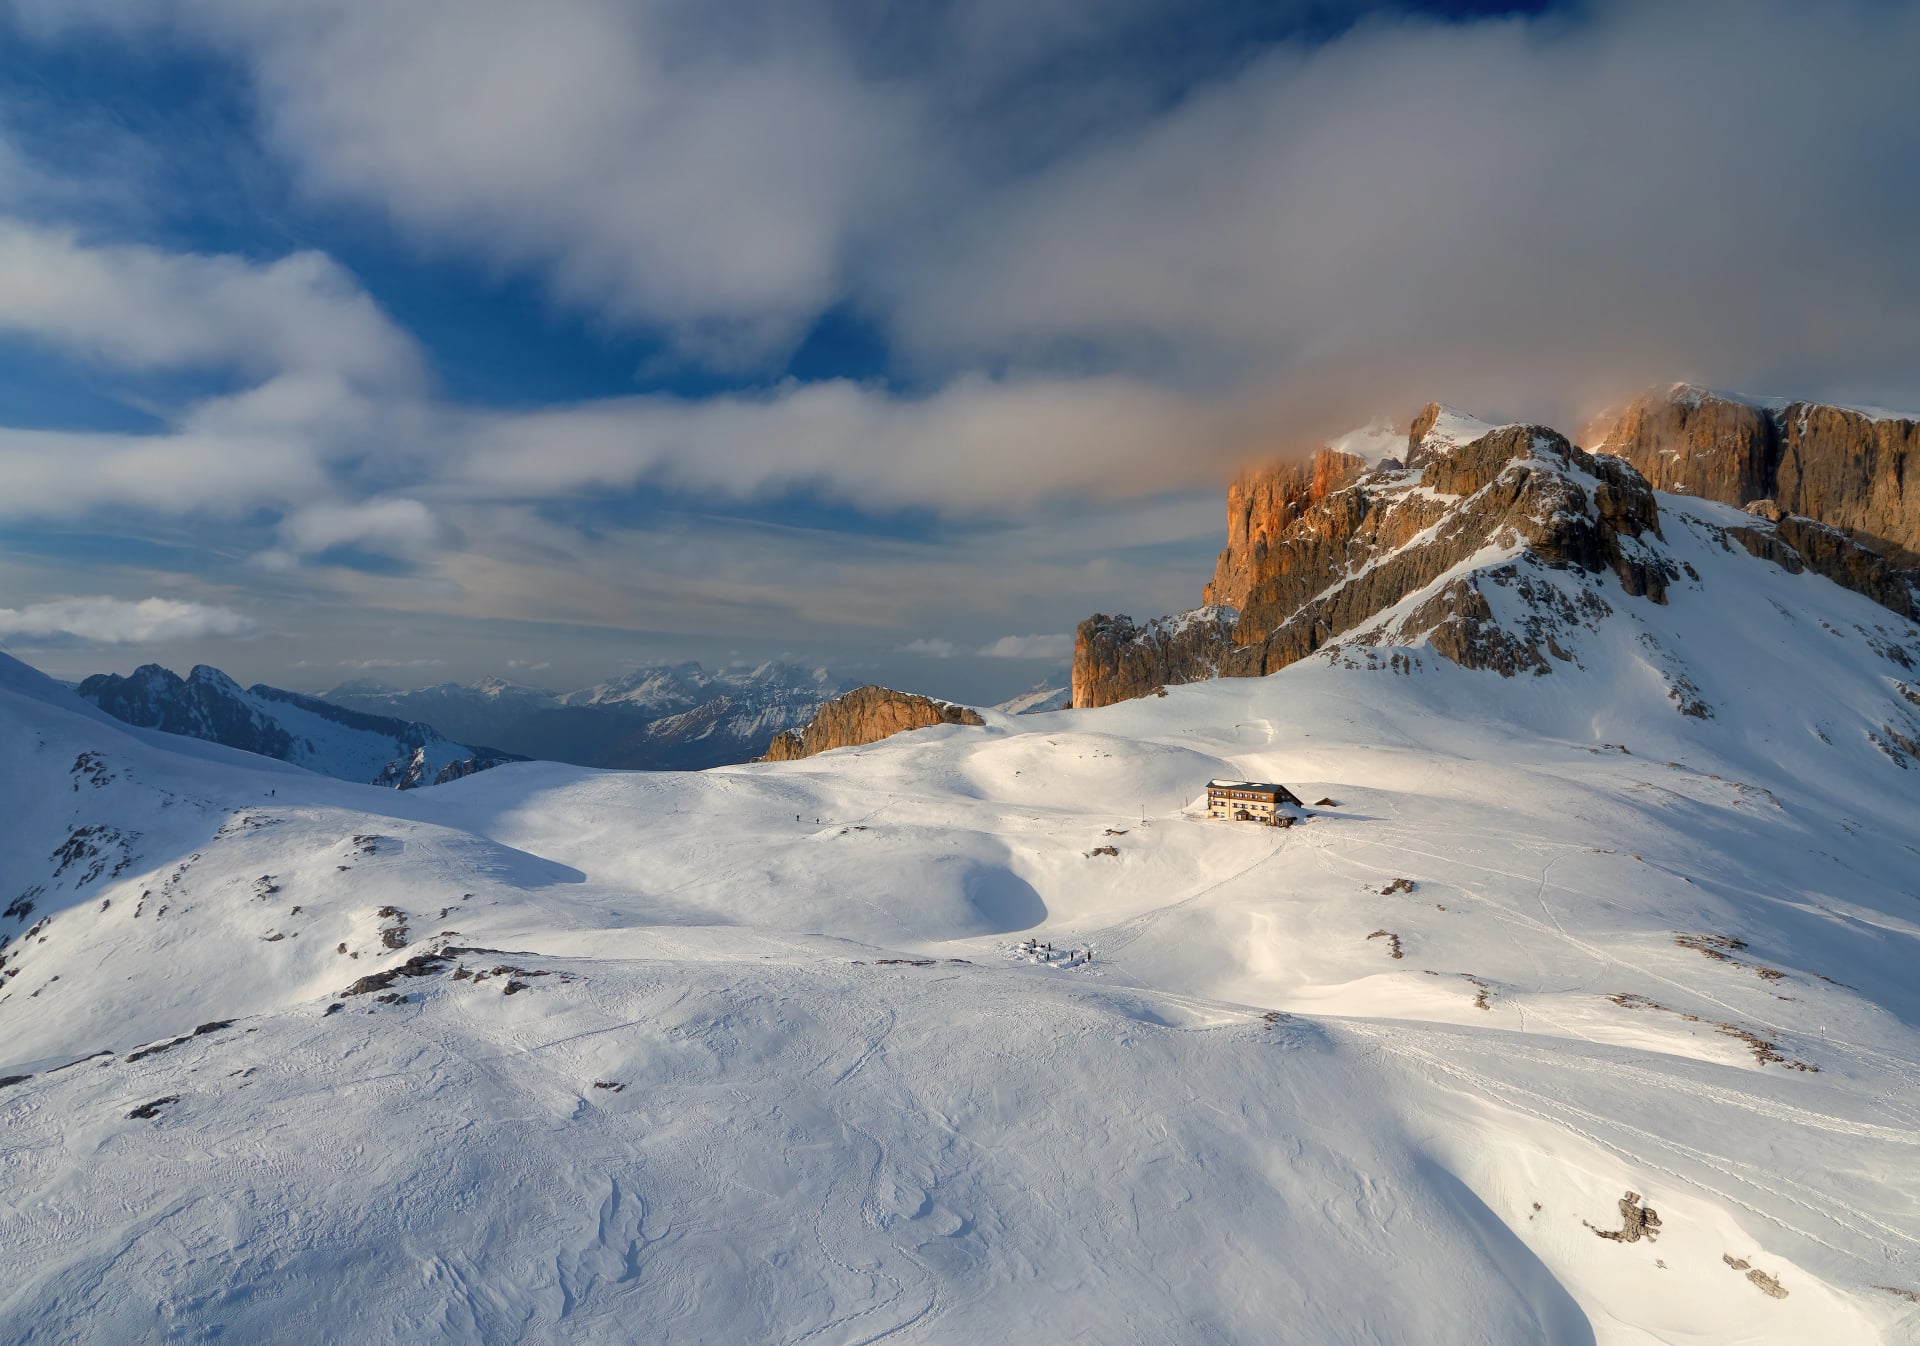
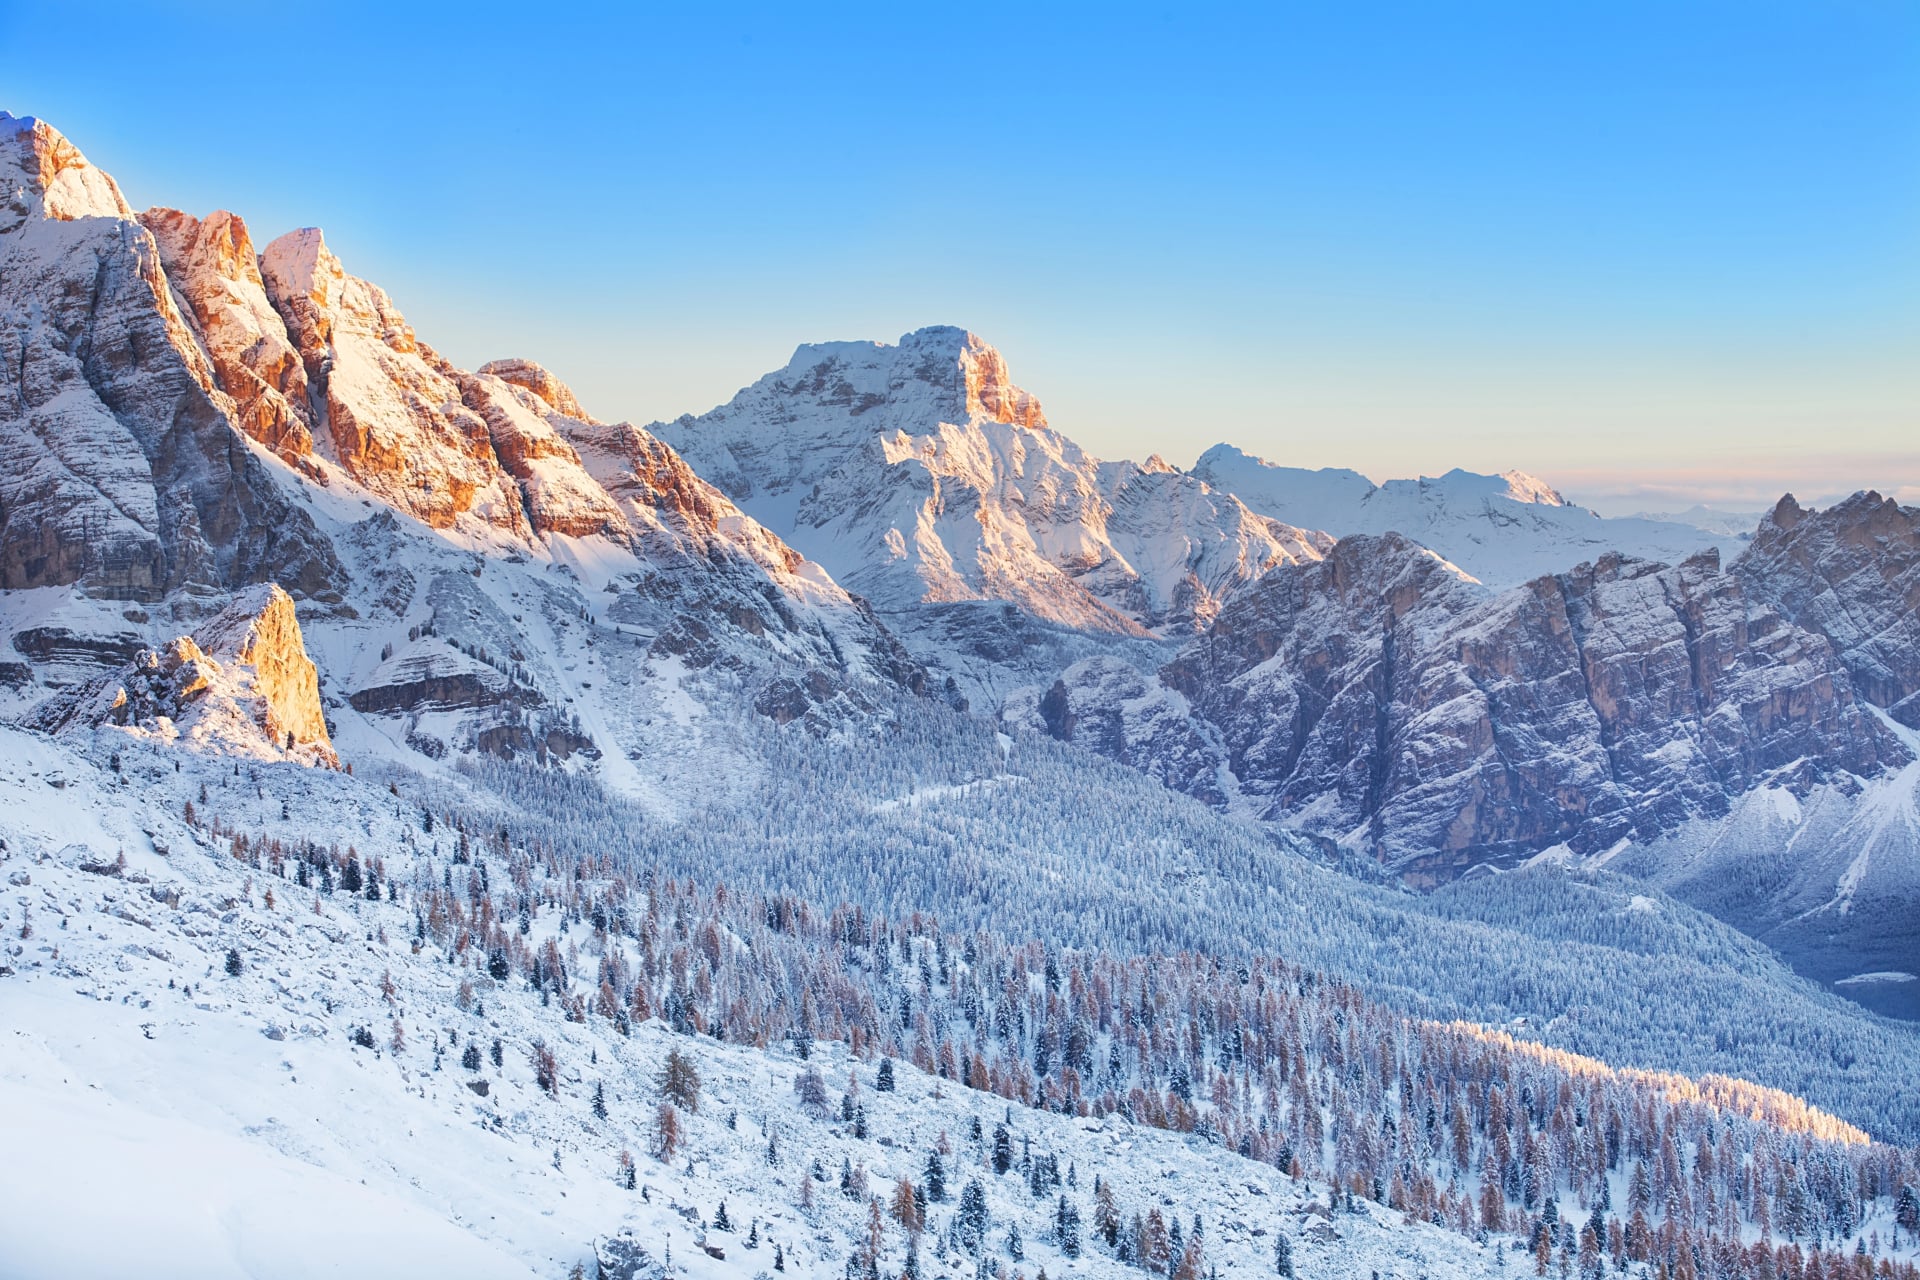
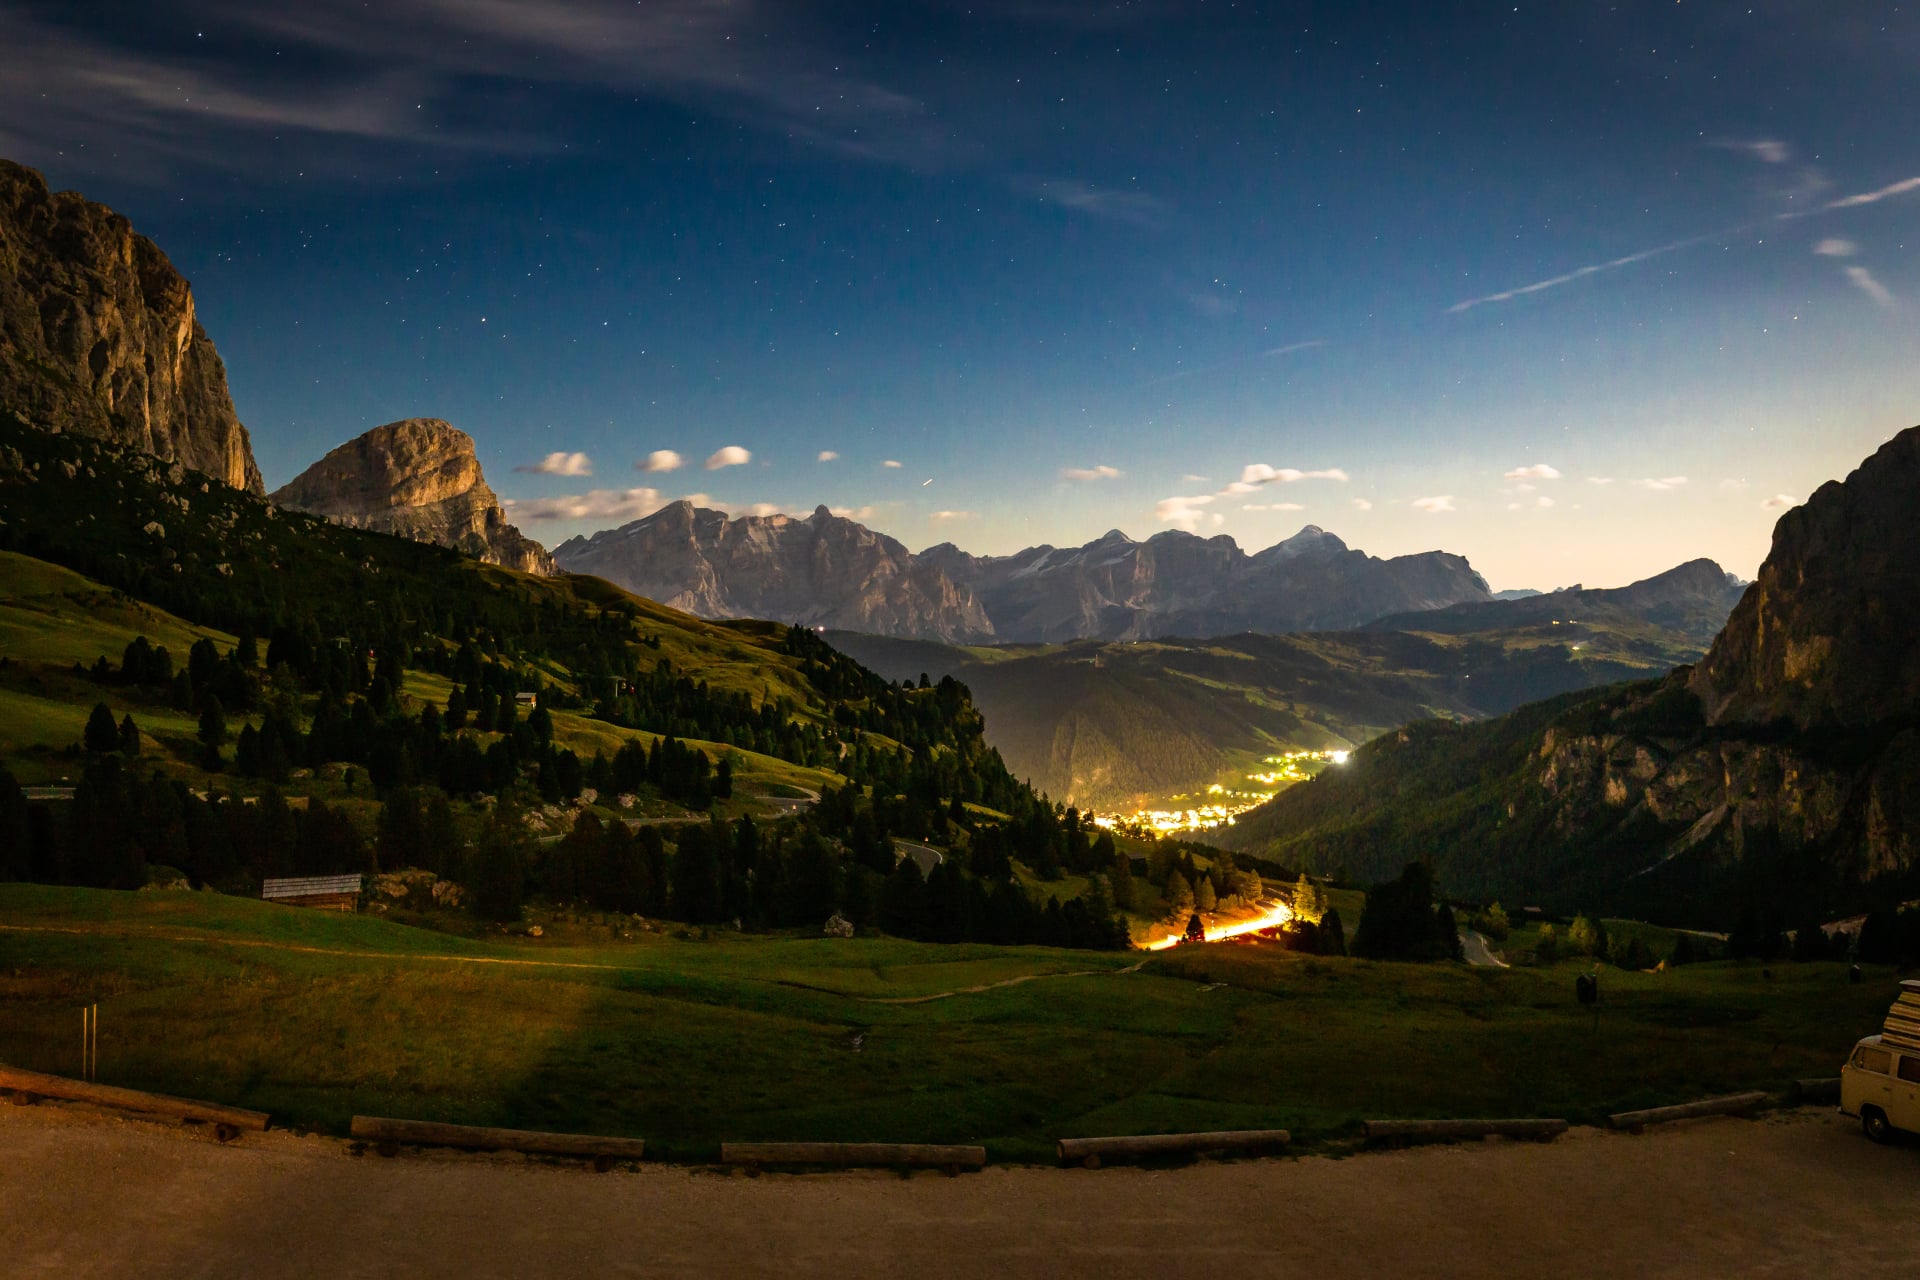
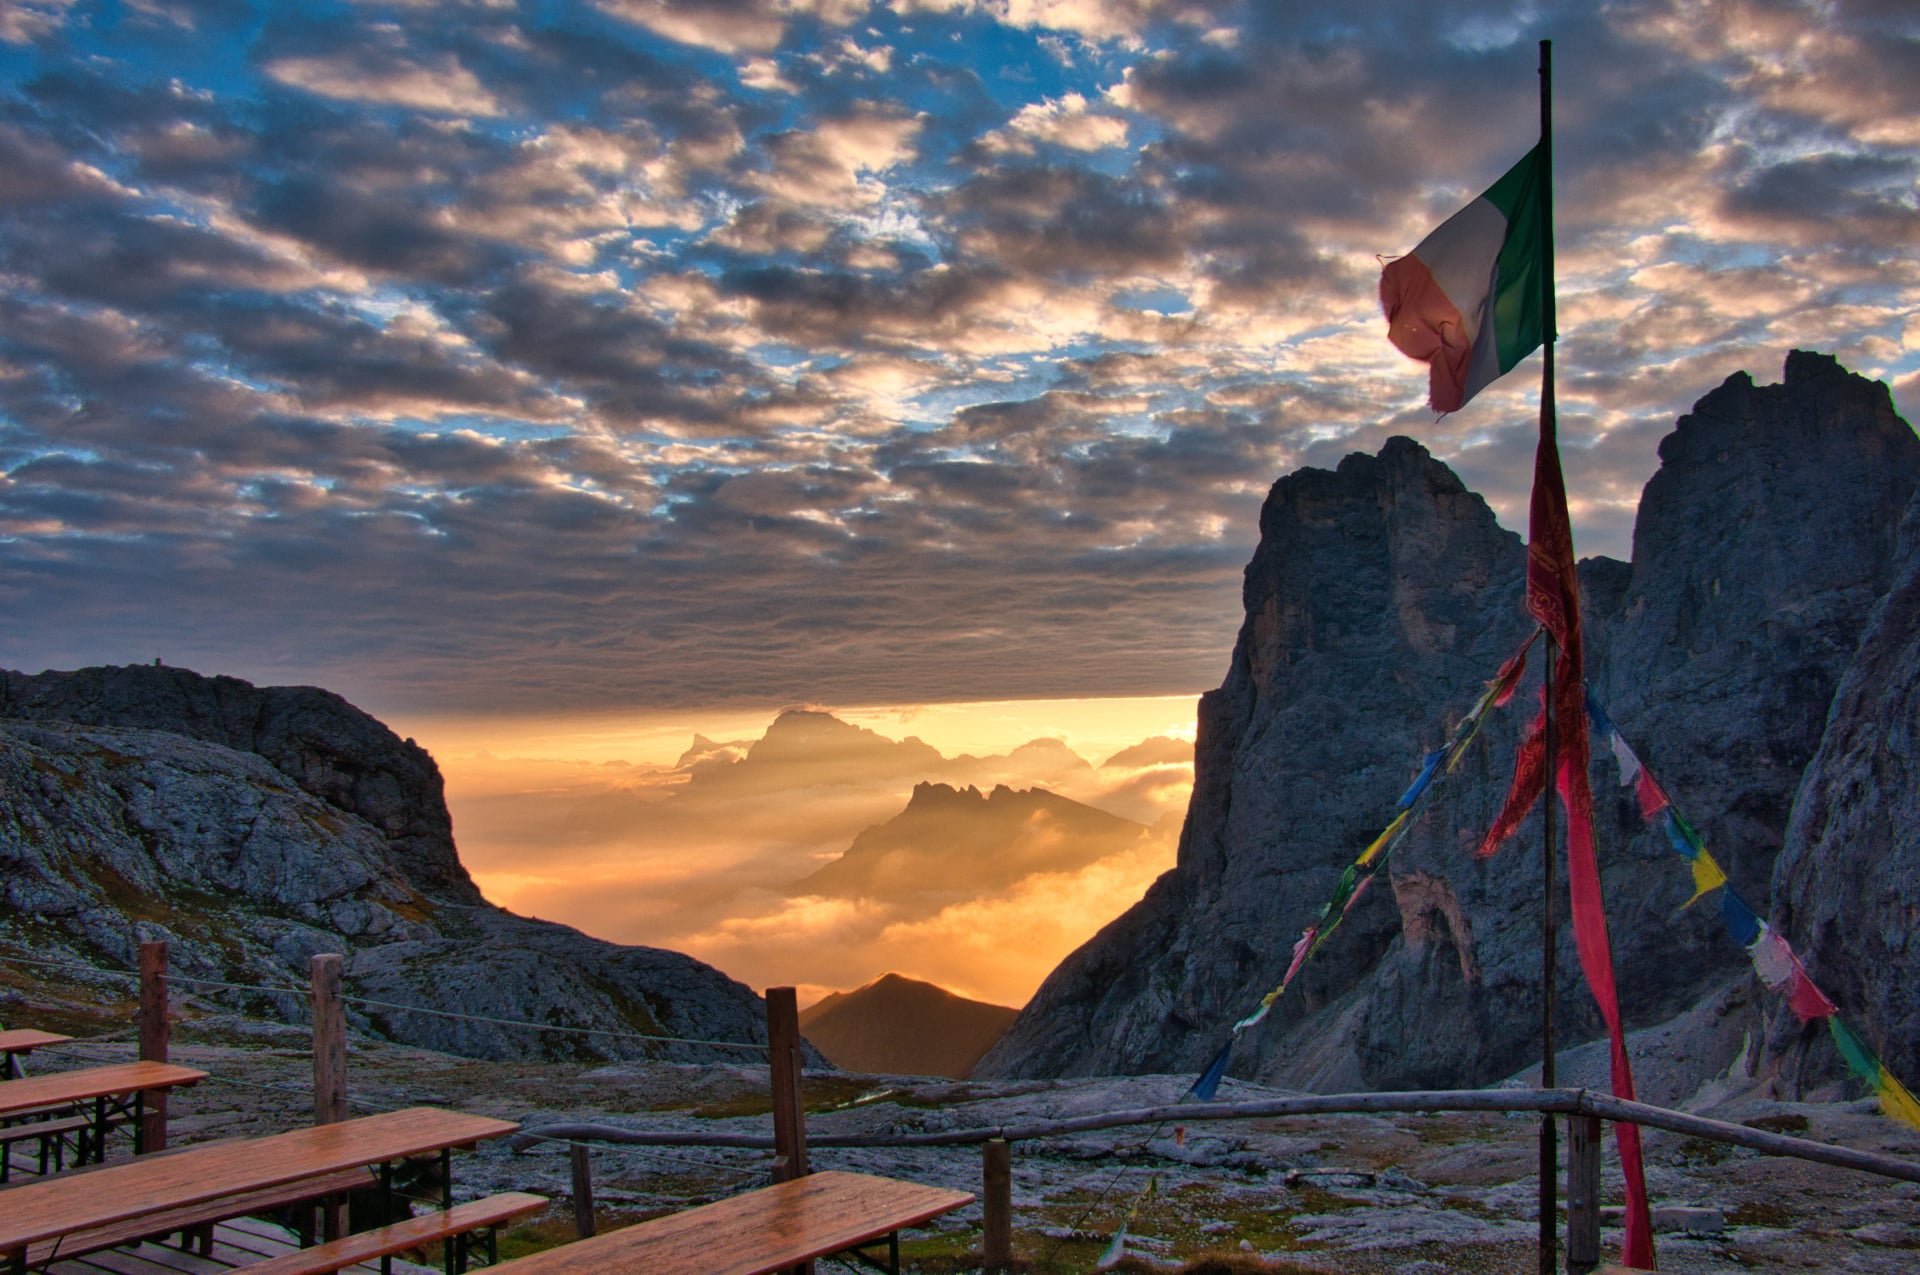
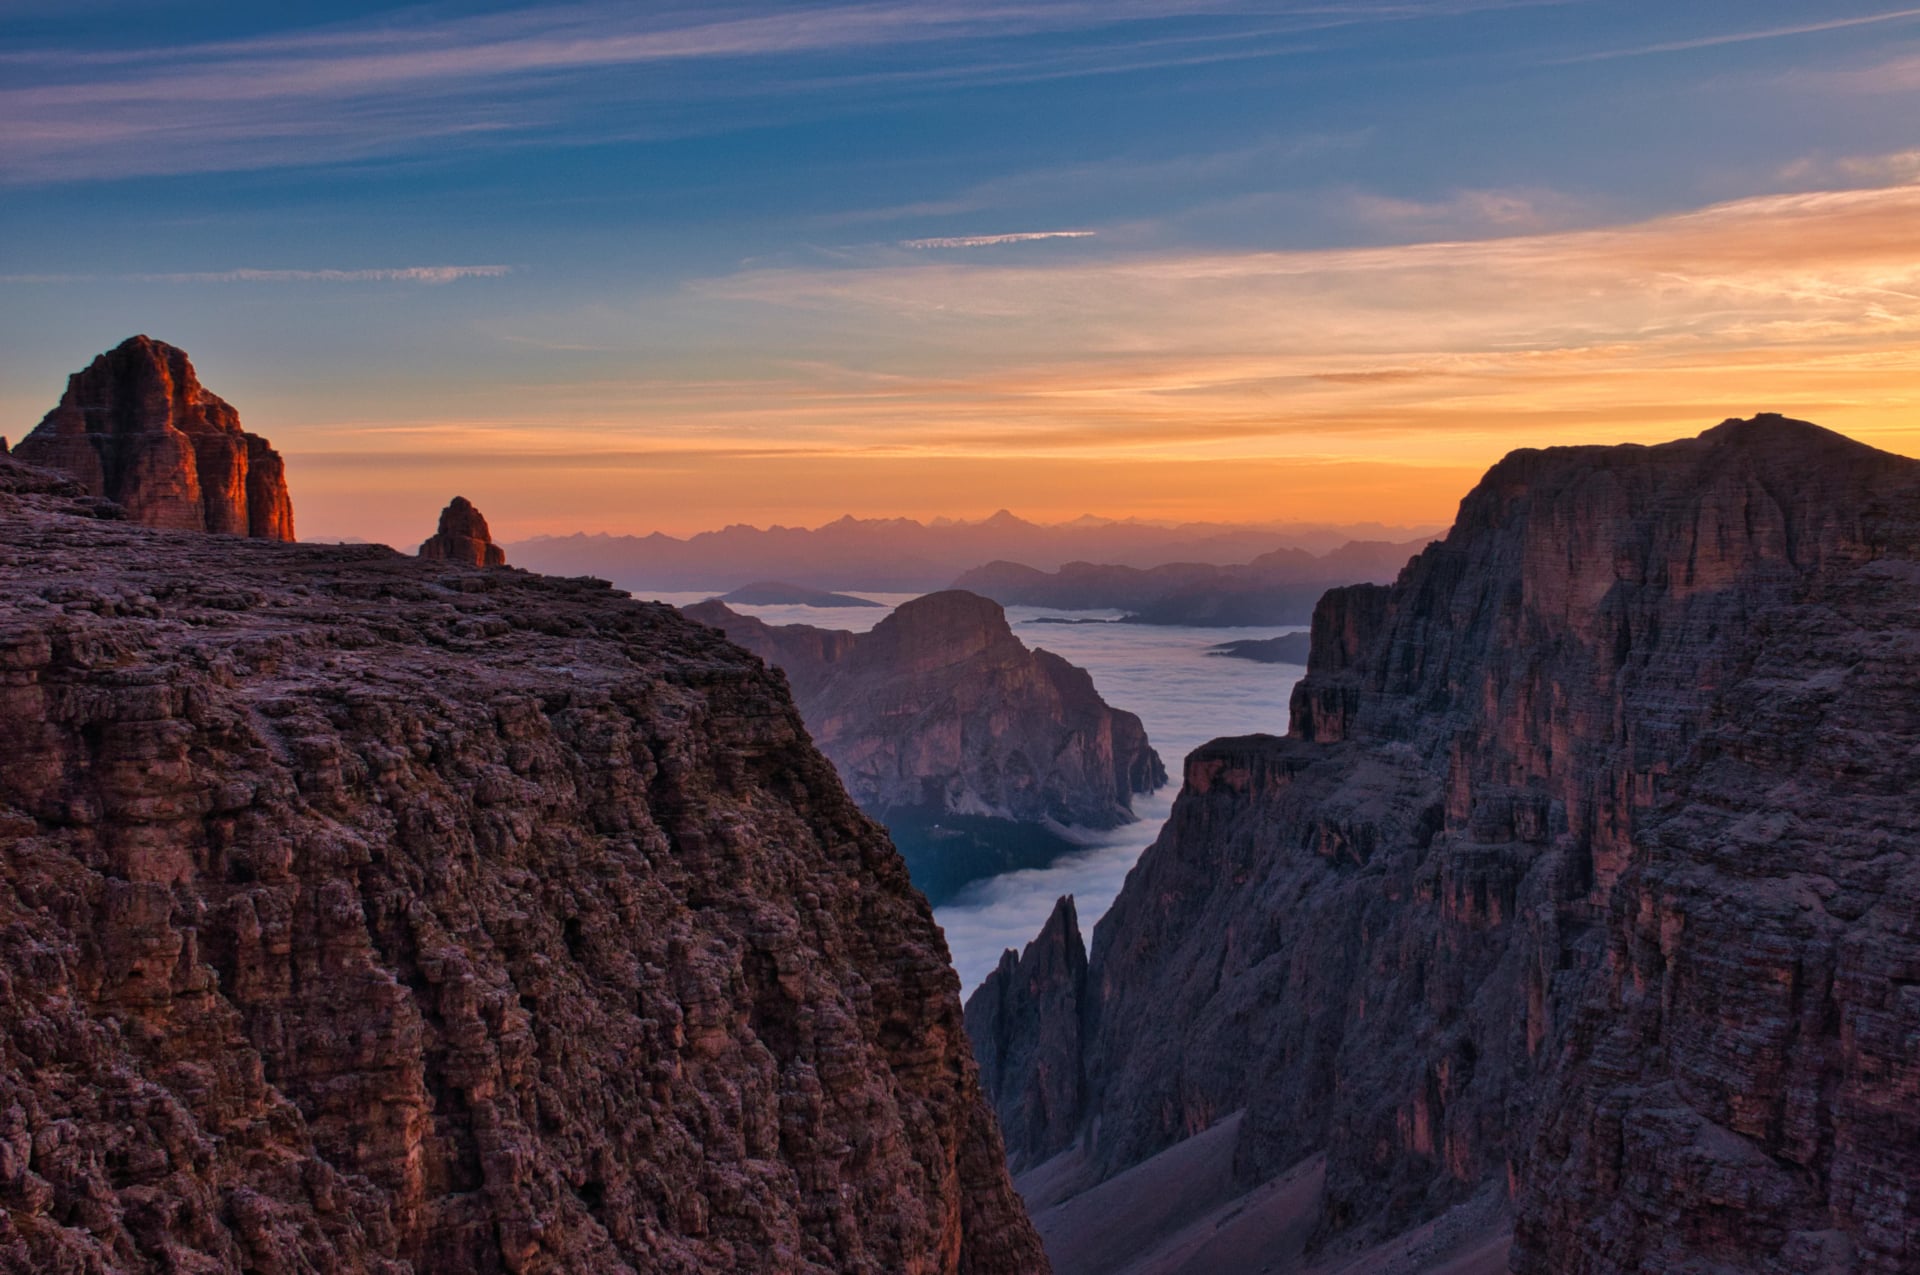
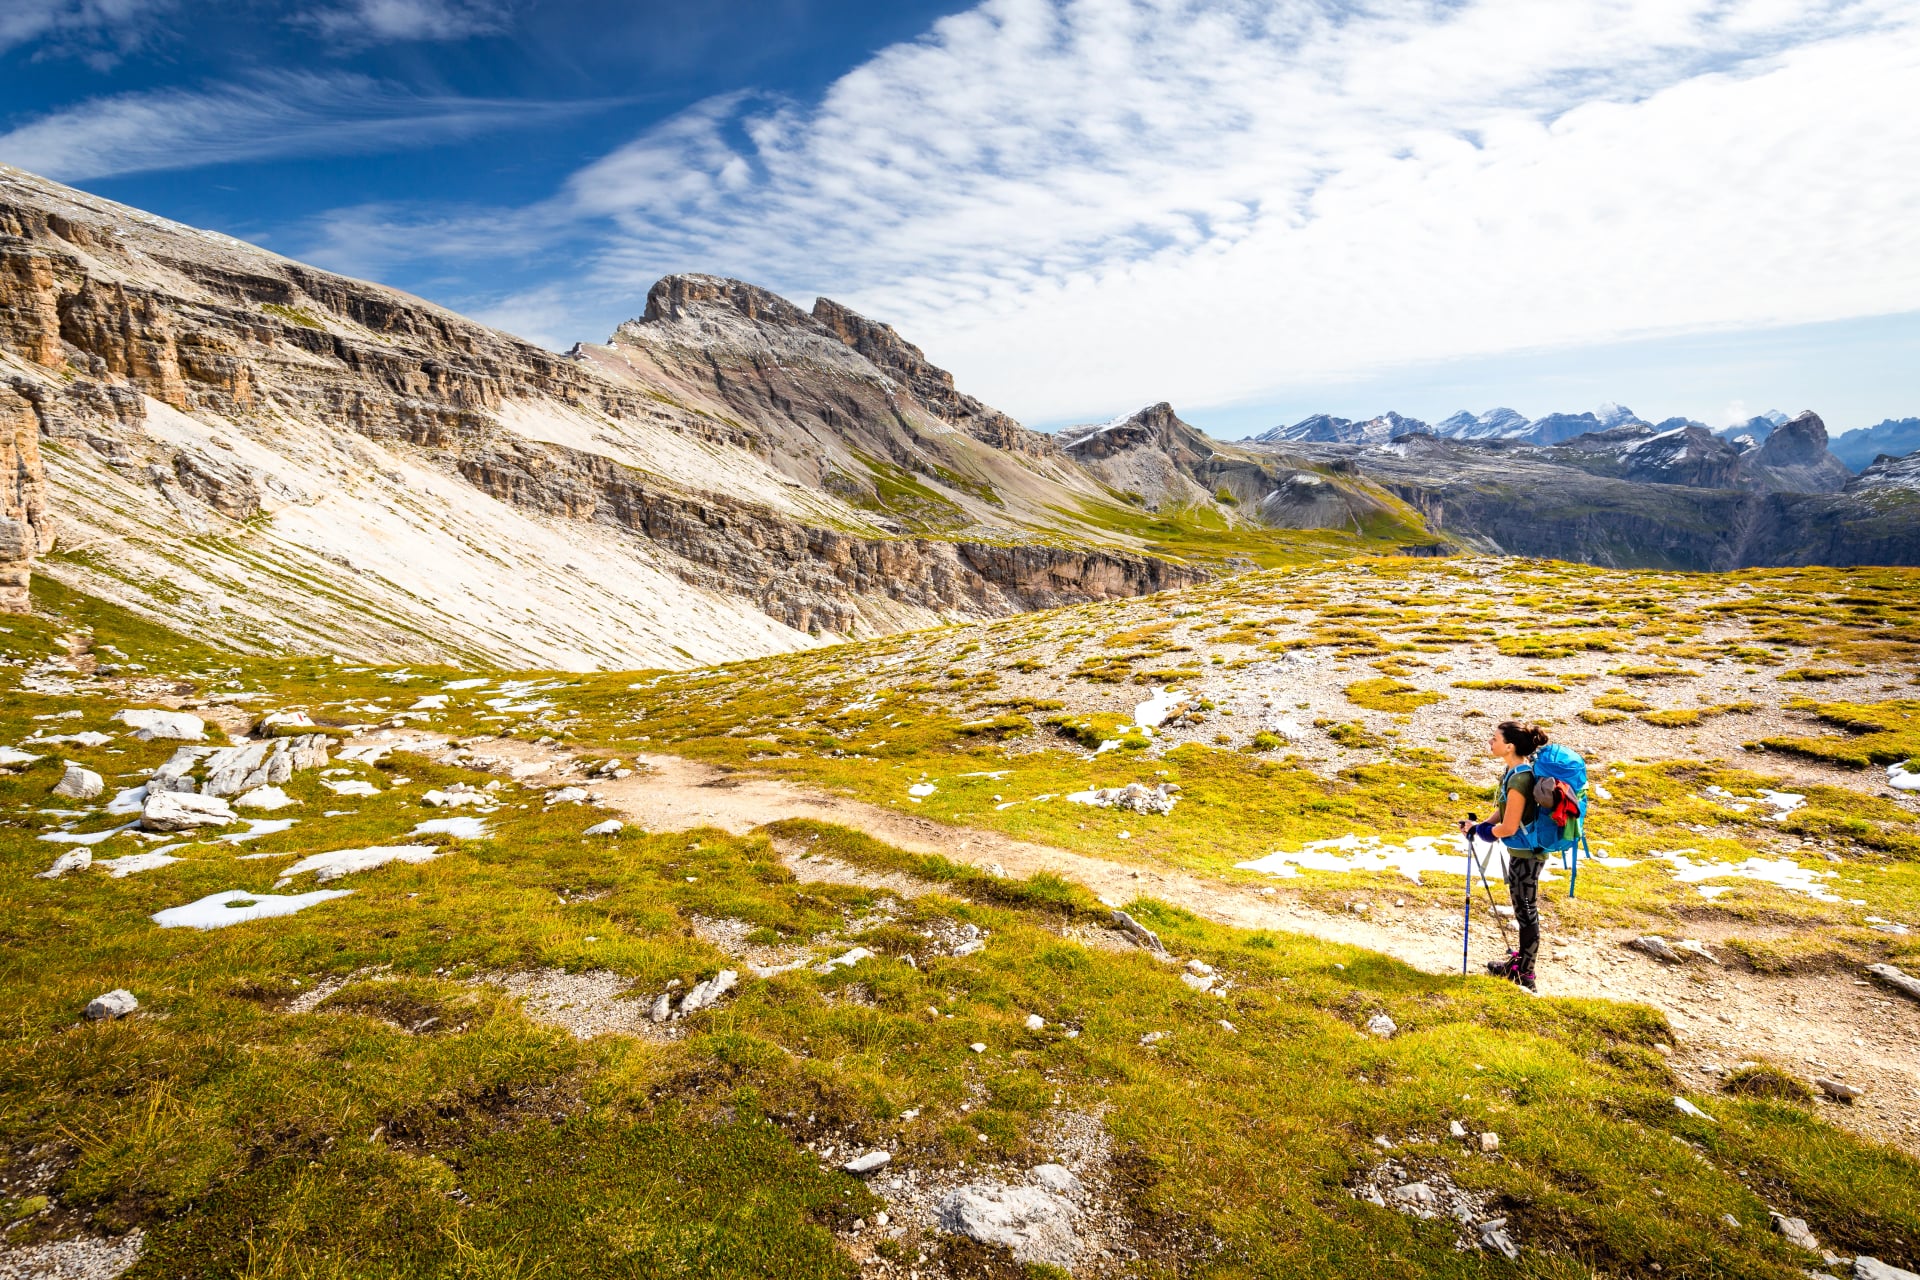
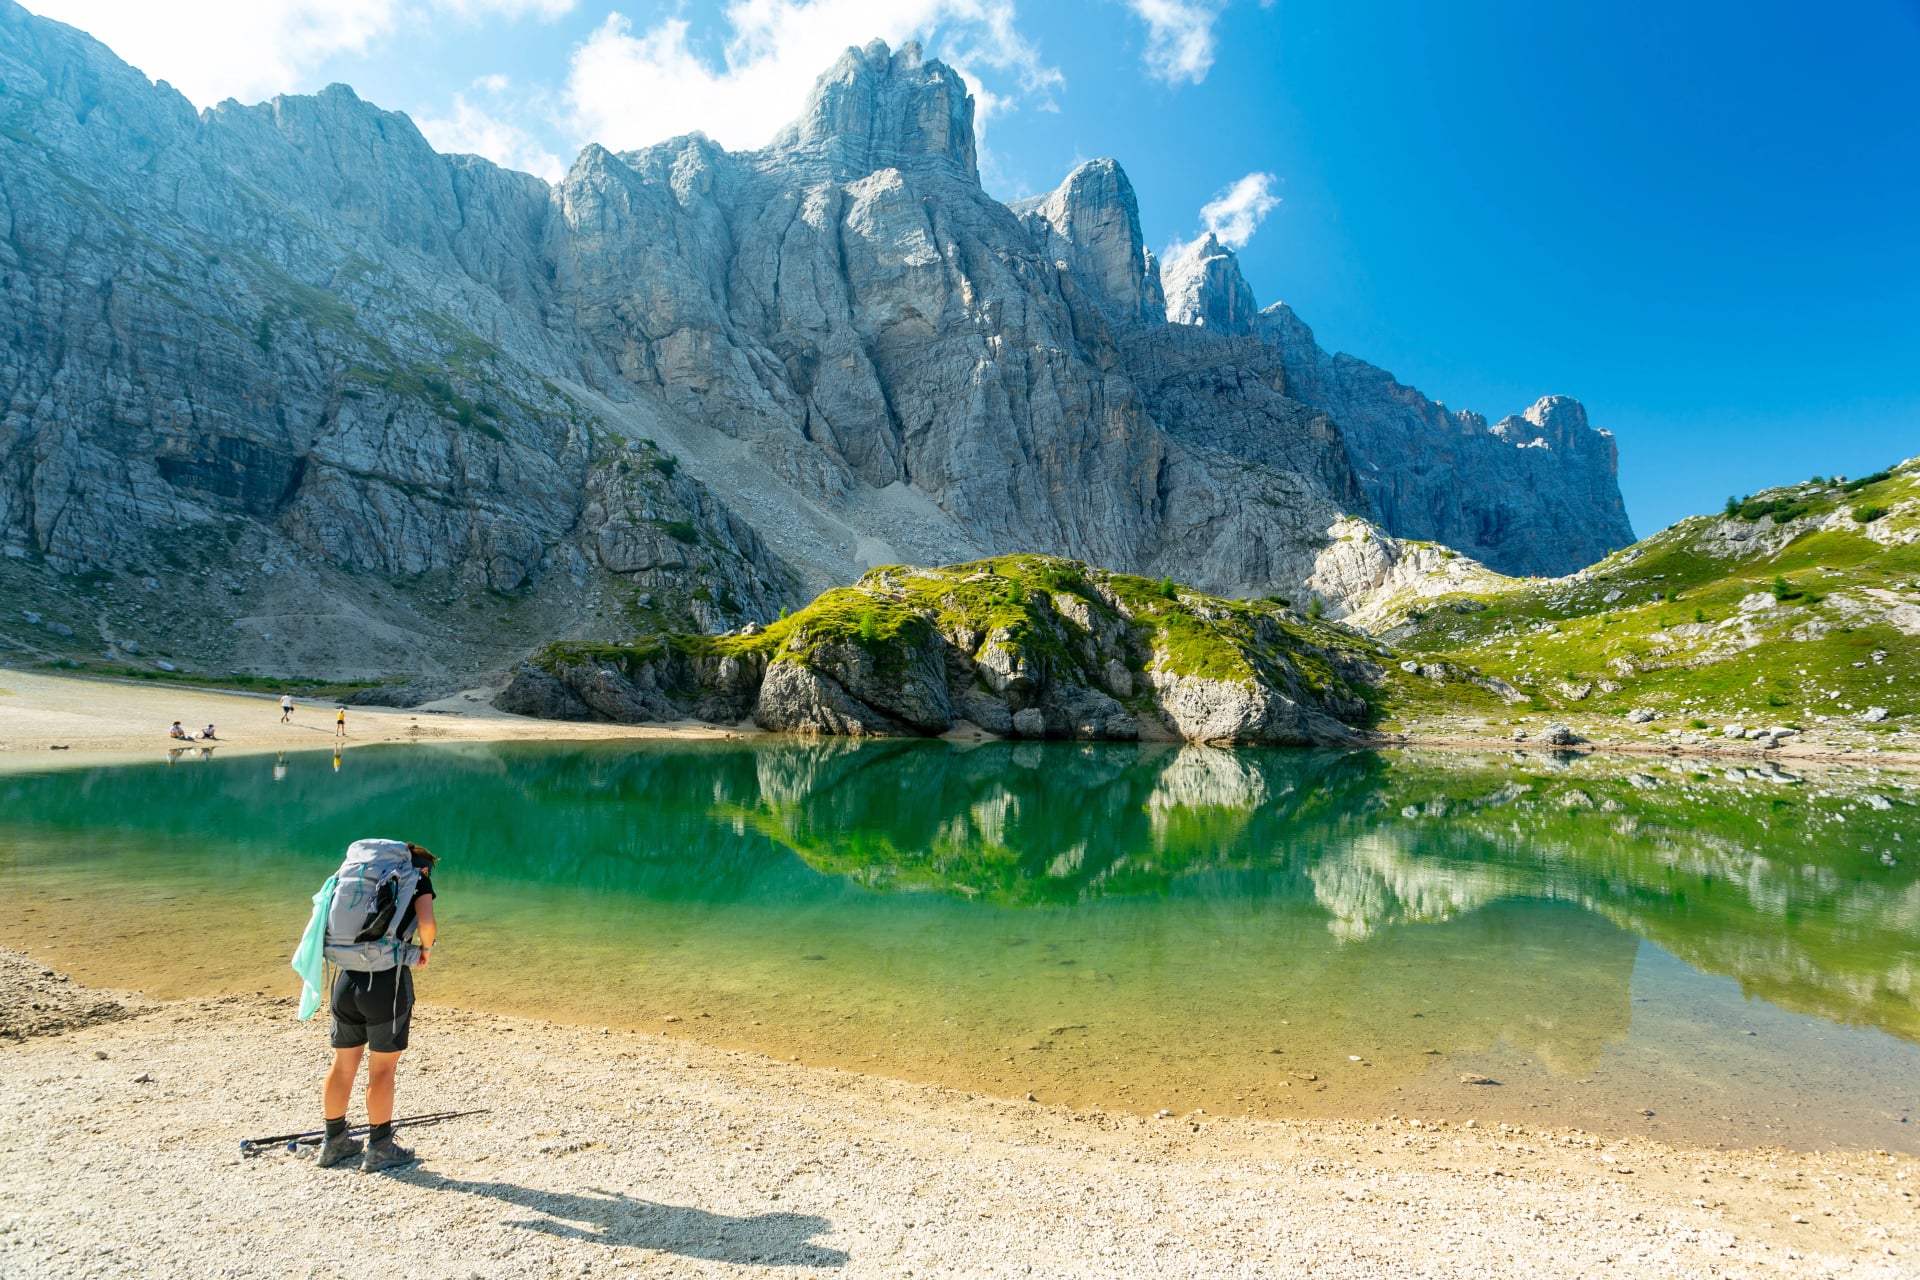
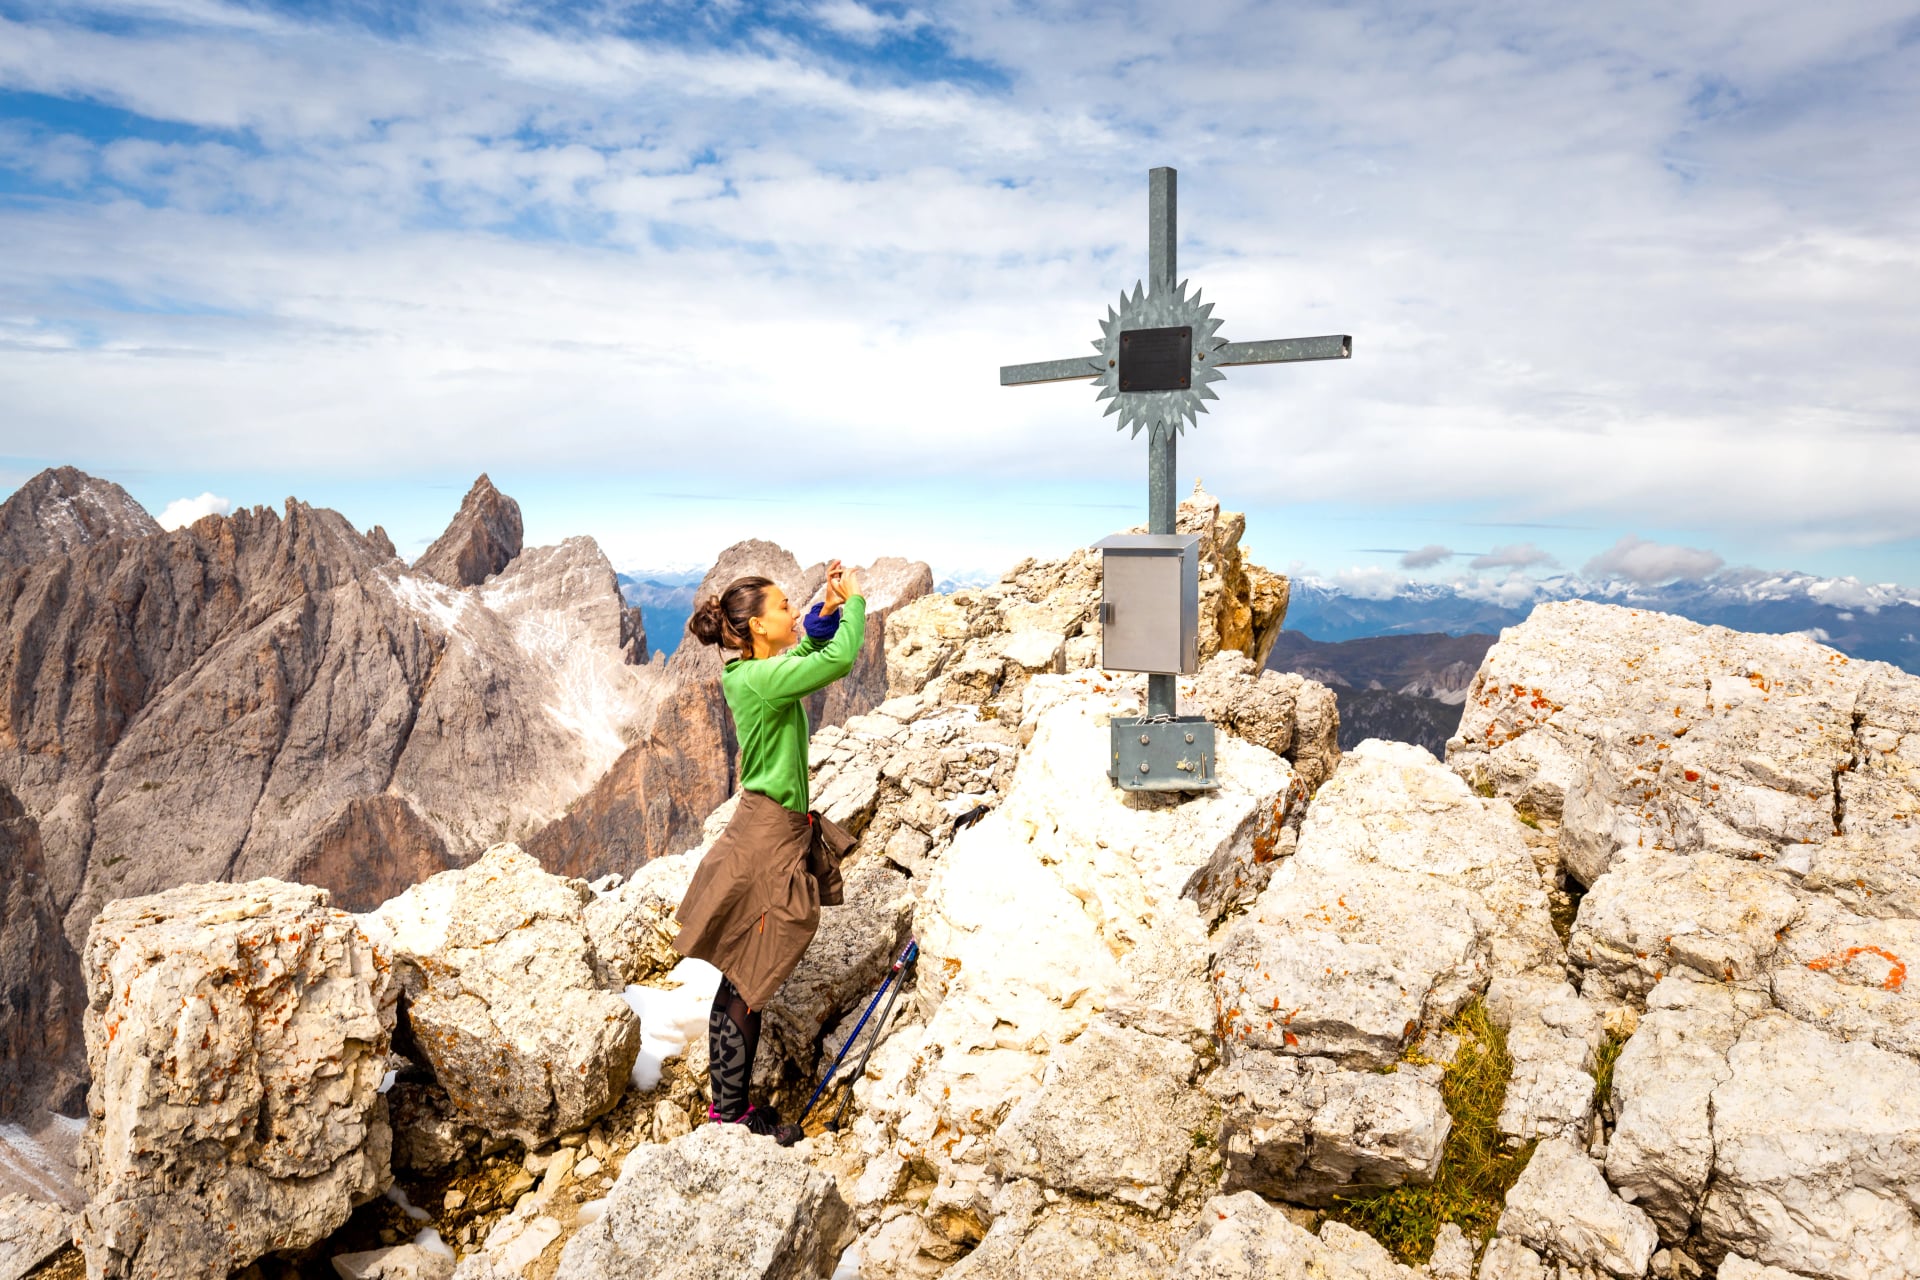
Top Highlights on the AV2
Alta Via 2 crosses some of the most striking landscapes in the Dolomites, from high plateaus to glacial viewpoints and remote limestone massifs. These highlights capture the variety and character of the route.
Our Recommended Alta Via 2 Itinerary
This 14-day itinerary follows the classic Alta Via 2 line from Bressanone to Feltre, matching hut spacing and daily elevation so the route feels demanding but manageable for fit hikers. Distances and elevation are approximate and may vary slightly depending on exact hut locations and variants chosen.
Day 1 – Arrival in Bressanone
Settle into Bressanone, a historic town at the northern gateway to Alta Via 2. Use the afternoon to explore the old center, check gear, and buy any last supplies before heading into the mountains.
Day 2 – Bressanone → Rifugio Plose
The trail climbs from the valley toward St. Andrea, then continues onto the slopes of Plose. You can shorten the ascent by using the cable car, or hike the full way for a solid first day. As you gain height, views open over the Eisack Valley and the northern Dolomites.
Distance: ~7 km
Elevation: +900 m
Terrain: Forest paths, farm tracks, then open alpine meadows
Day 3 – Rifugio Plose → Rifugio Genova
From the Plose ridge, the route heads toward Rodella Pass and the base of Sass de Putia. A steady climb leads to Forcella della Pütia, followed by a traverse and gentle descent to the panoramic basin around Rifugio Genova.
Distance: ~13 km
Elevation: +550 m / –700 m
Terrain: Undulating alpine paths, rocky sections, short steep climbs
Day 4 – Rifugio Genova → Rifugio Puez
The day starts on easy terrain before the trail turns south along the flanks of the Puez–Odle group. A climb to Furcia de Medalges and then to Forcella della Roa brings you into more technical ground with short cable-protected sections. The route then crosses the plateau toward Rifugio Puez.
Distance: ~10 km
Elevation: +750 m / –580 m
Terrain: Rocky passes, narrow traverses, short fixed cables, high plateau
Day 5 – Rifugio Puez → Rifugio Pisciadù
You cross the open Puez plateau and descend toward Passo Gardena, passing Lech de Crespeina and steep scree slopes. From the pass, a stiffer climb on rocky ground leads into the basin of Rifugio Pisciadù, perched above a small lake.
Distance: ~10 km
Elevation: +750 m / –630 m
Terrain: High plateau, steep rocky climbs and descents, cable-assisted sections
Day 6 – Rifugio Pisciadù → Rifugio Castiglioni Marmolada
The route traverses the Sella Massif, crossing the Altiplano del Sella and passing close to Piz Boè before descending toward Passo Pordoi. A long contour on the Viel dal Pan path brings continuous views of Marmolada and leads to the hut near Lake Fedaia.
Distance: ~16 km
Elevation: +1,000 m / –1,600 m
Terrain: Rocky plateaus, optional summit detours, long descent on gravel and trail
Day 7 – Rifugio Castiglioni Marmolada → Passo San Pellegrino
A long stage starts with a descent toward Malga Ciapela, with an option to shorten the road section by bus. From there, the route climbs through forest and open pastures toward Forcella Rossa and the San Pellegrino area, with broad views to Marmolada and the surrounding ranges.
Distance: ~21 km
Elevation: +1,100 m / –1,250 m
Terrain: Mix of paved approaches, forest tracks, and sustained alpine climbs/descents
Day 8 – Passo San Pellegrino → Rifugio Volpi al Mulaz
The trail rises through grassy slopes to high pastures near the “High Gypsies’” meadows, then traverses toward Veneggia Pass. A series of ridges and short climbs leads into the heart of the Pale di San Martino, finishing at the spectacularly set Rifugio Volpi al Mulaz.
Distance: ~13 km
Elevation: +1,100 m / –460 m
Terrain: Grassy and rocky paths, steep climbs, some cable-protected sections
Day 9 – Rifugio Volpi al Mulaz → Rifugio Rosetta
A steep ascent to Mulaz Pass and on to Passo delle Farangole makes this one of the most technical days on AV2, with multiple exposed, cable-equipped passages. After crossing the high point, the route descends through the dramatic Val delle Comelle and finishes with a final climb to Rifugio Rosetta.
Distance: ~7 km
Elevation: +750 m / –750 m
Terrain: Steep scree, chimneys, exposed ledges, then long descent on rocky terrain
Day 10 – Rifugio Rosetta → Rifugio Treviso
The day begins with a descent into Val di Roda, followed by a climb to Col delle Fede and a junction with a cable-equipped trail toward Passo di Ball. From there, the route passes near Rifugio Pradidali and continues over Passo delle Lede before a long descent into the Canali Valley and Rifugio Treviso.
Distance: ~13 km
Elevation: +800 m / –1,800 m
Terrain: Rocky paths, ladders and cables in places, then long forested descent
Day 11 – Rifugio Treviso → Rifugio Cereda
A quieter stage leads south through sparse forest and open slopes, gradually ascending toward Forcella d’Oltro. After the pass, a sustained descent returns to tree line and finishes at Passo Cereda.
Distance: ~8 km
Elevation: +700 m / –1,000 m
Terrain: Forest paths, steady ascent to a grassy pass, long descent on mixed trail
Day 12 – Rifugio Cereda → Rifugio Boz
The route follows a minor road toward Padretermo, then turns into a gorge and climbs steadily to Comedon Pass. After dropping to Piano della Regina, it continues via the Bivacco Feltre–Bodo and under the walls of Sass de Mura before reaching Rifugio Boz.
Distance: ~13 km
Elevation: +1,250 m / –900 m
Terrain: Steep gorge trail, narrow traverses, remote high pastures and ridges
Day 13 – Rifugio Boz → Croce d’Aune / Feltre
The final mountain stage crosses Passo Finestra and rolling terrain above the Feltrino valley, passing landmarks such as the Piazza del Diavolo and Rifugio Dal Piaz. A long descent leads to Passo Croce d’Aune, where you connect by bus or transfer down to Feltre.
Distance: ~19 km
Elevation: +900 m / –1,600 m
Terrain: High balcony paths, mixed forest, and a long final descent on trail and track
Day 14 – Departure from Feltre
Spend the morning exploring Feltre’s historic center, with its Renaissance palaces and hilltop views over the valley. Depending on onward travel plans, connect by train or private transfer to Venice, Innsbruck, or other regional hubs.
Experience this itinerary on our tour:
Why This Tour?
This itinerary follows the classic 14-day structure, balancing challenging elevation with practical hut spacing and safe timing over the technical passes. It avoids unnecessary variants while keeping the most scenic and character-defining sections of the AV2 route.
The pacing allows for consistent progress across five major Dolomite groups without overloading any single day, making the journey demanding yet achievable for fit hikers.
Who Is It For?
Alta Via 2 suits hikers with solid alpine experience who feel comfortable on steep, rocky terrain and cable-protected passes. Daily elevation gains are sustained, and several stages involve narrow ledges, loose scree, and short via ferrata segments.
It is ideal for strong, sure-footed hikers who have completed other multi-day mountain routes and want a more technical traverse across the Dolomites.
North–South vs. South–North
Most hikers choose to hike AV2 from north–south. Here’s why:
The traditional direction begins in Bressanone and finishes in Feltre, giving hikers a gradual warm-up before entering the more technical sections. Elevation builds steadily through the Puez–Odle and Sella groups, allowing time to adjust before the demanding terrain in the Pale di San Martino and the remote Bellunesi.
How About Reverse?
The reverse direction is possible, but it frontloads the steepest and most technical stages, including Passo delle Farangole and the long climbs around Mulaz. Daily logistics become slightly less intuitive, and early-season snow on southern passes can complicate the first days.
Weather, Light, and Psychological Flow
North–south generally aligns better with summer weather patterns, giving more stable mornings for high passes and favorable sun exposure on key traverses. It also offers a natural psychological progression: the scenery grows progressively wilder and more dramatic, culminating in the Pale di San Martino and Bellunesi before descending into Feltre.
What to Pack
Alta Via 2 is a high-altitude, hut-to-hut route, so packing focuses on lightweight layers, weather protection, and essential safety items rather than full camping gear. A well-optimized pack will make long climbs and technical sections significantly more manageable.
Core Clothing Layers
Moisture-wicking base layer (short- and long-sleeve)
Mid-layer fleece or light insulated jacket for cool mornings and evenings
Waterproof shell jacket and trousers with a solid hood and taped seams
Convertible hiking trousers or shorts plus light thermal tights for colder days
Spare socks (merino or synthetic, 3–4 pairs) and light gloves + beanie
Footwear
Sturdy hiking boots with good ankle support and grippy soles (B1/B1.5 category works well)
Light camp shoes or sandals for huts to rest your feet
Optional: gaiters for early-season snow or loose scree
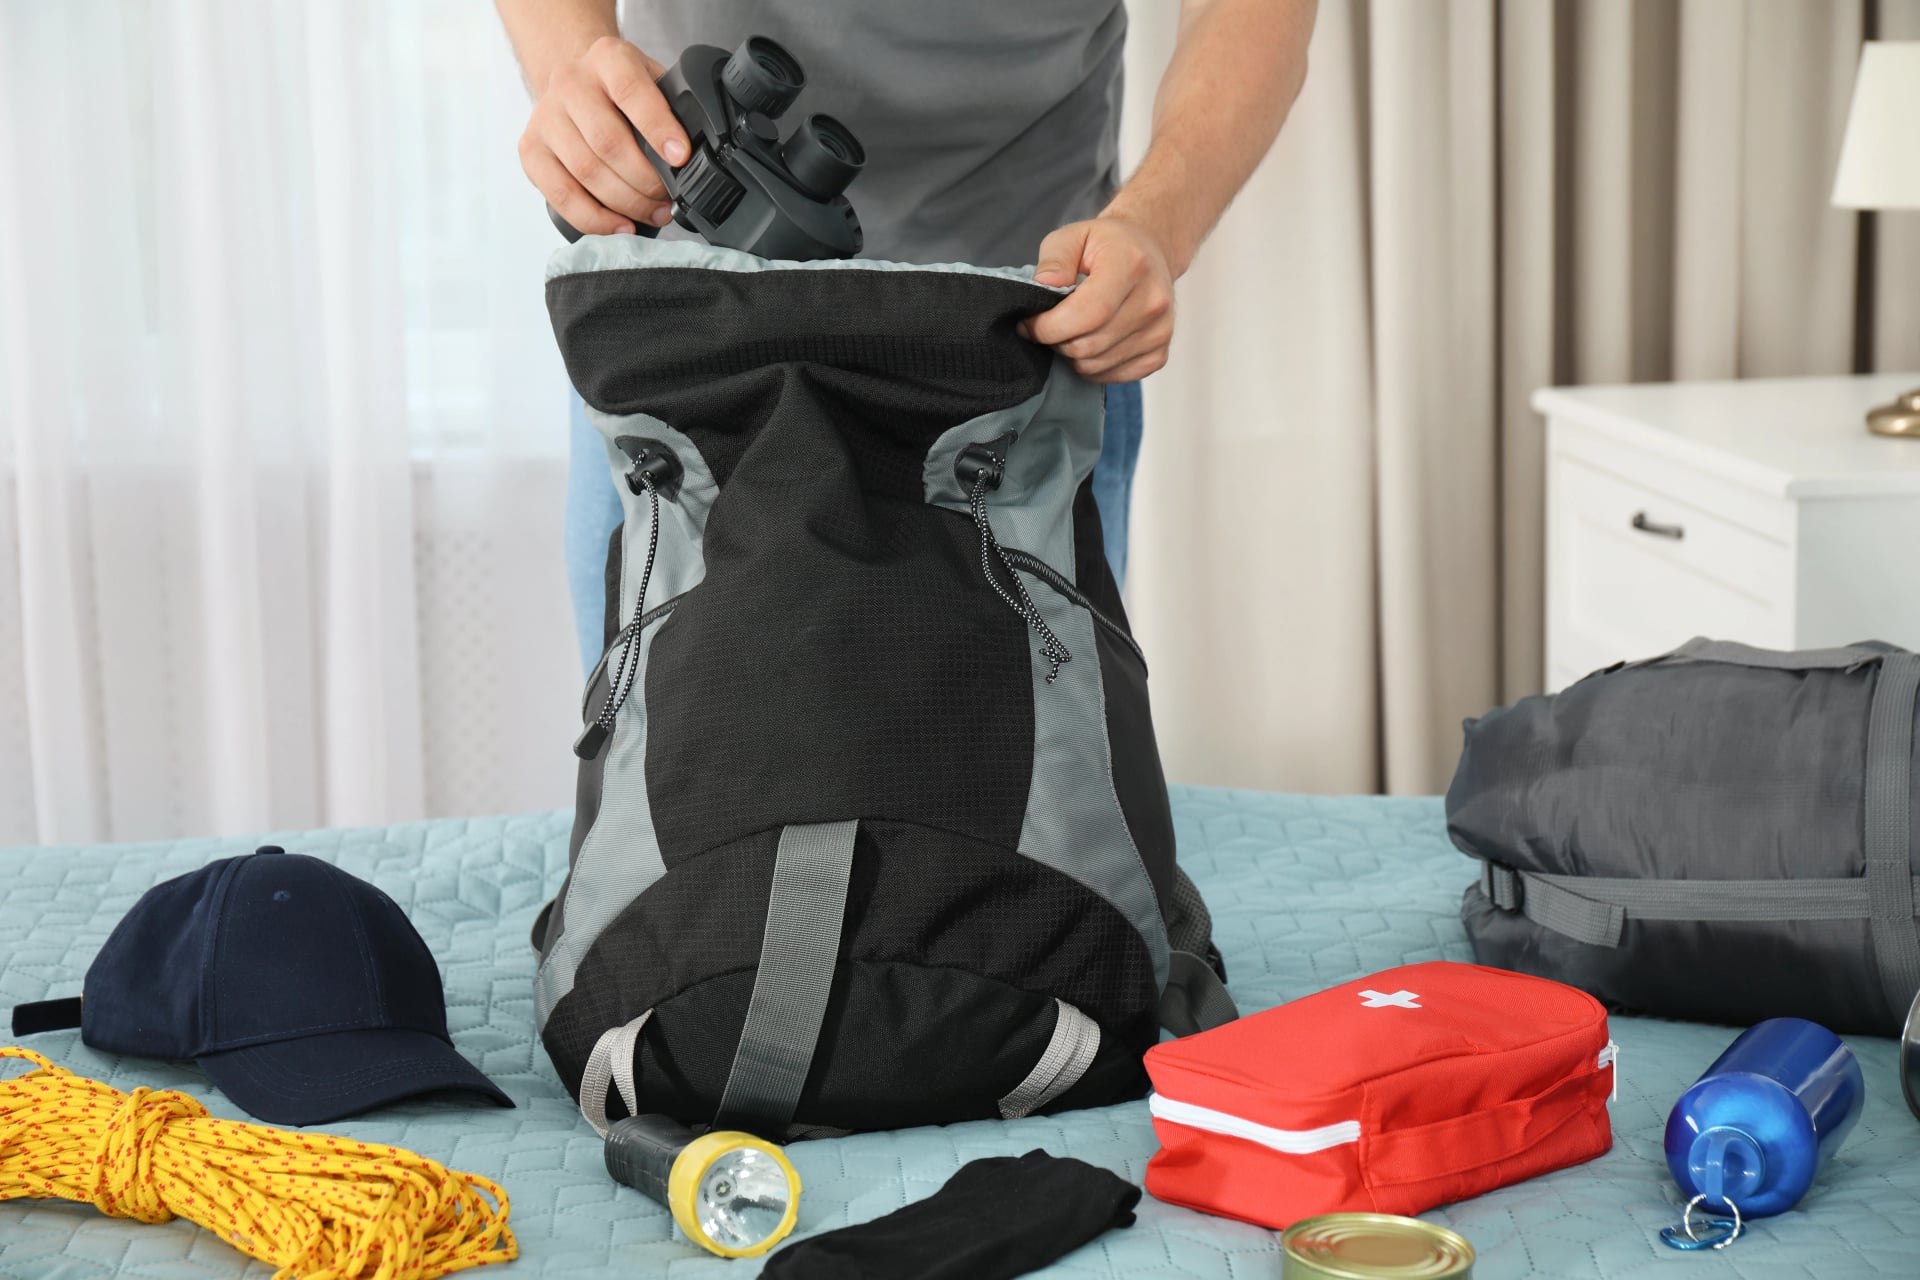
Technical & Safety Gear
Adjustable trekking poles for steep ascents/descents
Helmet (recommended for rockfall-prone areas and cable sections)
Ferrata set and climbing harness if you plan to clip into cables on exposed passes, otherwise a set or carabiners should suffice
Headlamp with spare batteries, small first-aid kit, and emergency blanket
Hydration, Navigation & Miscellaneous
2–3 liters of water capacity (bottles or bladder)
High-energy snacks for long stages between huts (also available at some huts)
Paper map + compass and/or GPS app with offline maps
Powerbank to keep devices running between the rifugios
Sun protection: sunglasses, cap, and high-SPF sunscreen
Light sleeping bag liner
Earplugs
Small wash kit
Cash for payments
Weight Guidelines
For most hikers, a target of 8–10 kg total pack weight (without water) works well on Alta Via 2. Staying within this range keeps long climbs and technical sections manageable while still covering all safety essentials.
Aim to avoid duplicate clothing and heavy “just in case” items. Prioritize versatile layers that dry quickly and can be combined for colder conditions. If you choose to bring a ferrata set and helmet, look for lightweight models and compensate by trimming non-essential gear elsewhere in the pack.
Food, Water & Resupply
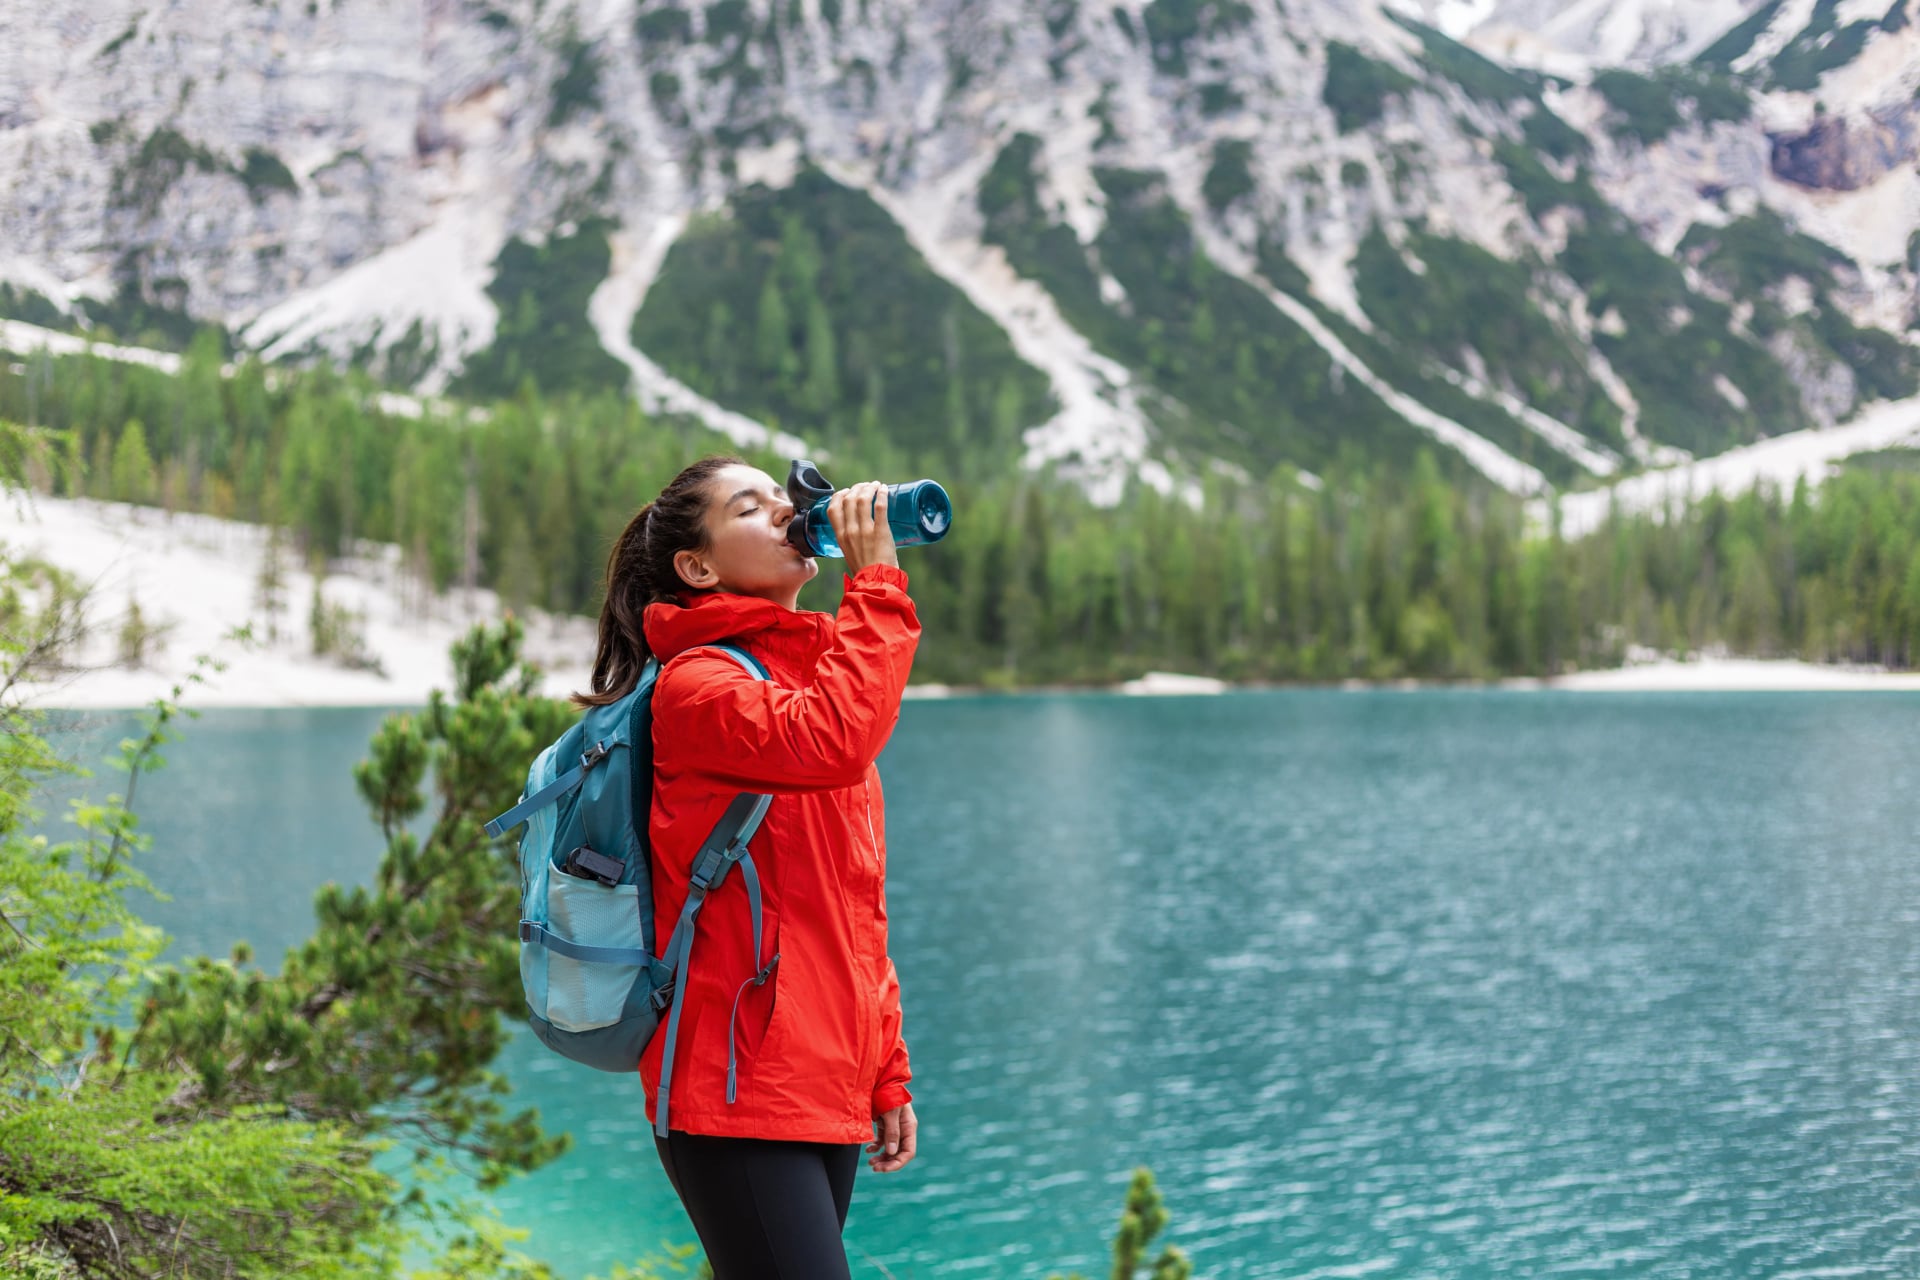
Food and water planning on Alta Via 2 is straightforward, but higher, remote sections require attention. Hut services cover most needs, yet long days and exposed terrain mean you should manage hydration and snacks carefully.
Meals in Mountain Huts: Rifugi serve dinner, breakfast, and often packed lunches. Dinners are typically multi-course alpine meals; breakfasts are simple but reliable. Most huts accept dietary adjustments, but vegetarian options vary, so it’s smart to check in advance or bring supplementary items.
Water Availability: Carry 2–3 liters of capacity per day. Water sources appear at huts and occasionally at valleys or streams, but many high sections — especially around Pisciadù, Sella, and the Pale di San Martino — offer no refills for several hours. Always begin the day with full bottles.
Lunch & Snacks on the Trail: For long stages, huts can prepare panini, fruit, and energy-dense items. It’s wise to pack lightweight high-calorie snacks such as nuts, bars, or dried fruit for steep, continuous climbs. Many stages have no mid-route facilities, so self-sufficiency is key.
Where to Resupply: Bressanone and Feltre are the only full resupply towns on the standard AV2. Small shops or facilities appear near Passo Pordoi and sometimes at San Pellegrino, but selection is limited. Plan to carry several days of snacks and/or rely on huts for main meals and snacks.
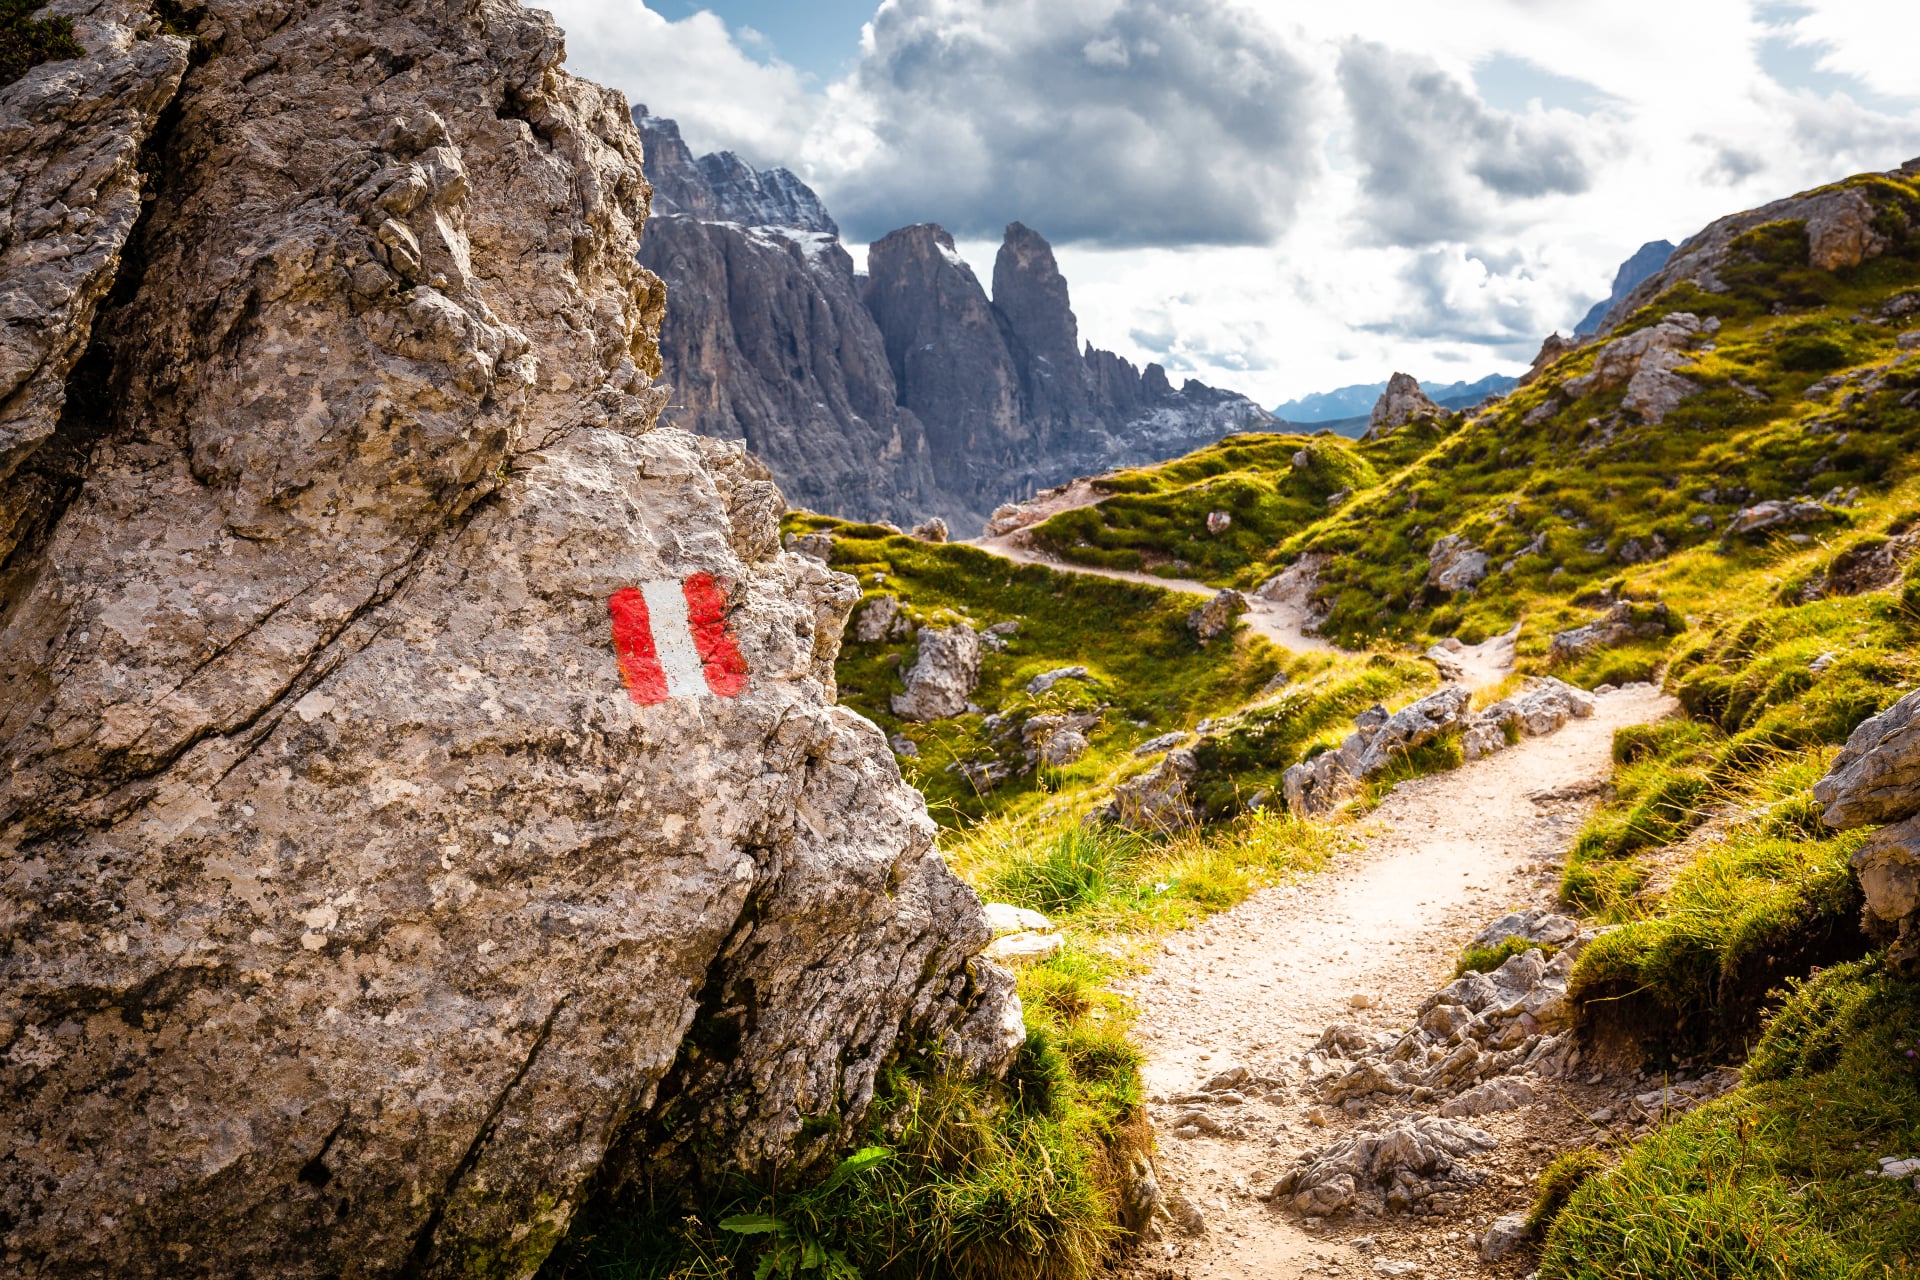
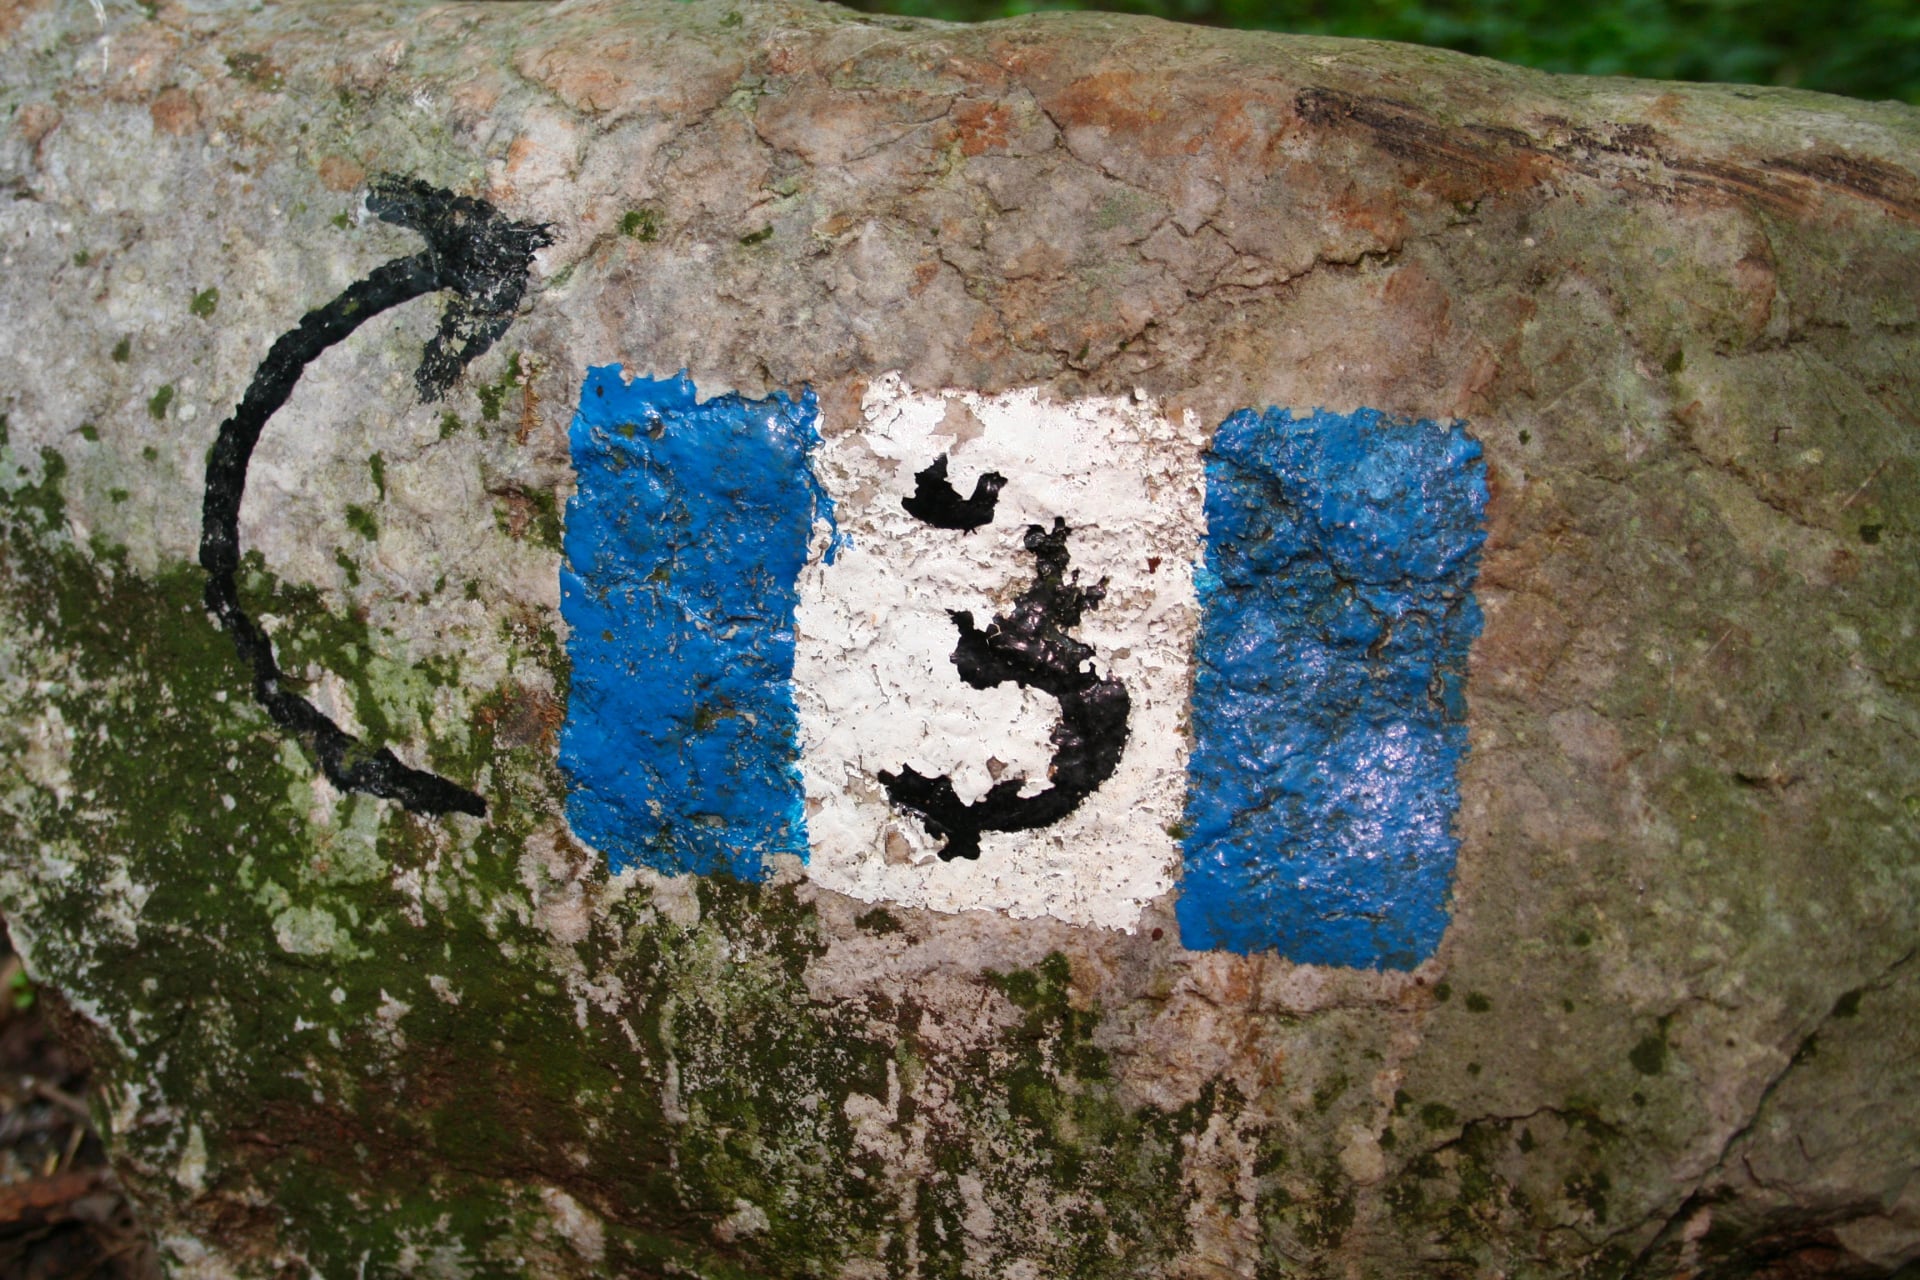
Navigating Alta Via 2
Navigating Alta Via 2 is generally straightforward thanks to well-established, consistently marked trails, but the alpine environment requires attention, preparation, and reliable tools. Understanding the Dolomites’ trail system and the specific risks of AV2 will make the route significantly safer and more enjoyable.
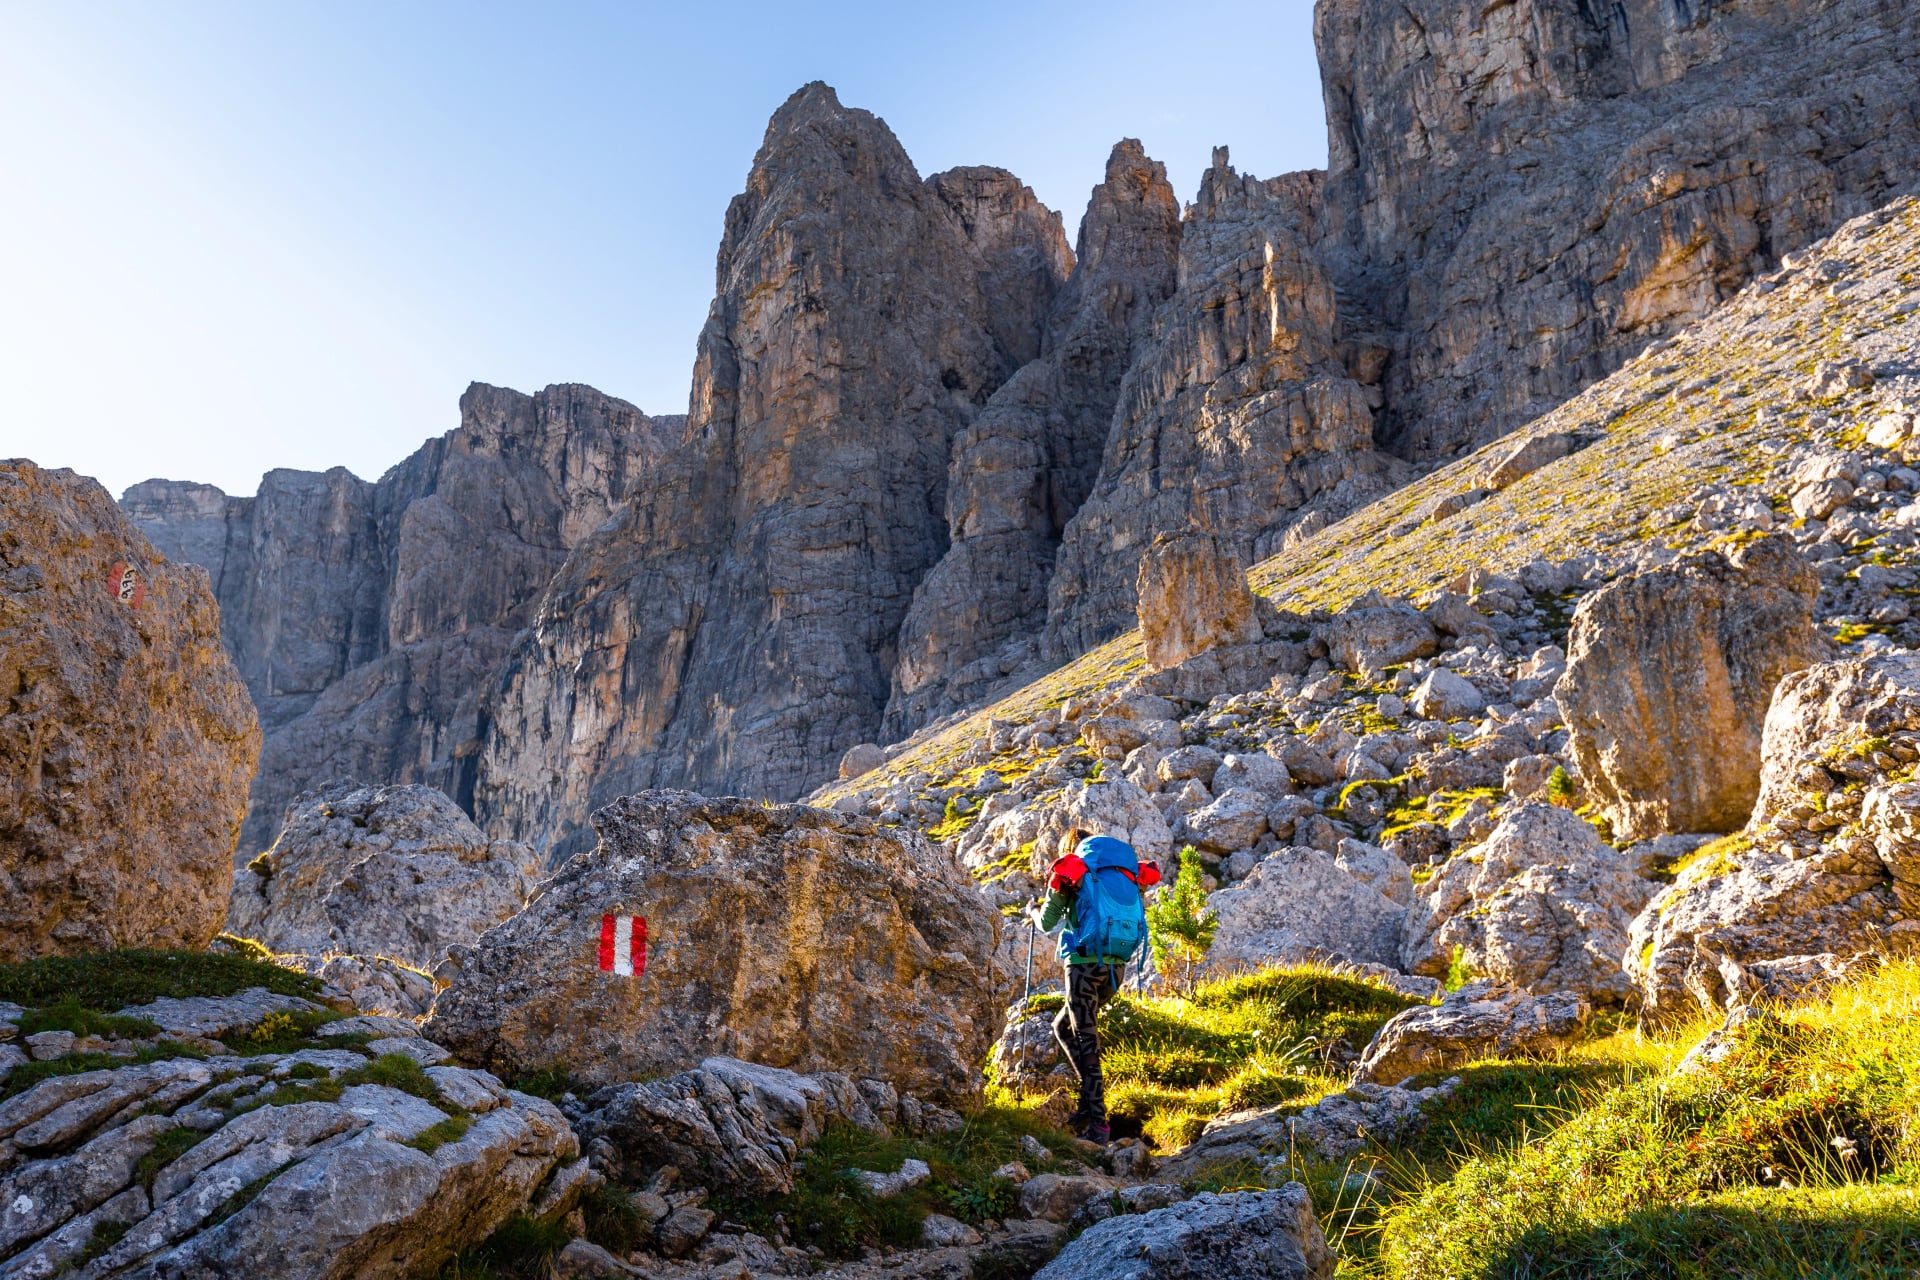
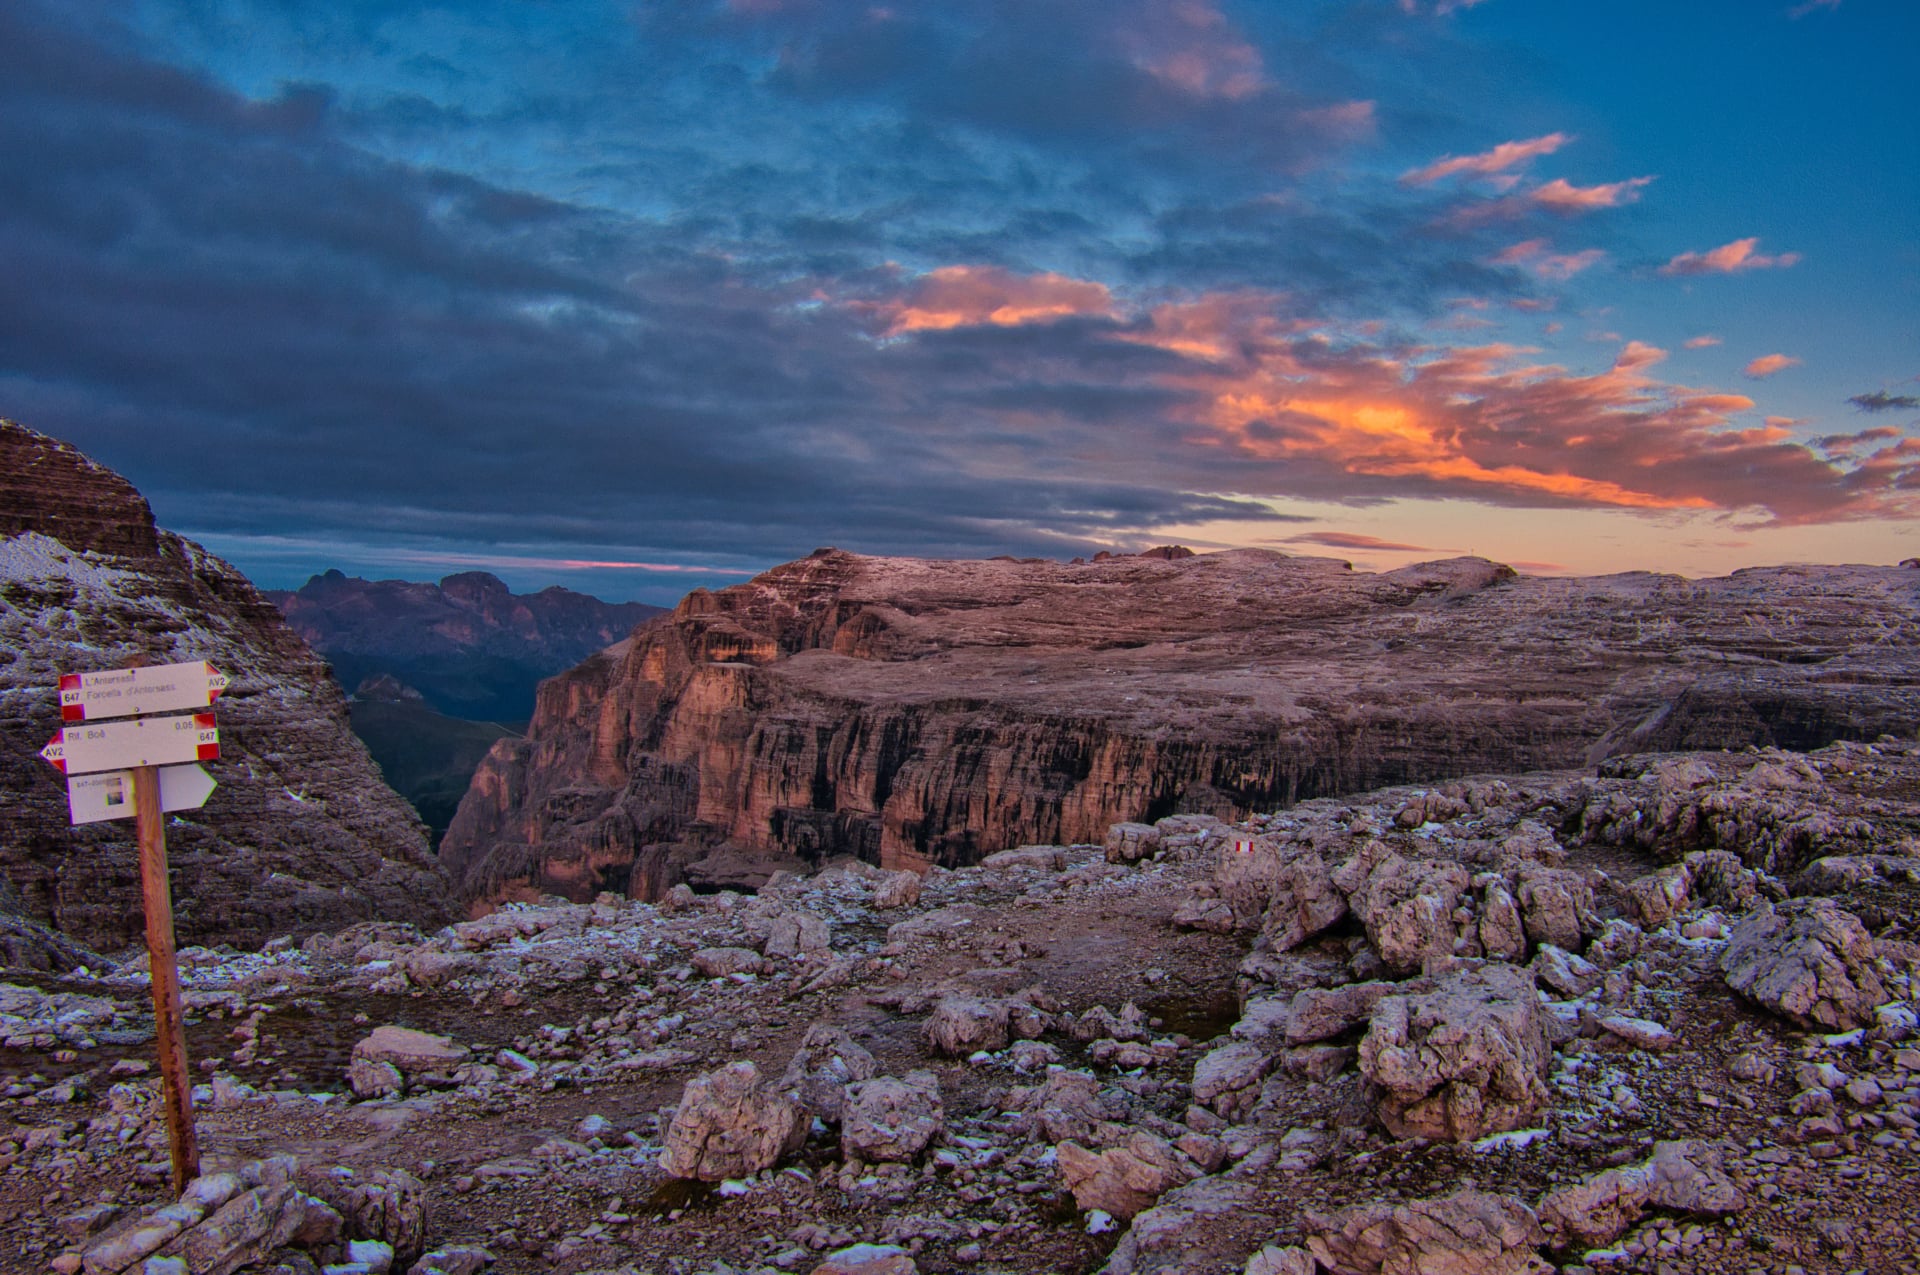
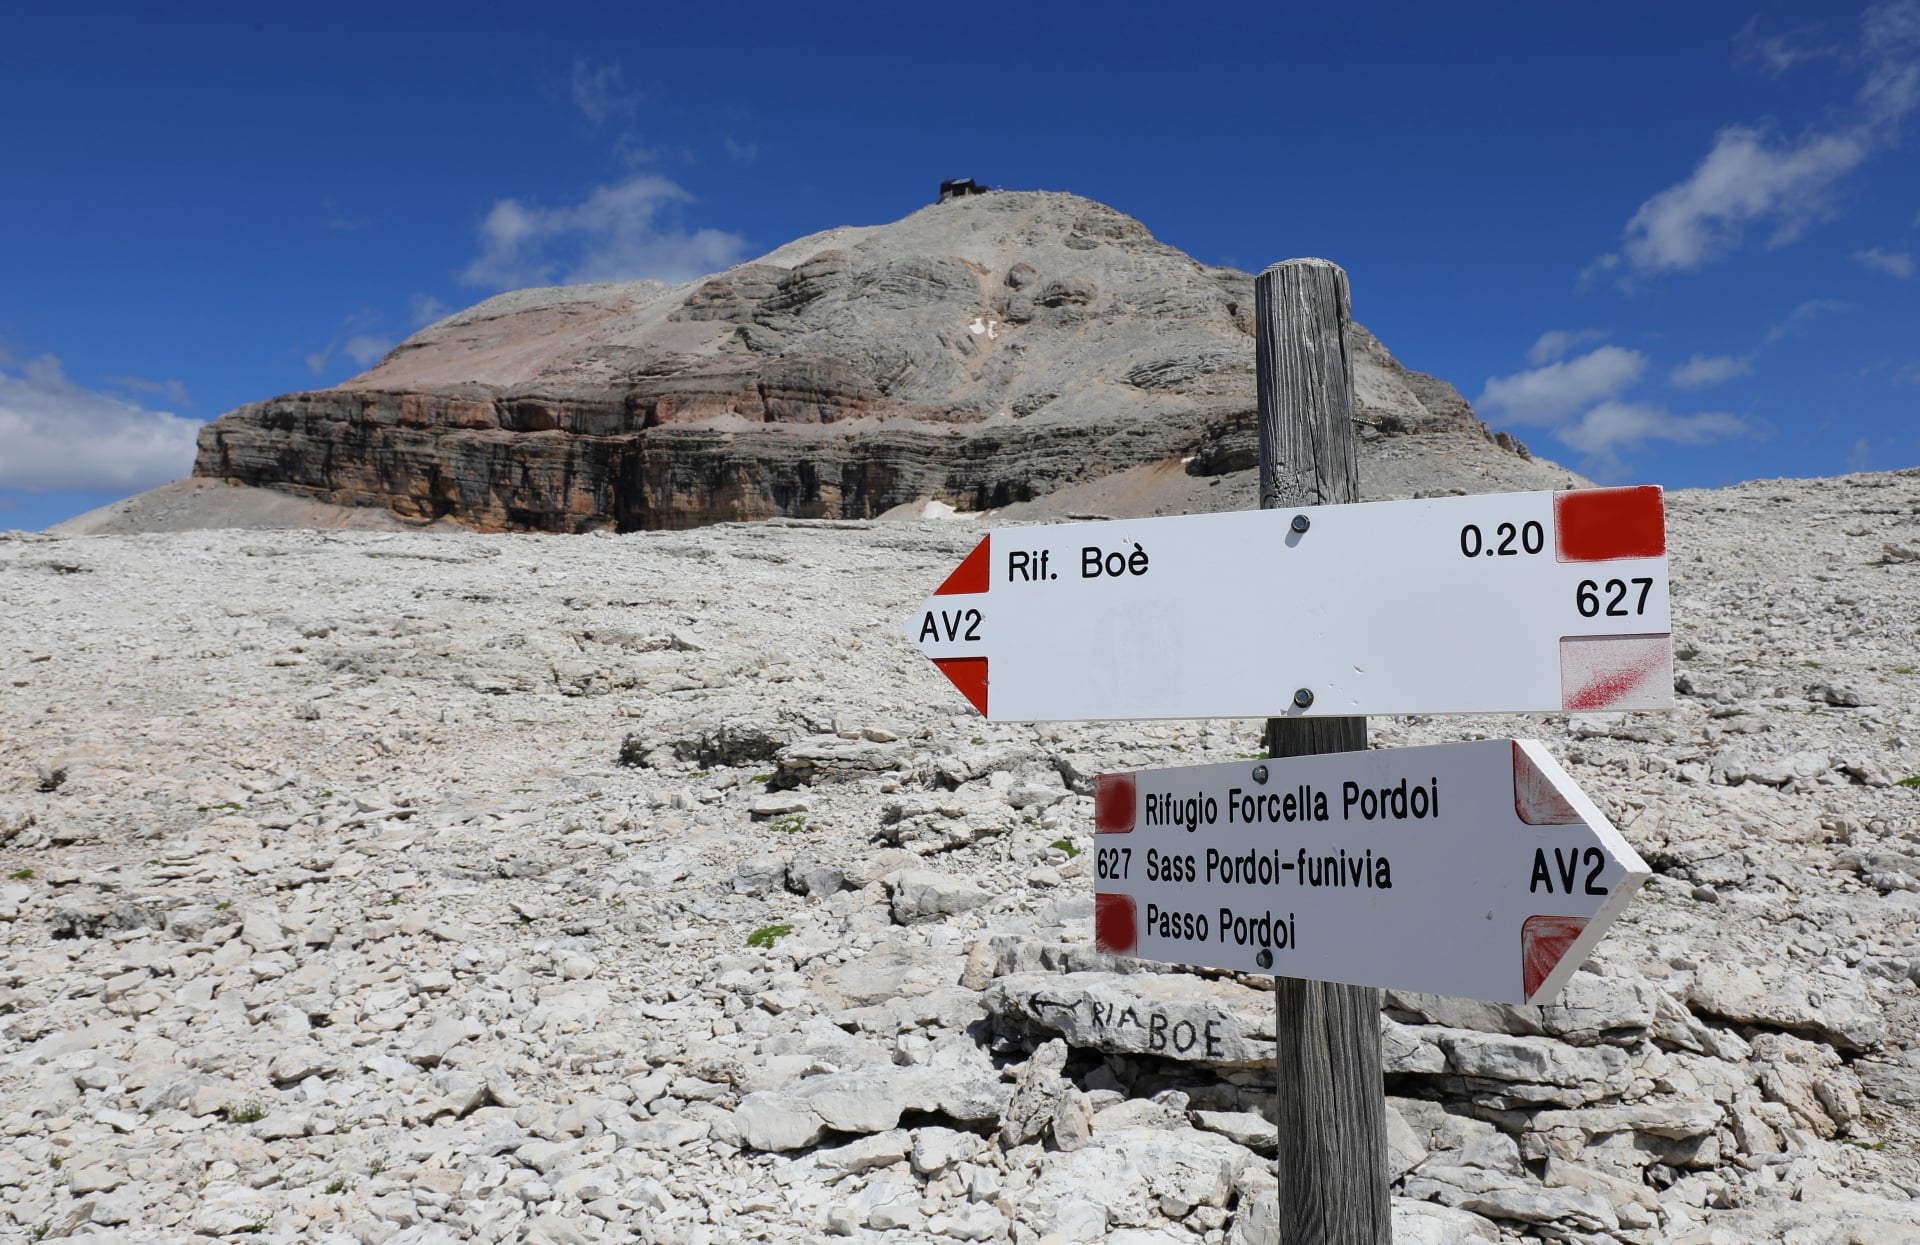
The route is marked with red-and-white CAI stripes, painted on rocks, trees, and posts. These markers guide you through forests, scree slopes, high plateaus, and exposed passes.
Red & White Markings: The standard CAI symbol used across the Dolomites. Trail numbers (e.g., “2”) often appear next to the stripes.
Trail Numbers: Alta Via 2 follows designated CAI paths. The number “2” appears on junction signs and painted waymarks along the route.
Trail Signs: Wooden or metal signposts mark major intersections and point toward rifugi, passes, and connecting trails.
Alta Via 2 stays mostly on clearly defined paths, but fog, late-season snow, and rocky terrain can make markers hard to see. For this reason, navigation tools remain essential! See our Dolomite hiking guide for more guidelines.
Safety Tips for Alta Via 2
1. Weather Changes Fast
The Dolomites are known for sudden shifts in weather, especially in midsummer.
Afternoon thunderstorms are frequent from July to August
Temperatures drop rapidly above 2,000–2,500 m
Cloud and fog can reduce visibility on the Puez, Sella, and Rosetta plateaus.
Always check forecasts for Arabba, Cortina, Val Gardena, or Pale di San Martino.
Carry a waterproof layer even on seemingly stable days.
2. Early-Season Snow Is Common
Snowfields can remain on steep passes until late June, affecting:
Forcella della Roa
Val Setus
Passo delle Farangole
High traverses in the Pale di San Martino
If hiking in June → expect snow, icy slabs, and potentially closed or altered stages.
3. Be Honest About the Difficulty
Alta Via 2 is demanding and includes:
Loose scree
Steep ascents and descents
Narrow balcony paths
Cable-protected sections
Choose AV2 only if comfortable with exposure and full-day alpine effort.
4. Trails Are Well-Marked — but Still Bring Navigation
Markers are excellent, but:
Fog can make the Puez and Rosetta plateaus disorienting
Cairns and paint may blend into pale limestone
Phone batteries drain faster at altitude
Make sure to download all GPX routes, and bring a portable battery and paper map for backup.
5. Rifugi Operate Seasonally
Most Alta Via 2 huts open mid-June to late September.
Outside this window:
No food
No water
No heating
No emergency shelter
All hut-to-hut itineraries on AV2 must be planned within the operating season.
6. Cable Sections Require Confidence
Alta Via 2 includes three exposed cable-assisted sections:
Forcella della Roa
Val Setus
Passo delle Farangole
If you’re not confident on steep rock or narrow ledges, avoid poor weather and consider carrying a lightweight ferrata set or at least a set of carabiners to strap yourself to the cables.
7. Emergency Services & Contacts
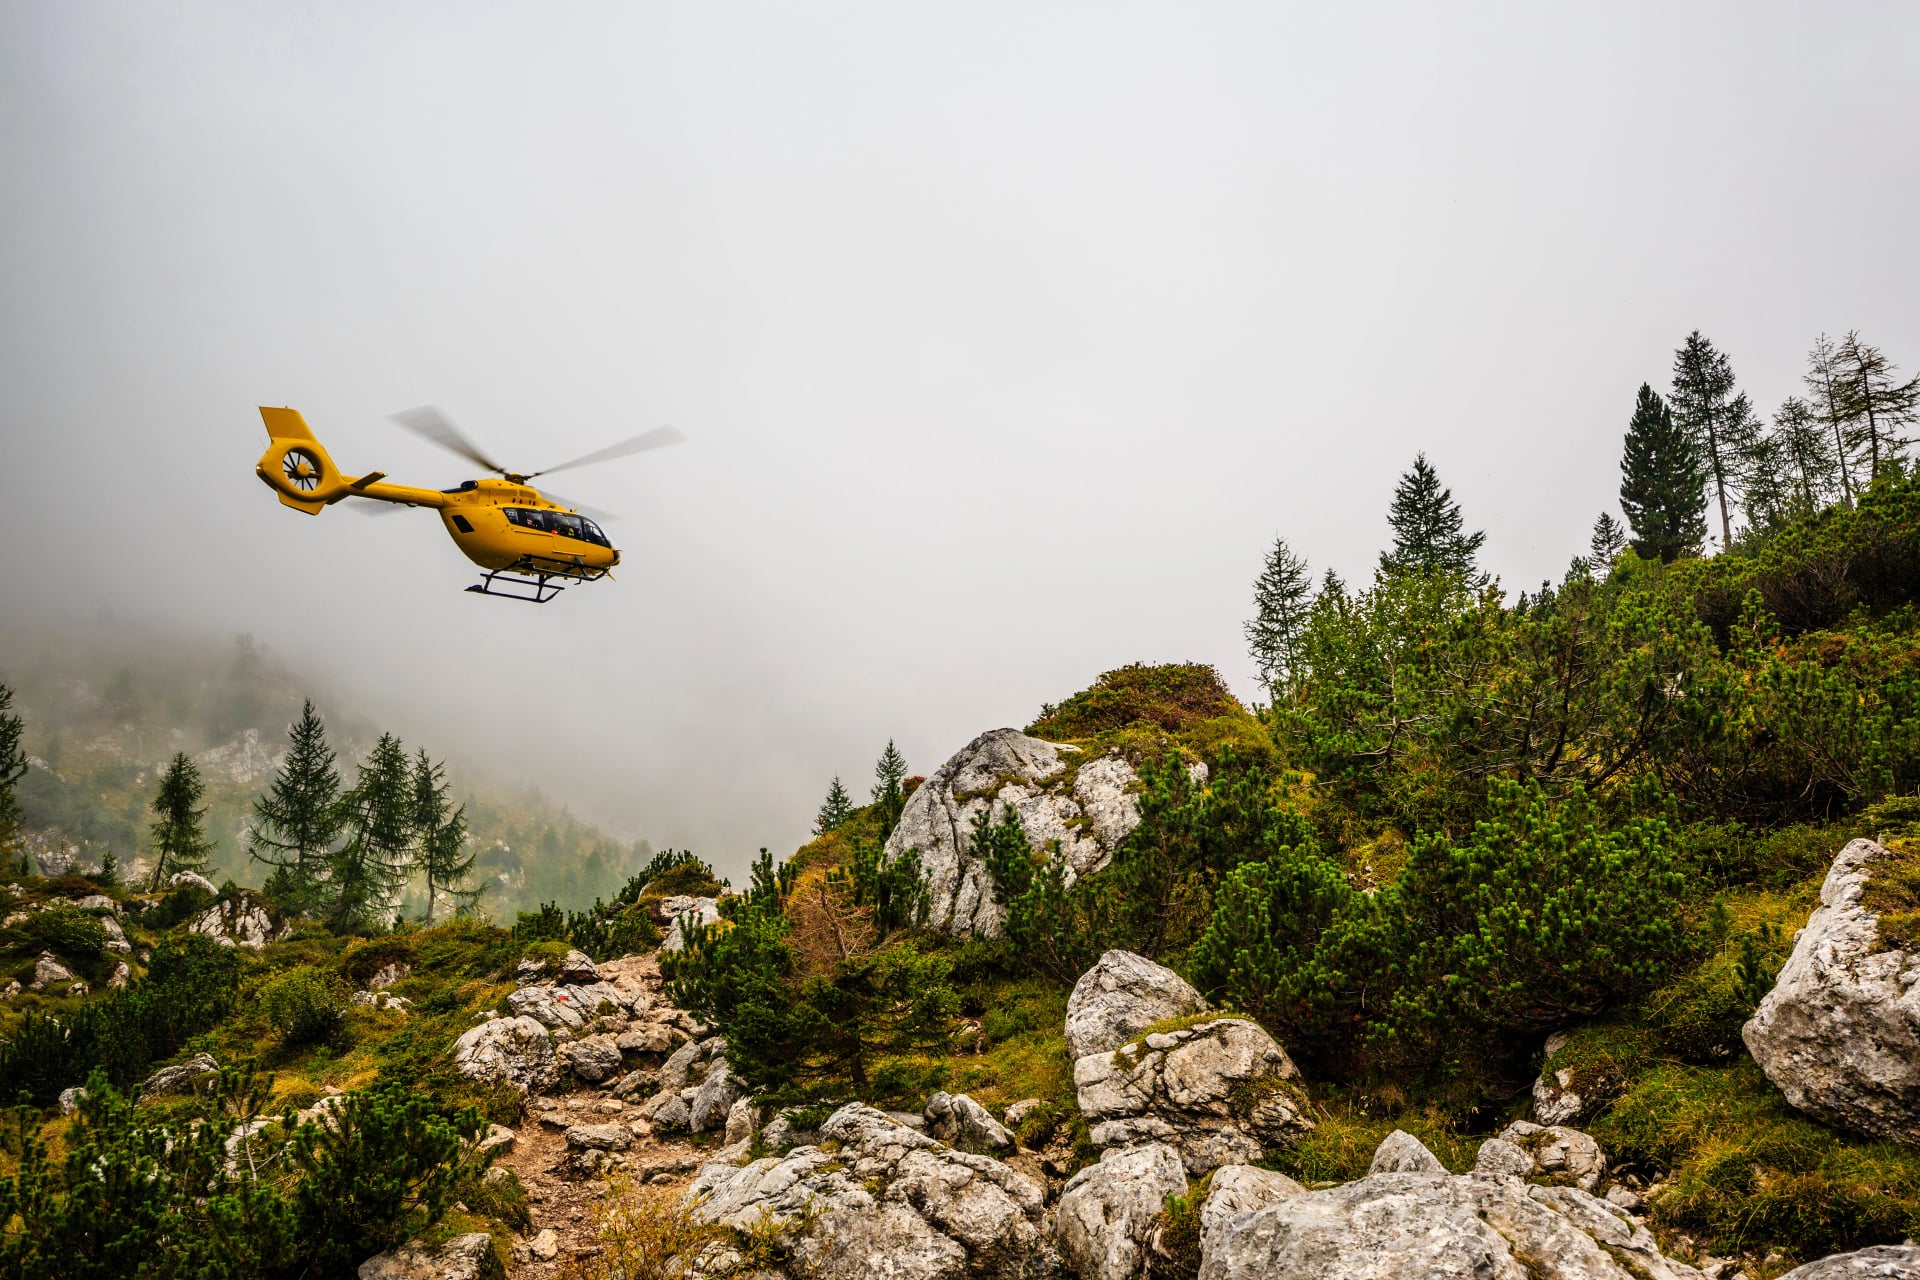
If something goes wrong, it’s crucial to act quickly and know who to call.
General Emergency Number: 112 (EU-wide)
Mountain Rescue (Aiut Alpin Dolomites): +39 0471 797171
Seek shelter in the nearest hut if storms or poor visibility develop.
8. Do You Need a Guide?
A guide is helpful if:
You have limited alpine experience
You’re hiking in June or early October
You want to include optional via ferrata sections
You prefer offloading navigation and safety decisions
Guides aren’t required for most hikers, but they can significantly reduce risk and stress in mixed conditions.
Guided vs. Self-Guided
Alta Via 2 is one of the Dolomites’ more technical traverses, so choosing between a guided or self-guided trip depends largely on your alpine experience, confidence on exposed terrain, and comfort with navigation and logistics. We offer both guided tours and self-guided options and each make for a rewarding experience — the key is selecting the one that matches your skill level.
Guided
Who it’s for
Hikers with limited alpine experience
Those unfamiliar with via ferrata equipment or exposed terrain
Early-season hikers (June) or anyone concerned about snow conditions
Travelers who prefer to focus solely on the hike while logistics, safety, and decision-making are handled by a professional
Pros
Expert guidance through technical and exposed sections
Real-time decisions based on weather and conditions
Increased safety on cable-protected passes and early-season snowfields
No navigation stress; the guide handles route-finding
Cons
Higher cost
Less flexibility in pacing and daily adjustments
Fixed group dates and itineraries
Self-Guided
Who it’s for
Strong, experienced hikers comfortable with long elevation days
Confident navigators using maps, GPX tracks, and CAI markers
Those familiar with exposure, scree, and cable-assisted terrain
Hikers who prefer flexibility, independence, and custom pacing
Pros
Full freedom to adjust pace and daily schedule
More affordable
Ability to tailor hut choices, variants, and rest days
A more independent, immersive alpine experience
Cons
Requires strong mountain judgment in poor weather
More planning effort (huts, transfers, timing)
Higher responsibility for navigation and safety
Early-season snow or storms can complicate decisions
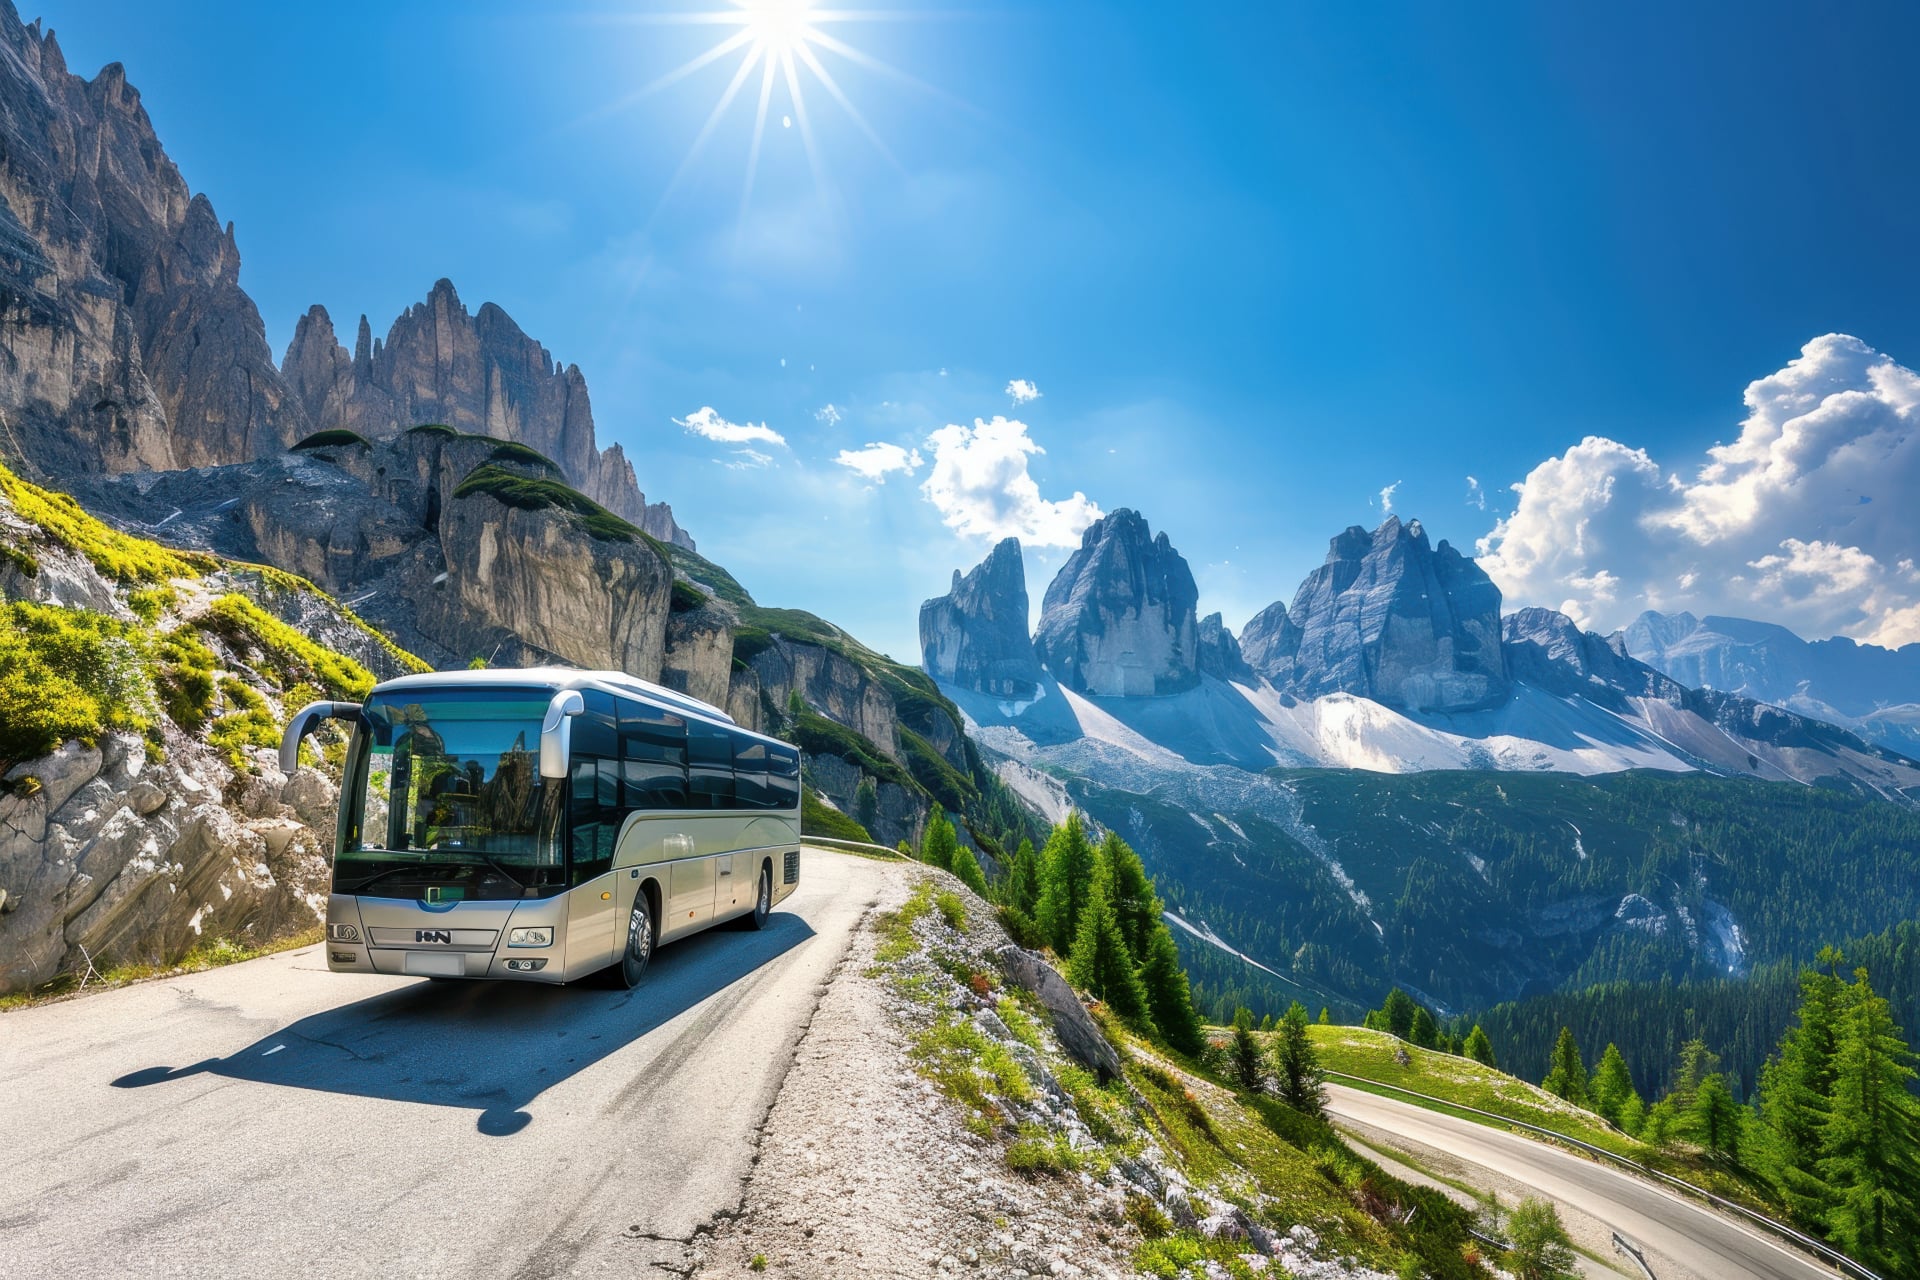
Getting to and From Alta Via 2
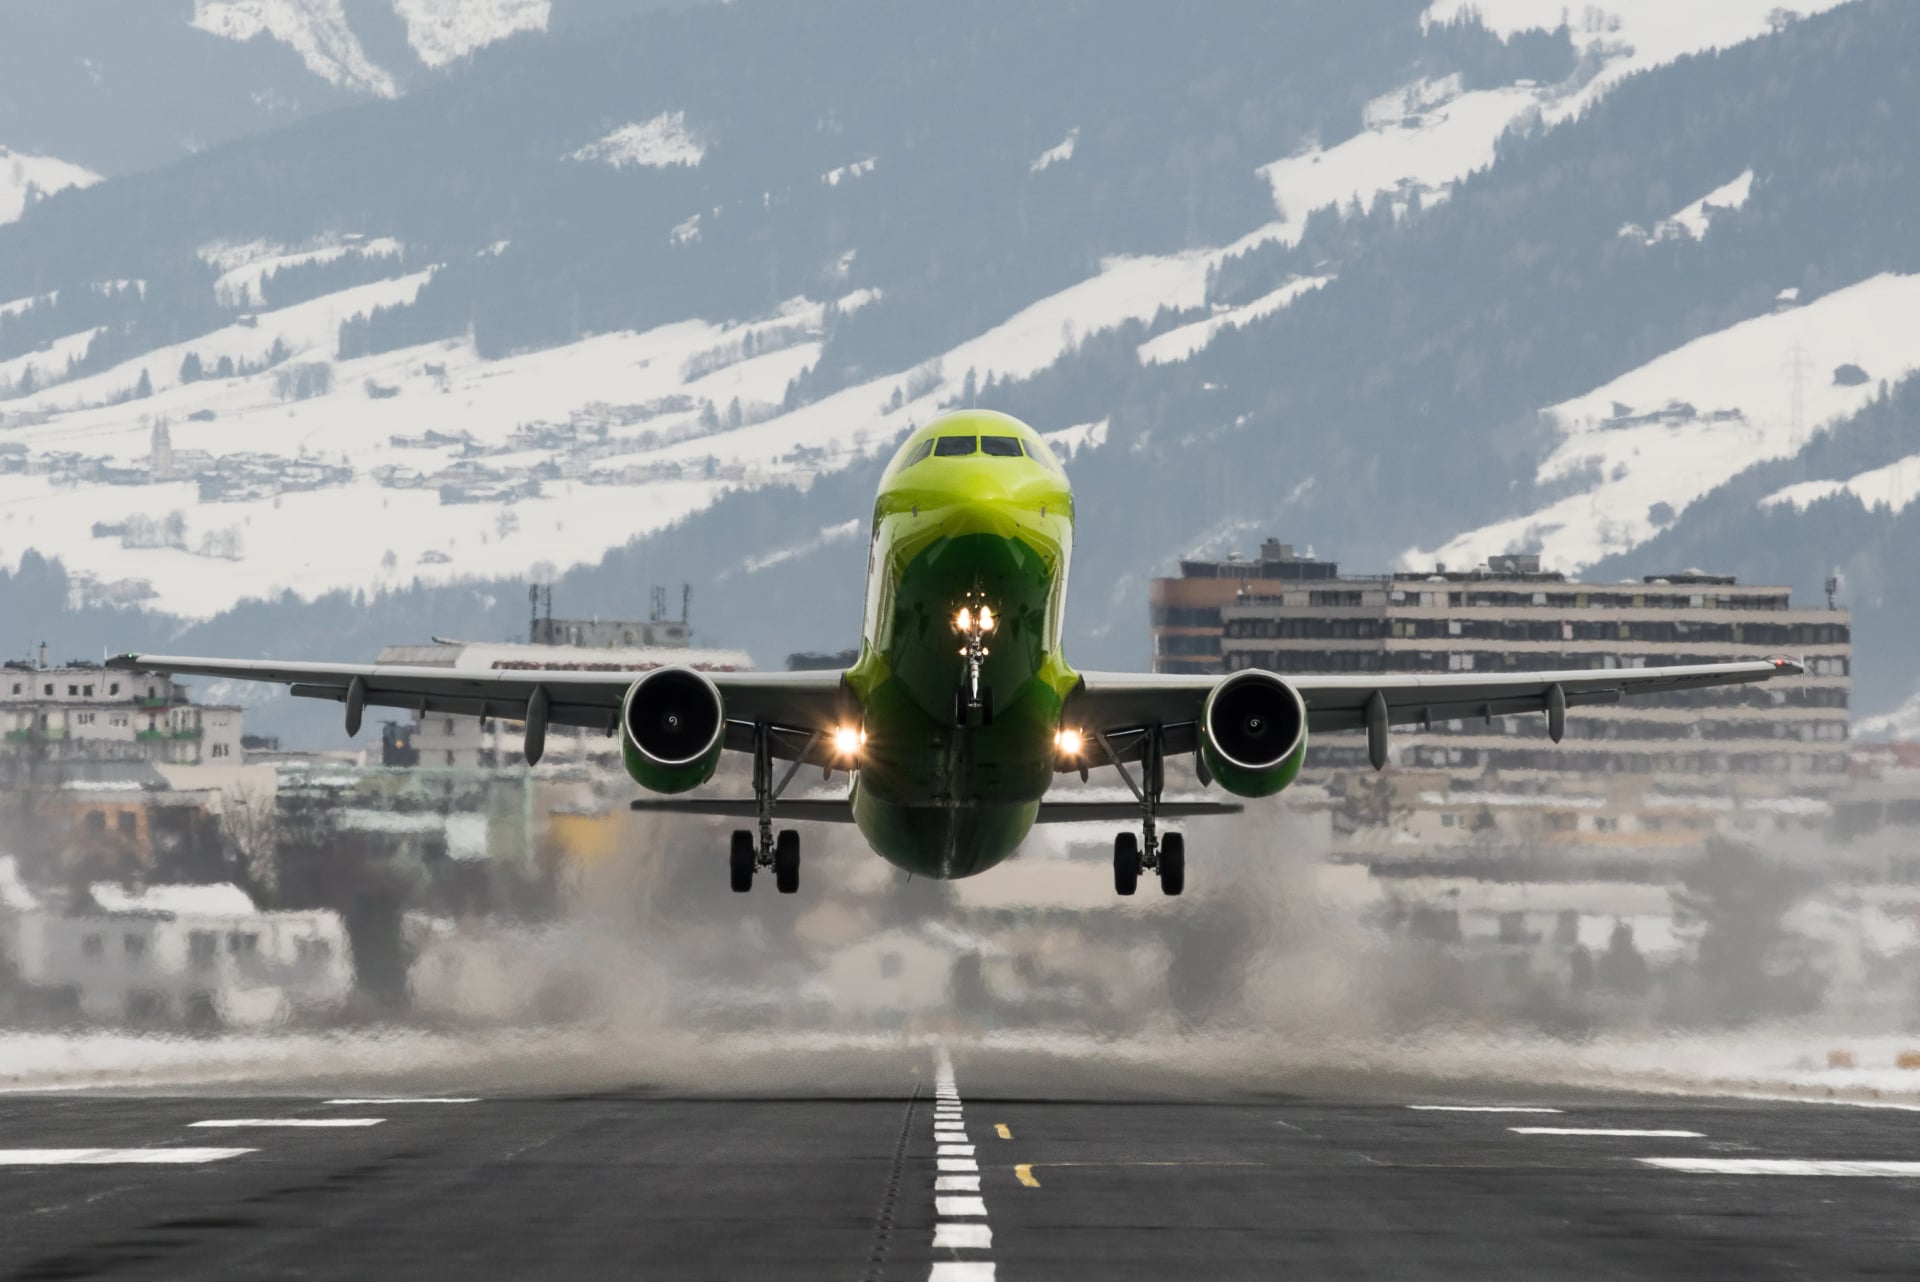
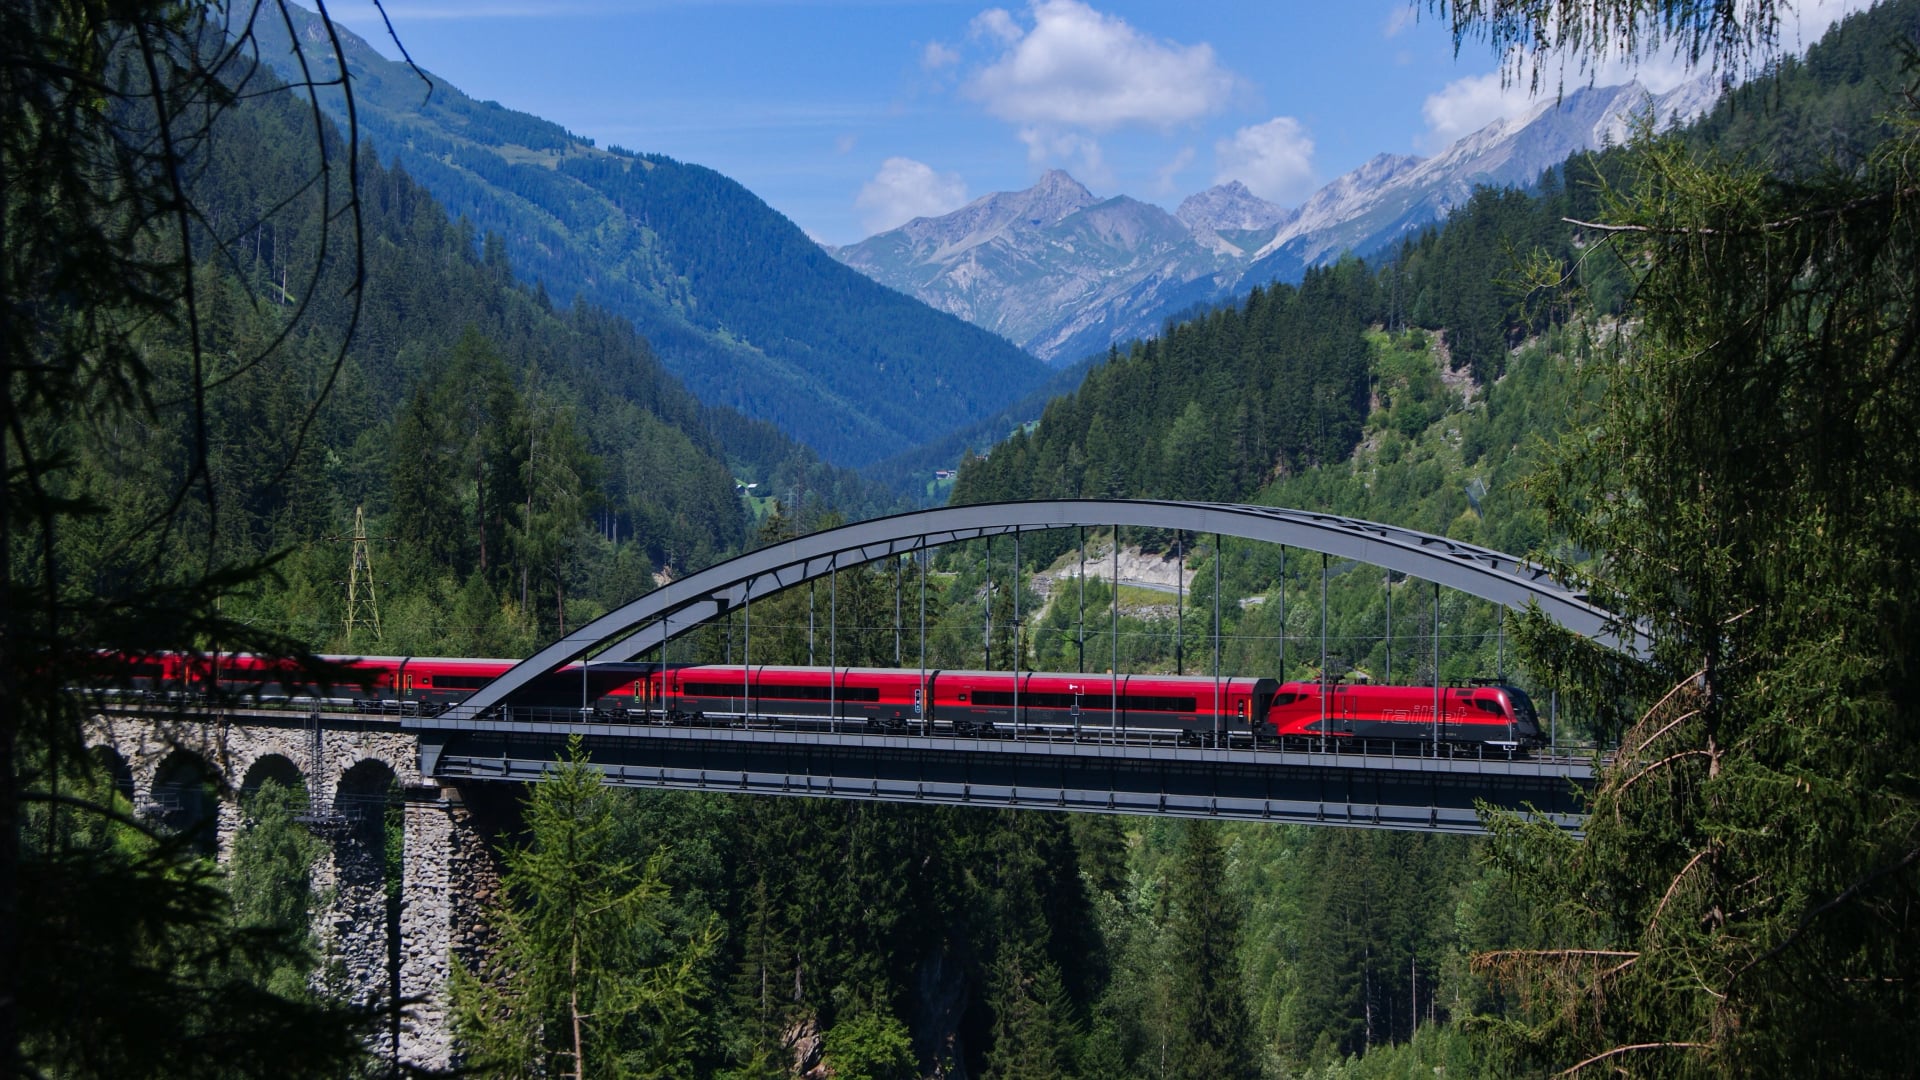
Starting and finishing Alta Via 2 is straightforward, with Bressanone (Brixen) as the northern trailhead and Feltre as the southern endpoint. Both are well connected by trains, regional buses, and nearby airports. Below is a practical overview of how to reach the route and return once the hike is complete.
Getting to the Start (Bressanone / Brixen)
Innsbruck Airport (INN), Austria
Distance to Bressanone: ~85 km
Travel Time: ~1.5 hours by car
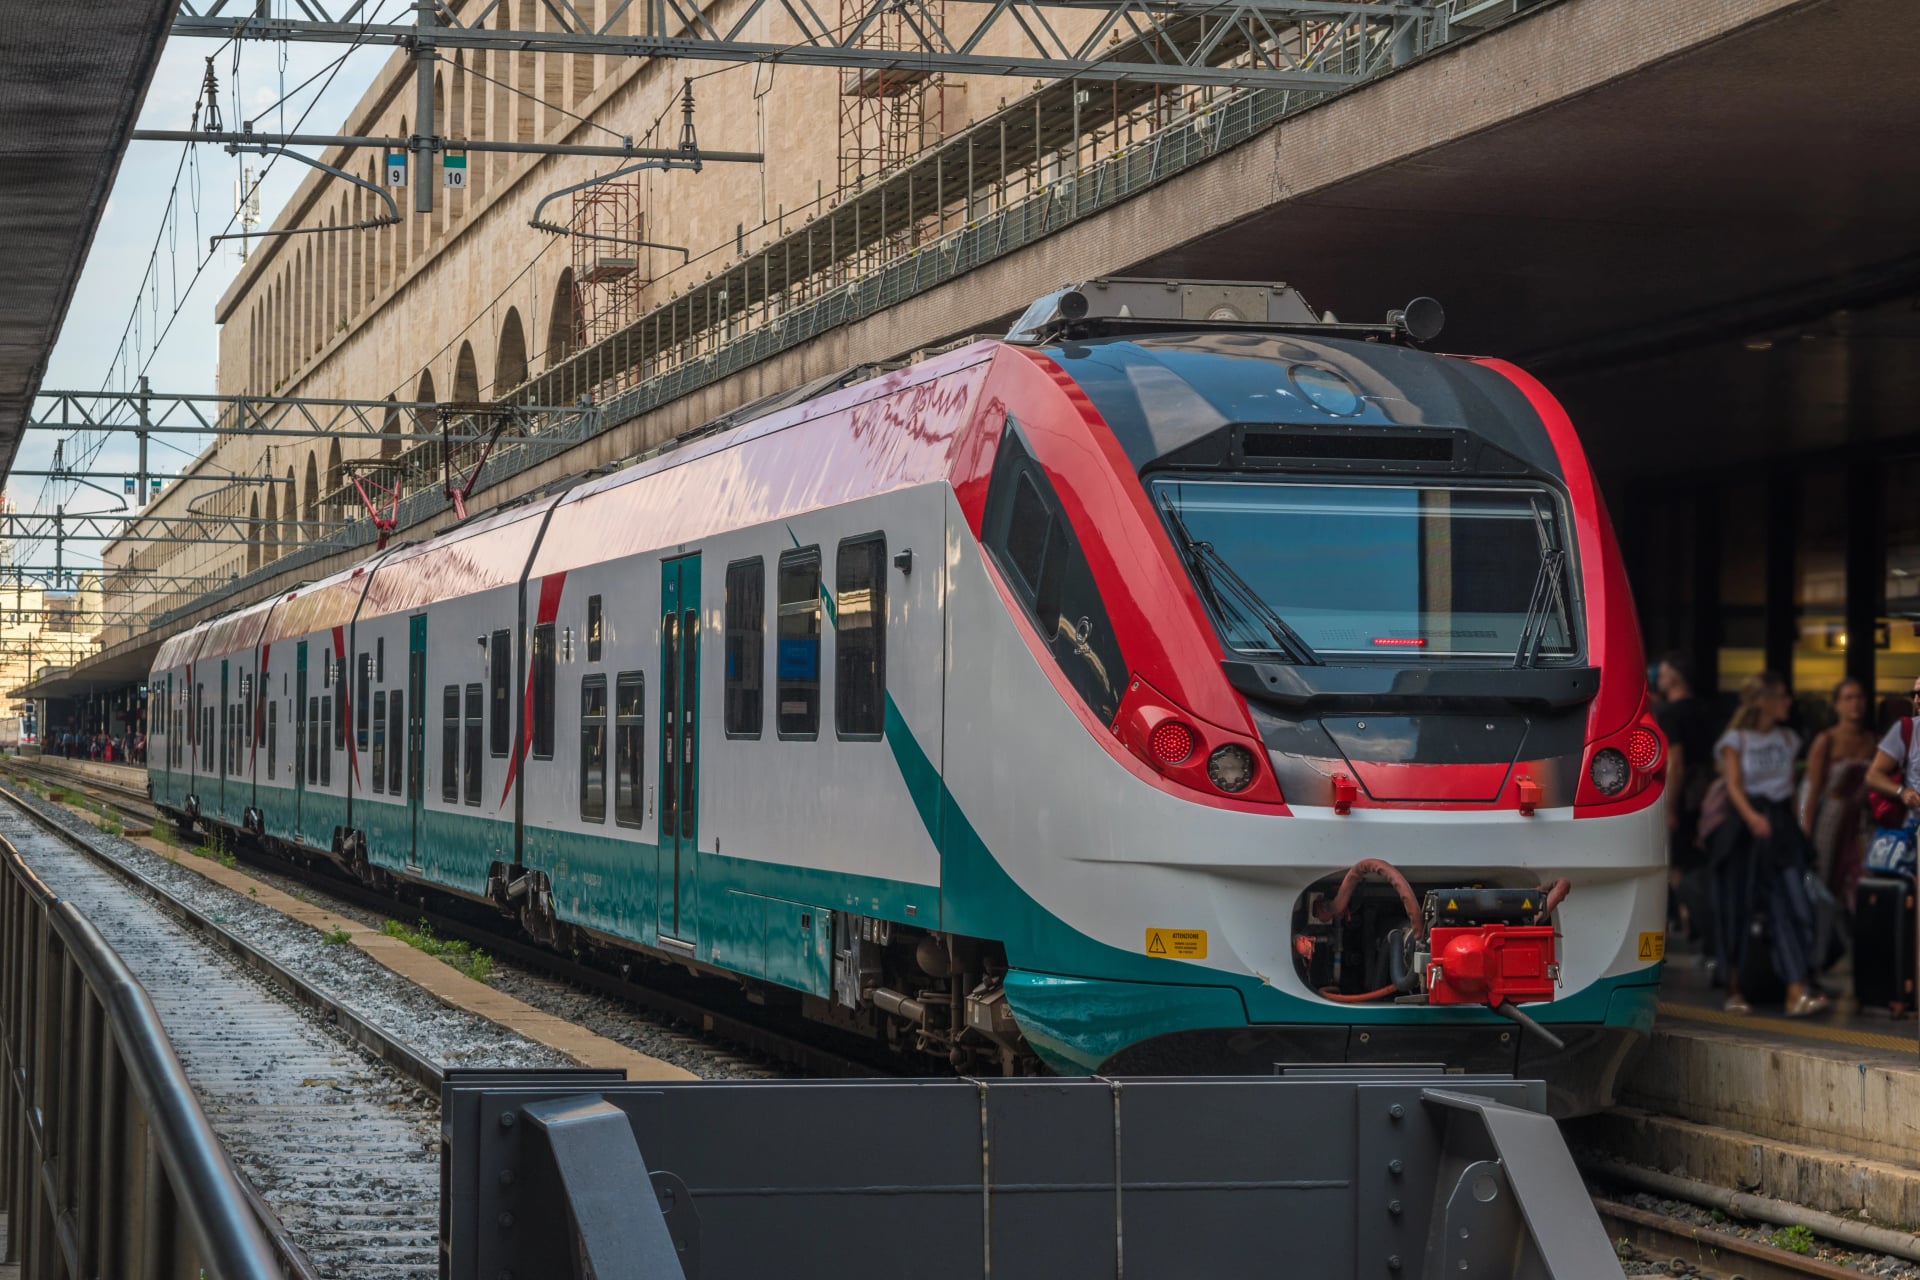
Public Transport: Direct trains from Innsbruck to Bressanone (1h 20m). This is the fastest and most convenient option for reaching the AV2 start.
Venice Marco Polo Airport (VCE), Italy
Distance to Bressanone: ~180 km
Travel Time: ~3 hours by car
Public Transport: Bus to Mestre → Trenitalia train to Bressanone (≈3.5–4 hours).
Treviso Airport (TSF), Italy
Distance to Bressanone: ~170 km
Travel Time: ~3 hours by car
Public Transport: Bus to Treviso Centrale → train to Bressanone with 1–2 connections.
Train and bus tickets can be purchased at stations, on-board (for some buses), or via mobile apps such as:
Südtirolmobil:
The main network for trains and buses in South Tyrol. Useful for connections into Bressanone and for lower-valley routes.Dolomitibus:
Operates across the central and southern Dolomites, serving towns such as Falcade, Agordo, and Feltre — helpful for exits near Passo San Pellegrino or on final approach to Feltre.Trenitalia:
Provides long-distance and regional train services linking Venice, Verona, Treviso, and Bolzano/Bressanone with onward connections.Itabus:
Long-distance coach services connecting major Italian cities such as Venice, Verona, and Milan with towns across the Veneto and Trentino regions. Useful for budget-friendly transfers when rail schedules are limited.ÖBB (Austrian Railways):
Provides fast cross-border train connections between Austria and Italy, including direct routes to Innsbruck, Brenner/Brennero, and Bolzano/Bressanone — ideal for travelers flying into or out of Innsbruck.
Leaving From the Finish (Feltre)
Feltre is well connected by train and regional buses, making onward travel simple after completing the final stage.
Venice Marco Polo Airport (VCE)
Distance: ~110 km
Travel Time: ~1 hour 50 minutes by car
Public Transport: Train from Feltre to Venezia Santa Lucia, then bus/waterbus to the airport.
Treviso Airport (TSF)
Distance: ~80 km
Travel Time: ~1 hour 20 minutes by car
Public Transport: Train to Treviso Centrale → shuttle to the airport.
Innsbruck Airport (INN)
Distance: ~220 km
Travel Time: ~3.5 hours by car
Public Transport: Train to Verona → Innsbruck (≈4–5 hours).
Private tranfsers can also be arranged, just let us know if you need one!
Frequently Asked Questions
Do I need previous hiking experience to complete Alta Via 2?
Yes. AV2 is a demanding alpine route with steep climbs, exposed traverses, and cable-assisted sections. Strong fitness and prior multi-day mountain experience are required.Can beginners do Alta Via 2?
Not recommended. Beginners should consider Alta Via 1 or other less technical Dolomite routes. AV2 requires confidence on scree, ledges, and long elevation days.Is via ferrata gear mandatory?
No, but it can be helpful on exposed points, especially around Passo delle Farangole. Confident hikers often complete AV2 without it; others may prefer the added security.Can I camp on Alta Via 2?
Wild camping is not allowed in the Dolomites. AV2 is designed as a hut-to-hut itinerary using rifugi for meals and accommodation.Are huts vegetarian-friendly?
Most rifugi offer basic vegetarian options, though menus vary. Bringing a few supplementary snacks is a good idea if you rely on specific dietary needs.How long is the longest stage?
The longest days typically range from 19 to 21 km, with sustained elevation gain or descent — notably Days 6, 7, and 13 of the classic itinerary.What should I do if a storm approaches?
Descend to the nearest rifugio or sheltered area and avoid ridgelines and cable-protected terrain. Afternoon thunderstorms are common; start early to reduce exposure.Is solo hiking safe on Alta Via 2?
Yes for experienced hikers. Trails are well marked and huts are frequent, but solo hikers must be especially cautious with weather, navigation, and exposed terrain.How do I get back from Feltre after finishing?
Feltre has excellent train and bus connections to Venice, Treviso, Verona, and Innsbruck. Returning to Bressanone is straightforward via regional rail.
Ready, Set, Hike!
Alta Via 2 is one of the Dolomites’ most rewarding long-distance routes, but planning it can feel overwhelming. With technical terrain, variable mountain weather, and a complex network of rifugi, even experienced hikers need to prepare carefully.
For first-timers in the Dolomites, AV2 can be challenging to navigate independently, especially across exposed passes or in early-season conditions. That’s where we come in. We specialize in making Dolomites adventures seamless and well-structured.
Booking a tour with us includes:
Personalized route planning based on your fitness and experience
Rifugio booking assistance
Travel logistics for arrival and departure
Detailed GPX tracks for every stage
Practical trail information and safety advice
On-tour support if conditions change
If you’re unsure where to start, make sure to book a free consultation to let us help you plan your Alta Via 2 with confidence.


Hassle-Free
We handle itineraries, accommodations, and anything else you prefer not to deal with, so you can enjoy a carefree hike.

Book with confidence
We are a financially protected company, fully bonded and insured, keeping your money safe and allowing you to travel with confidence.

Tried & Tested Adventures
Only the best hut to hut hikes in the Dolomites, cherry-picked by our local team with an in-depth knowledge of the region.

Unbeatable support
Our 24/7 customer support is where we show our passion, bringing you a better experience by making your well-being our number one priority.