Alta Via 1 Itineraries: Which Option to Choose (Full & Shorter Routes)
From the full 10-day traverse to focused 3-day highlights—find the Alta Via 1 itinerary that matches your time, fitness, and what you want to see.

Anja
Published December 10, 2025
Edited December 19, 2025
20 min read

Quick links
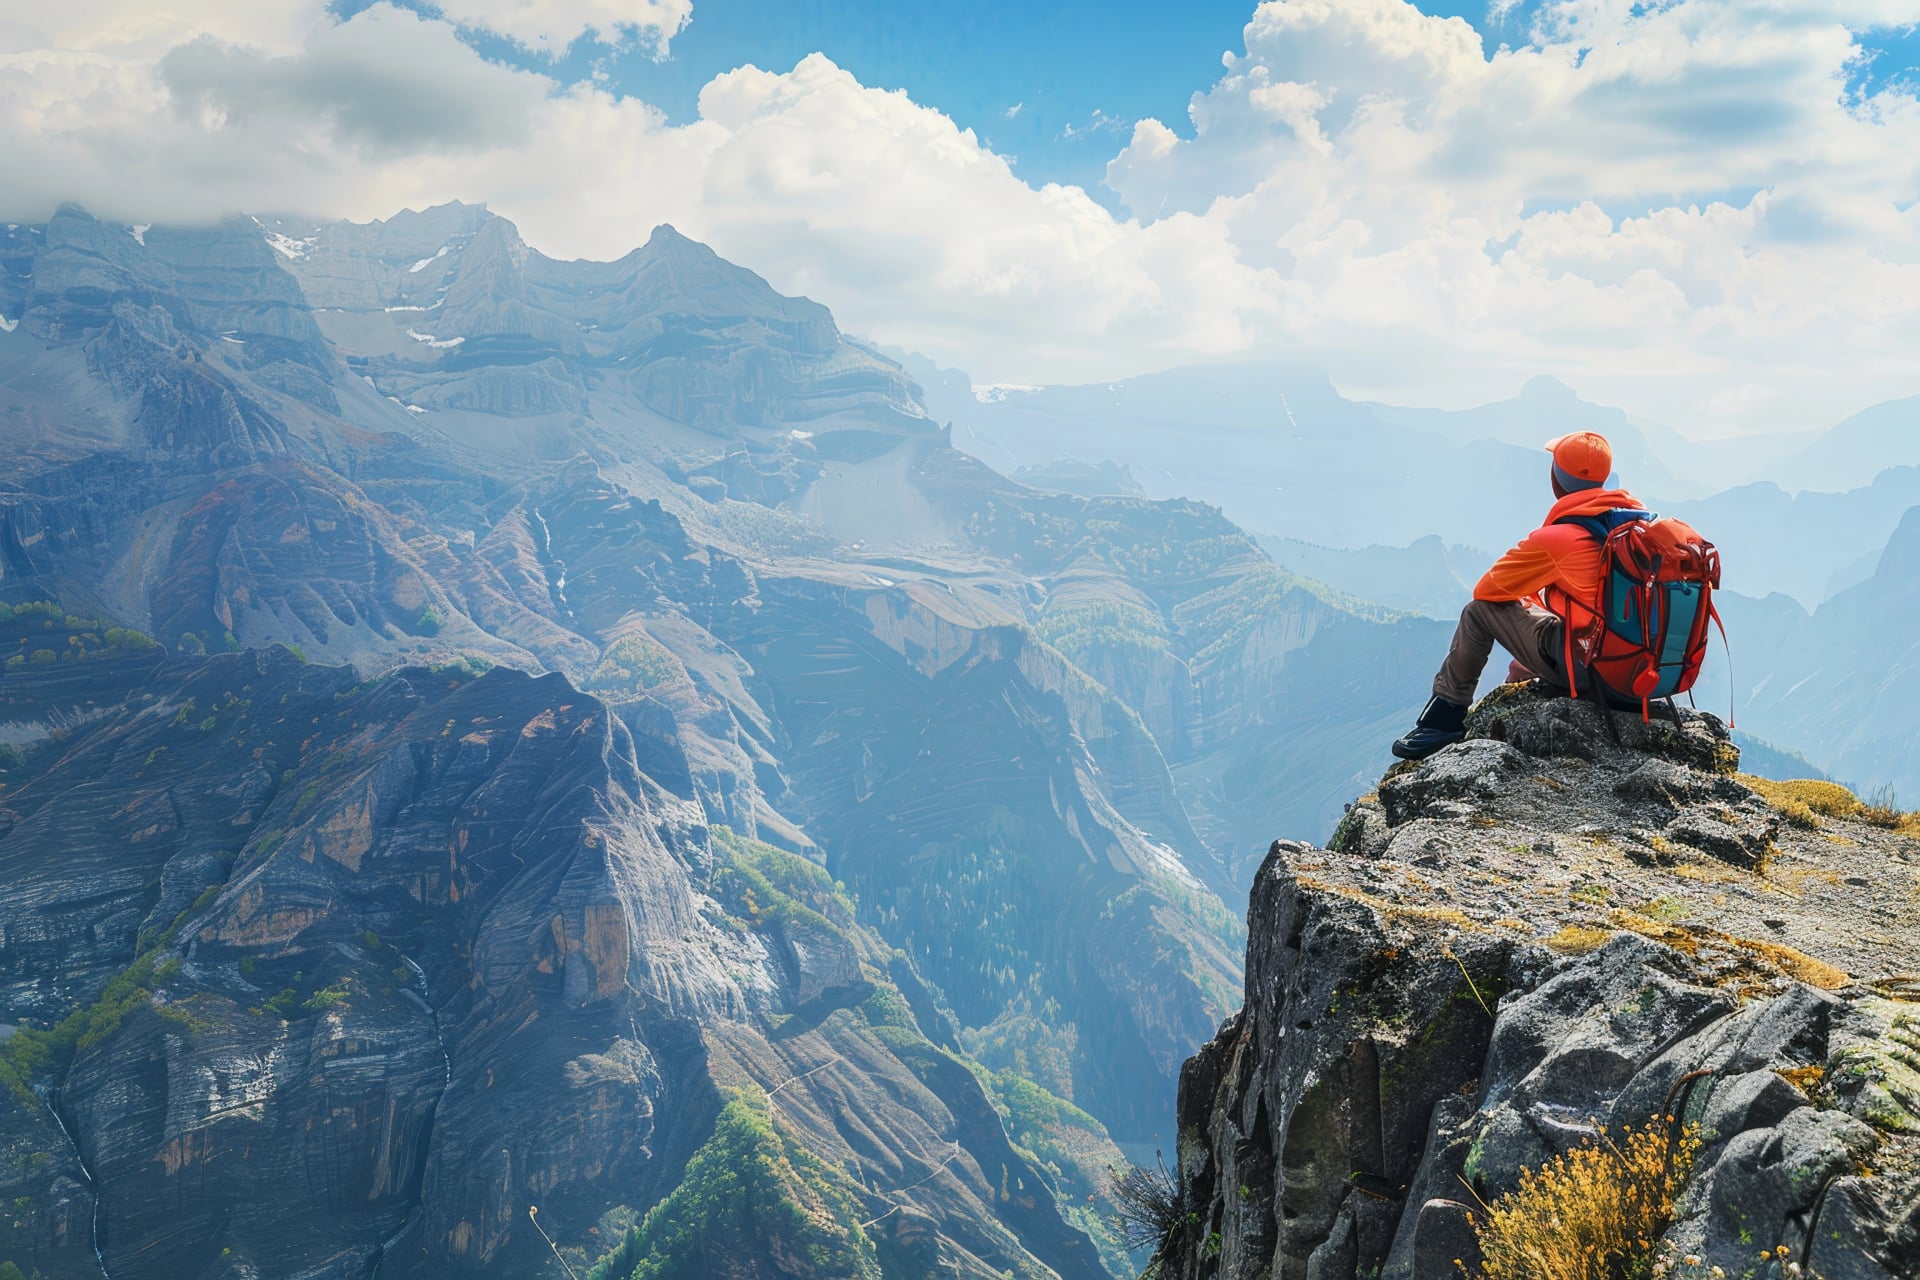
Planning Alta Via 1 isn't one-size-fits-all. Sure, the full north-to-south traverse is the classic experience—but not everyone has 10 days to commit, and honestly, not everyone needs to hike the entire route to get the magic of the Dolomites.
The good news? Alta Via 1 is flexible. You can tackle the full 120-kilometer journey from Lago di Braies to Belluno, focus on just the dramatic southern peaks, spend a long weekend on the northern highlights, or even explore the quieter "hidden corners" that most hikers skip entirely.
This guide breaks down every major Alta Via 1 itinerary option—complete stage-by-stage breakdowns, what each route offers, and how to choose based on your time, fitness, and goals. Whether you have 3 days or 10, there's a version of Alta Via 1 waiting for you.
The Full 10-Day Itinerary
What Does It Look Like?
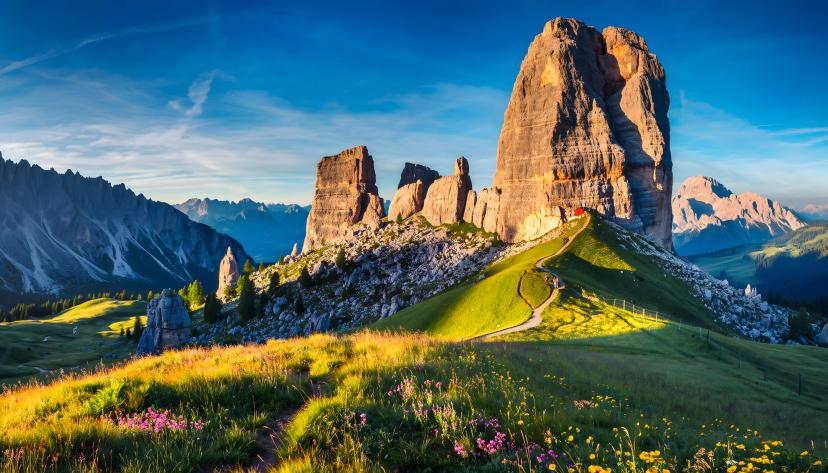
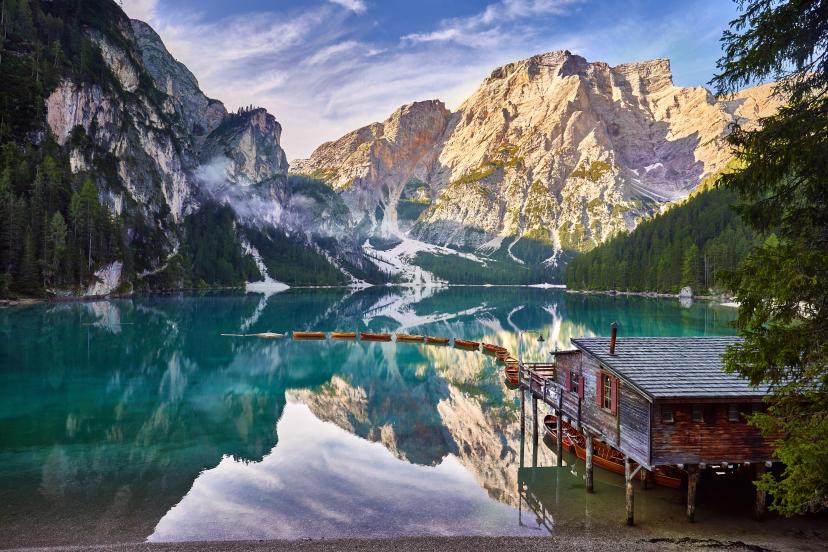
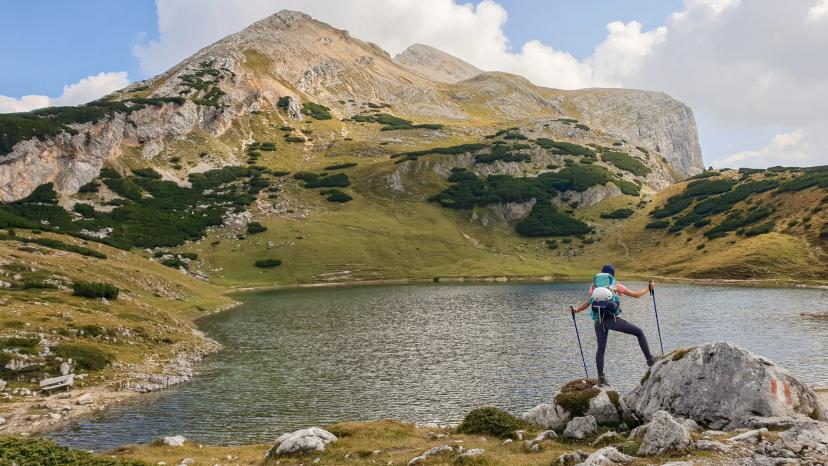
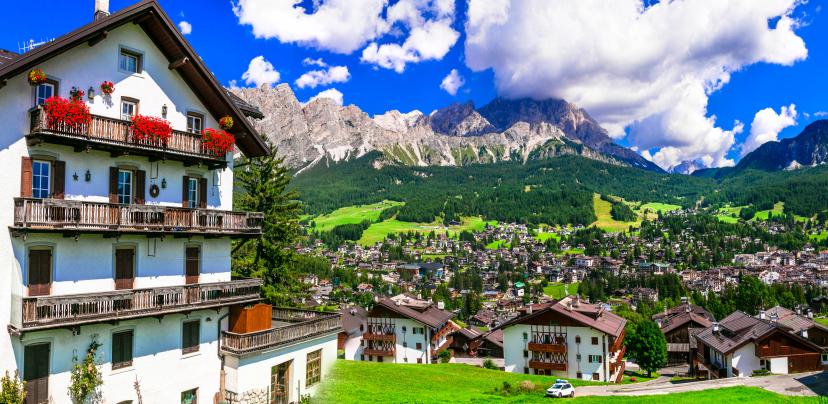
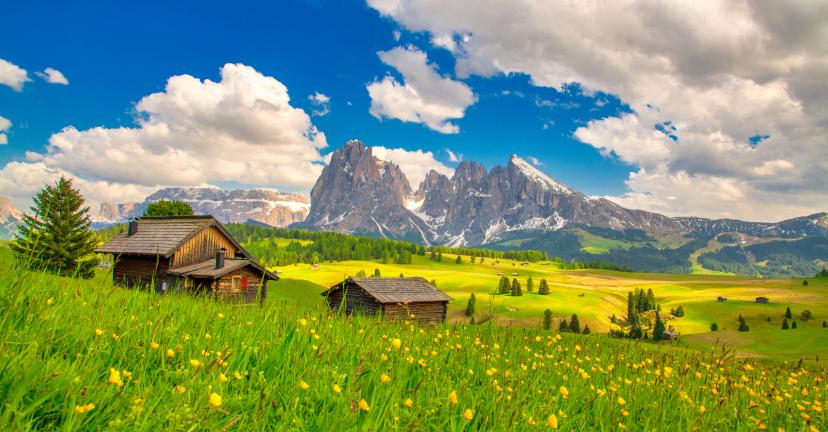
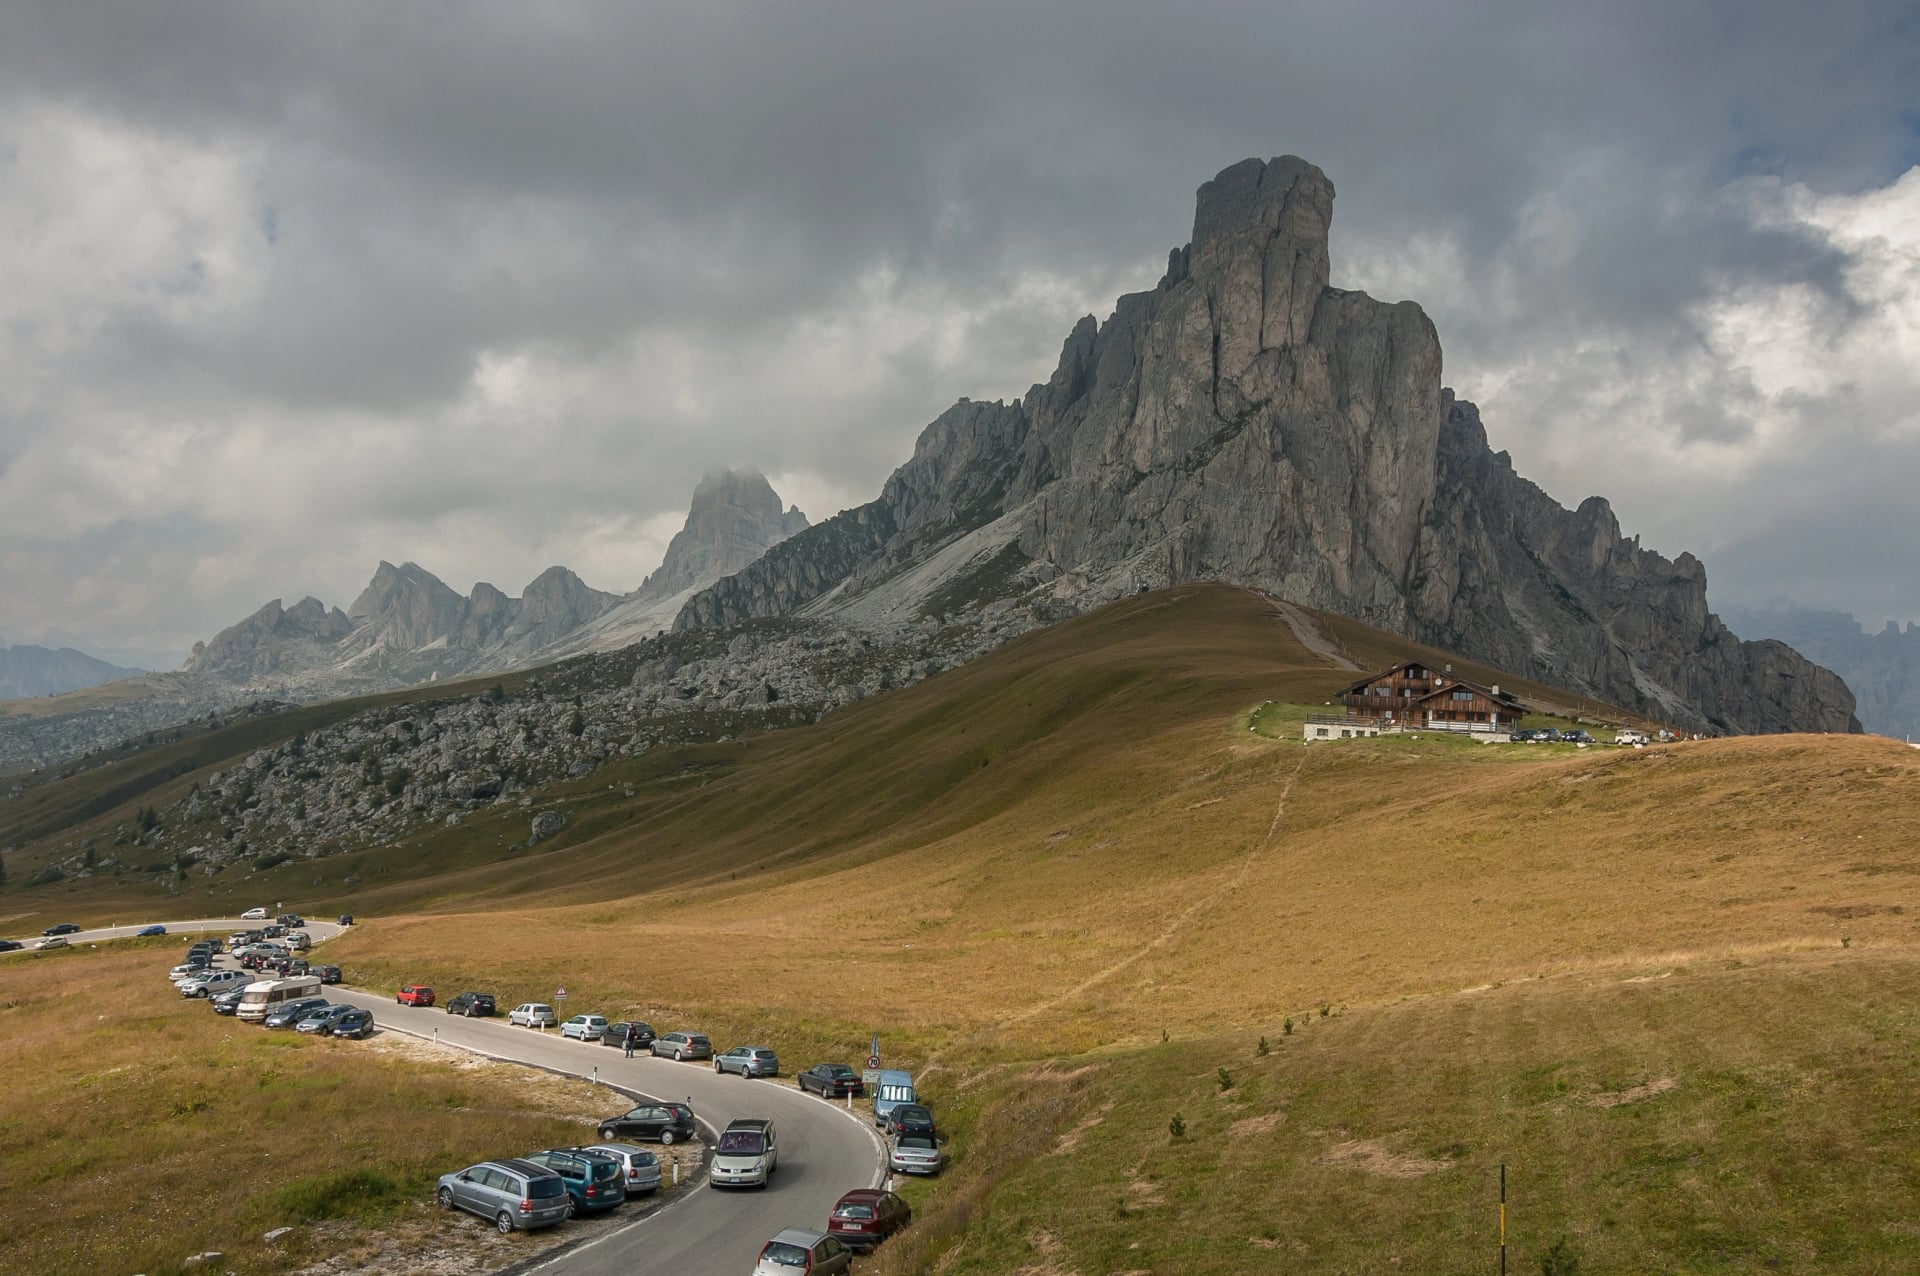
Starting point: Lago di Braies (1,496m)—the iconic turquoise lake that launches a thousand Instagram posts
Ending point: Belluno or La Stanga—valley towns marking your return to civilization
Total distance: ~120-130 km
Total elevation gain: ~6,500-7,000m (cumulative over the entire route)
Standard duration: 10-12 hiking days
Technical level: 3/5 (moderate mountain hiking with some exposed sections; no technical climbing required)
Fitness level: 3/5 (expect 4-7 hours of hiking daily with full pack)
Perfect for: Experienced hikers
What Makes It Stand Out

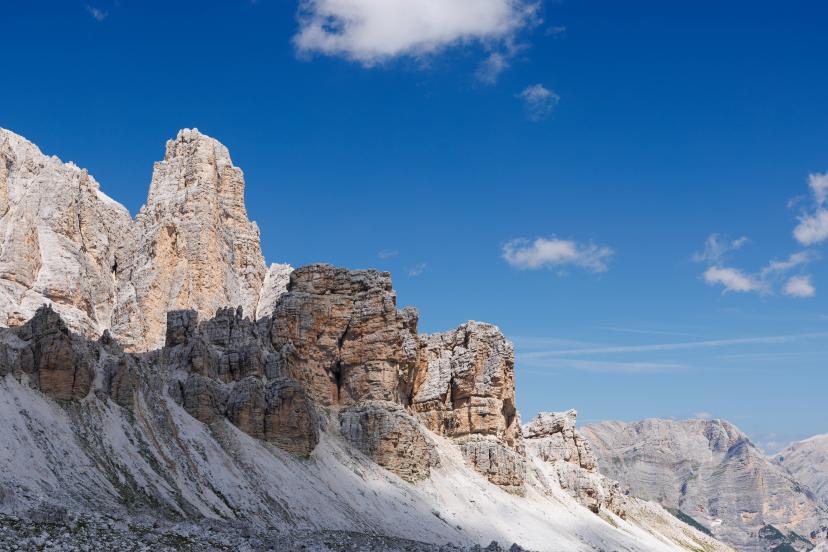
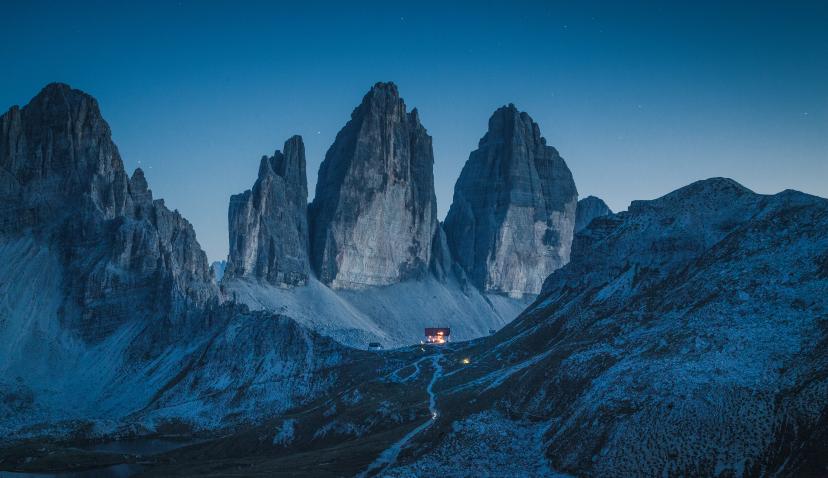
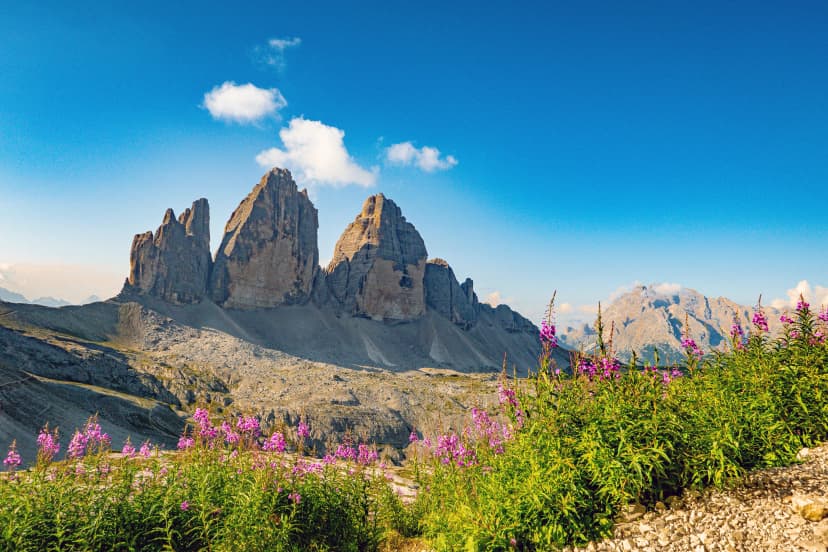
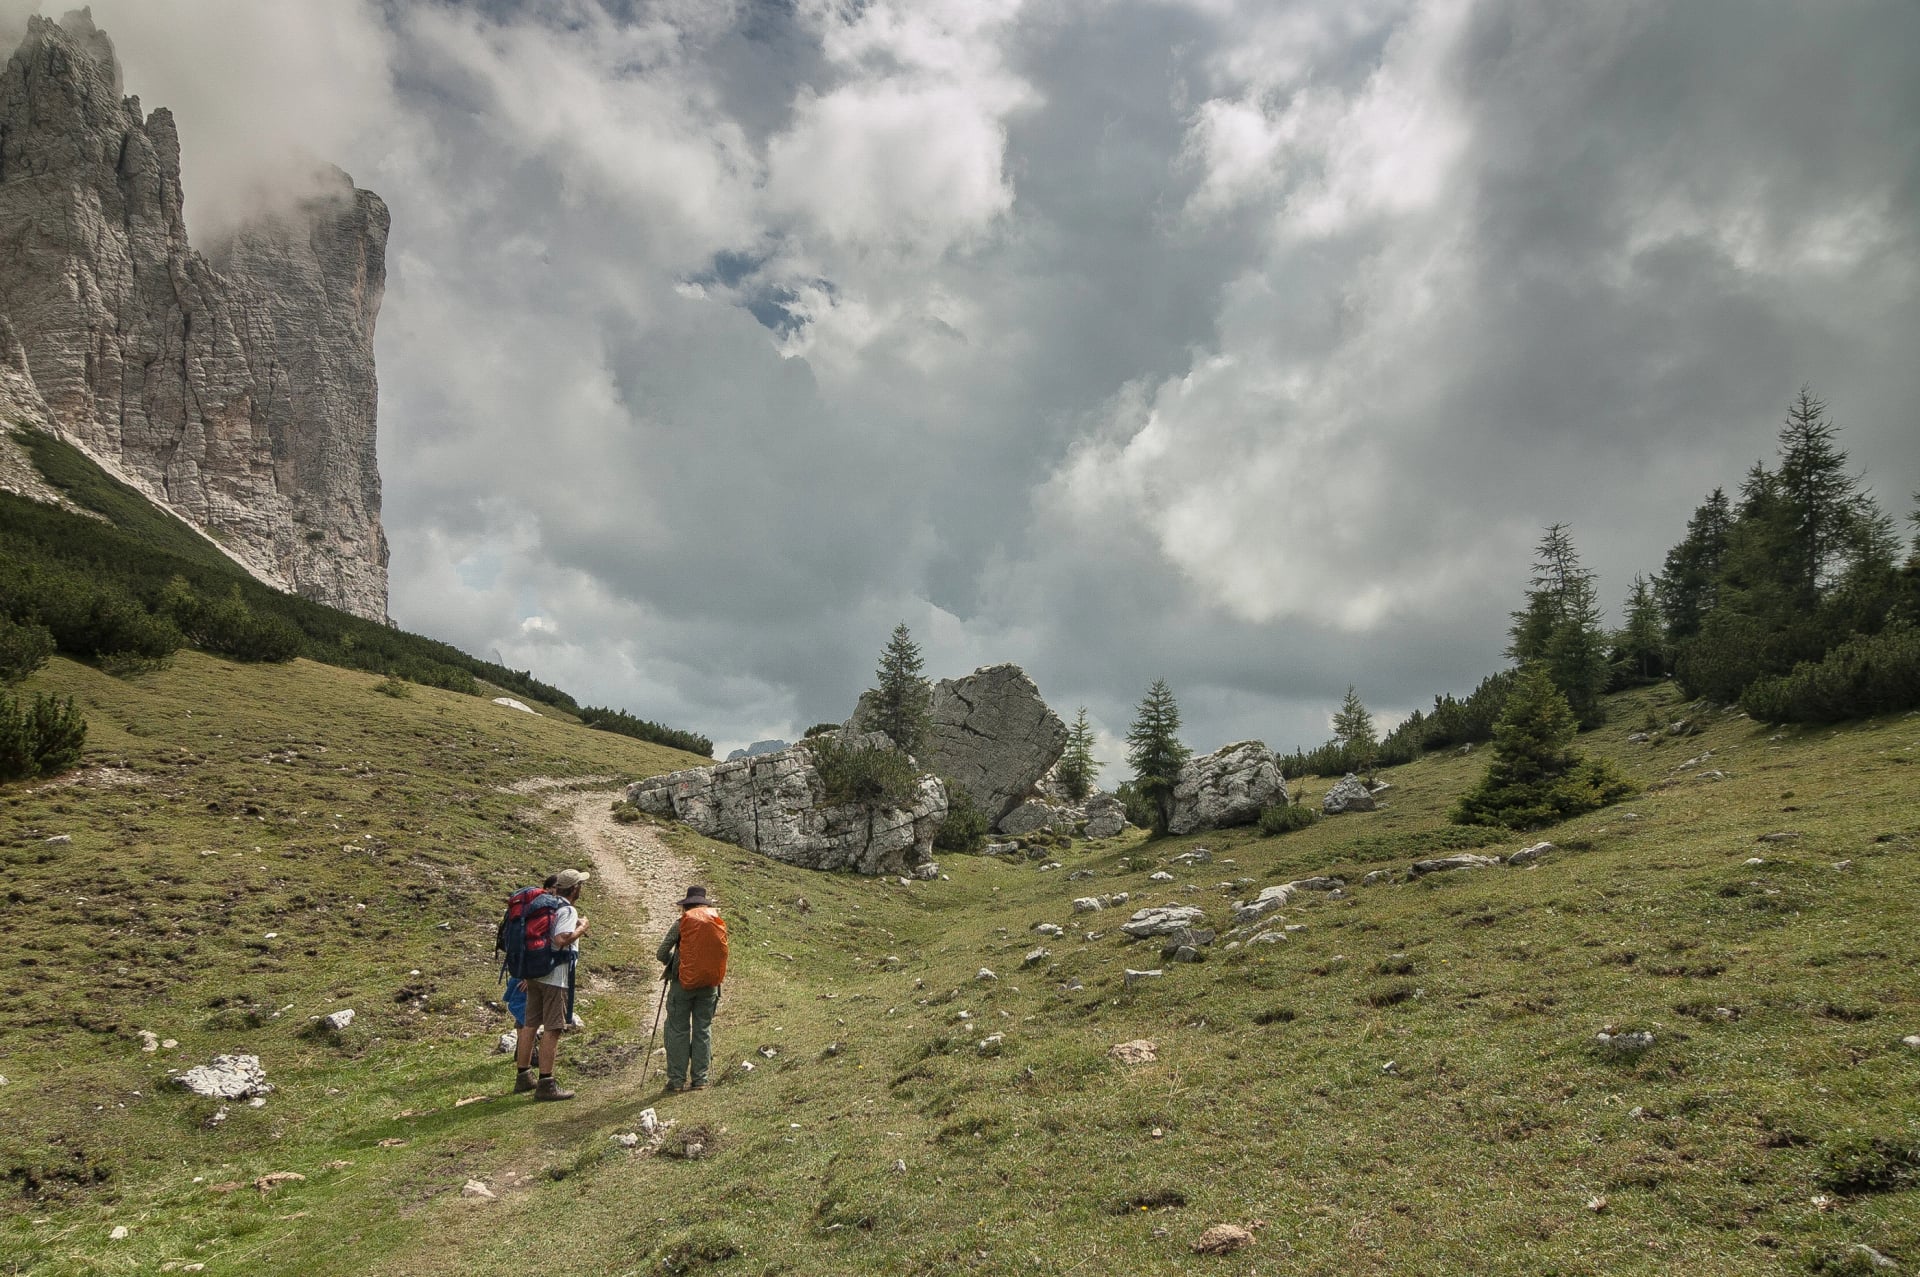
Alta Via 1 threads through the Dolomites' most iconic mountain groups—Fanes-Sennes-Braies, Lagazuoi, Nuvolau, Civetta, and Pelmo—delivering postcard-worthy views almost every single day.
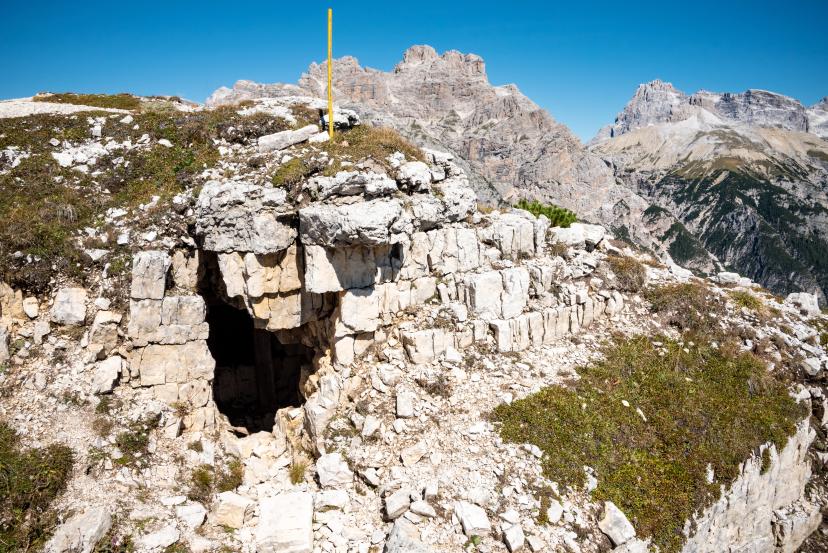
You'll hike past crystal-clear alpine lakes, cross World War I battlefields still marked by trenches and tunnels, sleep in traditional mountain rifugios, and experience terrain that ranges from rocky high routes to peaceful forested valleys.
For complete planning details, trail conditions, and what to expect, see our Alta Via 1 Ultimate Guide.
Map
Stage Breakdown
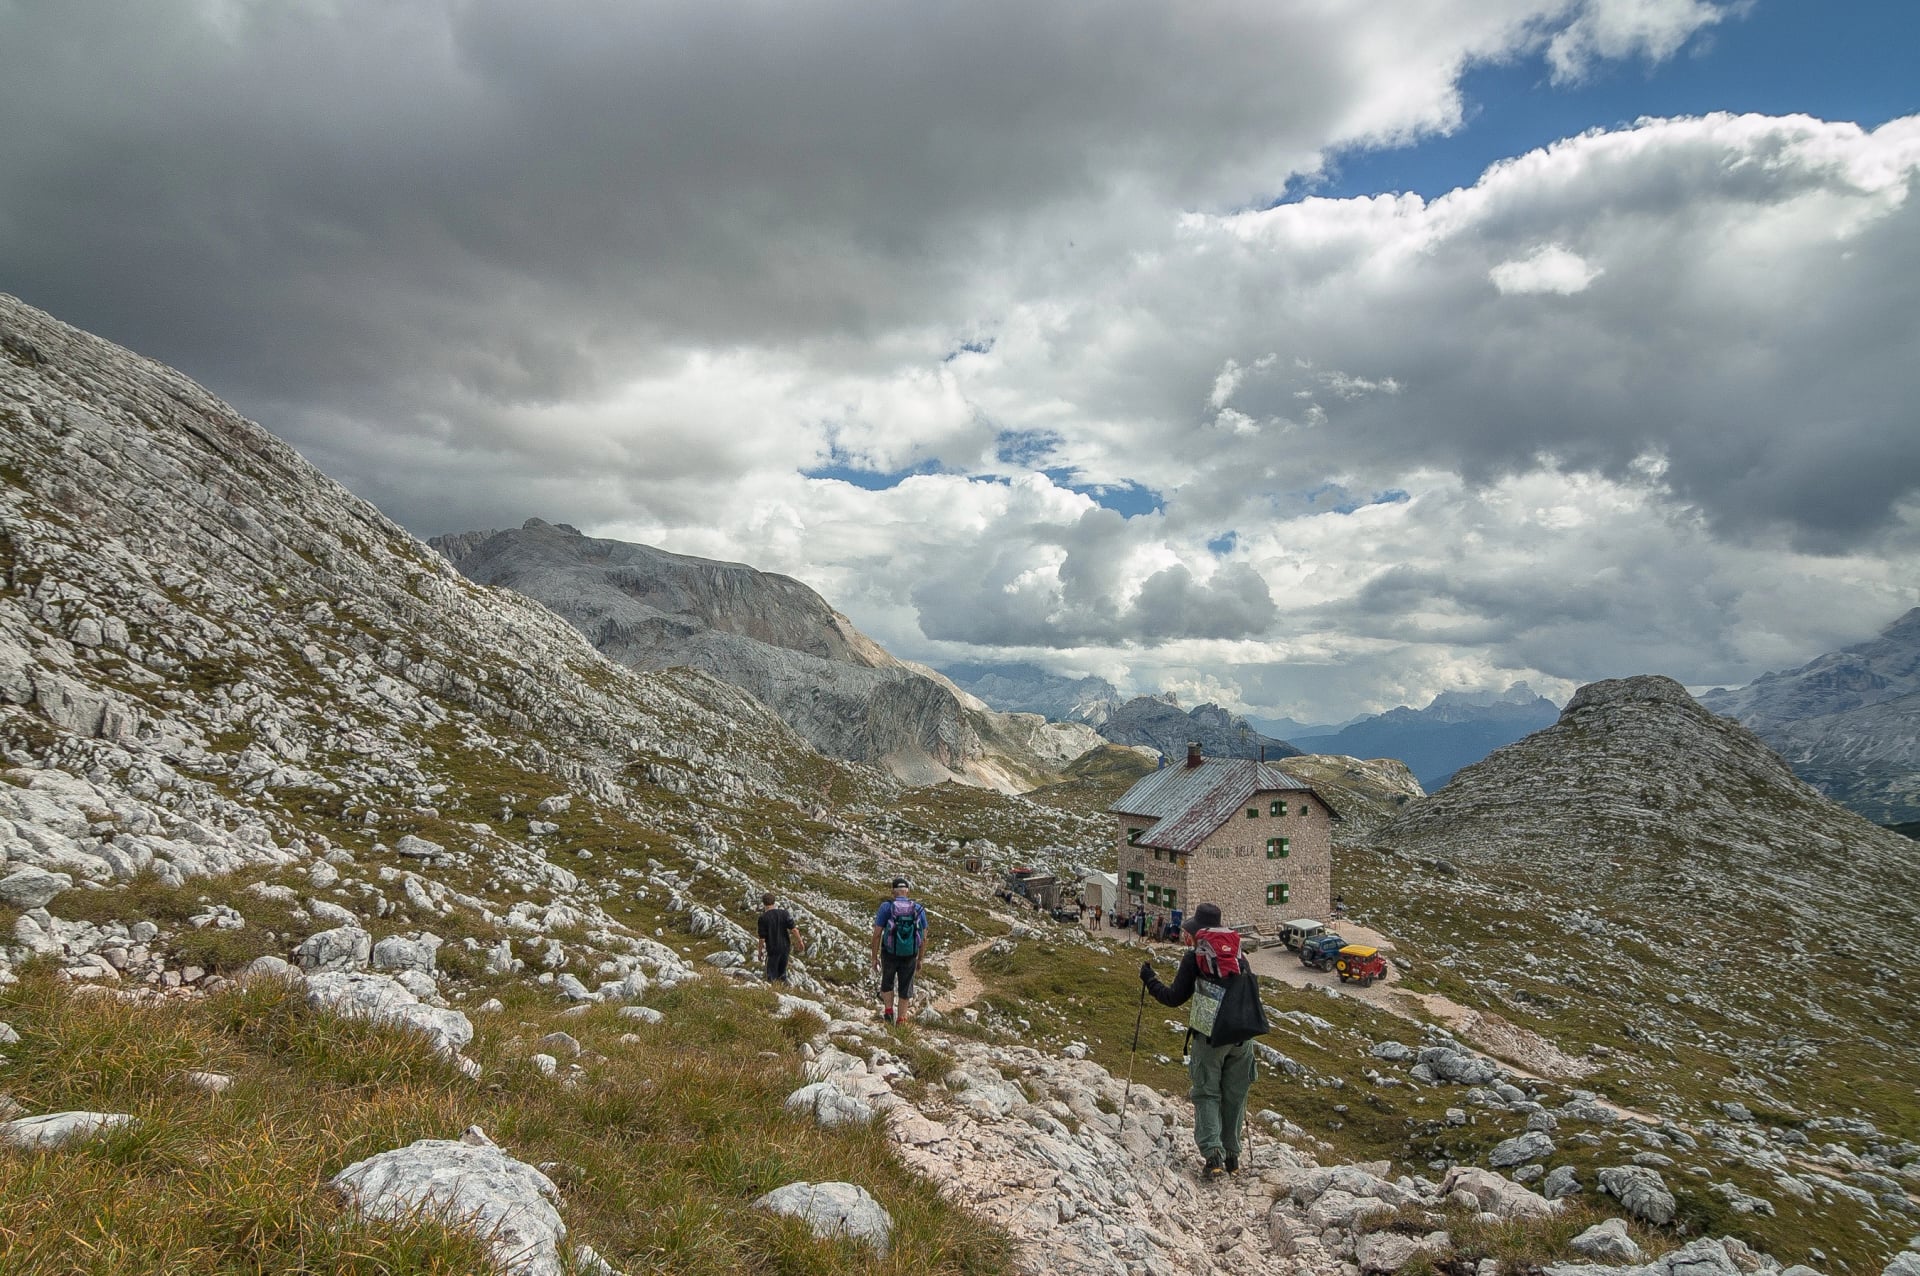
Day 1: Lago di Braies → Rifugio Biella / Rifugio Sennes
A classic AV1 start from the iconic lake into high meadows and your first true alpine ascent.
Distance: ~12 km
Elevation gain: ~750m
Highlights: Starting at the iconic [Lago di Braies], gentle alpine introduction
What to expect: Forest trails opening into high meadows, your first rifugio dinner with fellow hikers, excitement mixed with nerves
Day 2: Rifugio Biella → Berggasthaus Pederü / Rifugio Lavarella
A panoramic crossing of the Fanes plateau as the route opens into wide alpine basins.
Distance: ~14 km
Elevation gain: ~600m
Highlights: Crossing the vast Fanes plateau, wide-open alpine basin
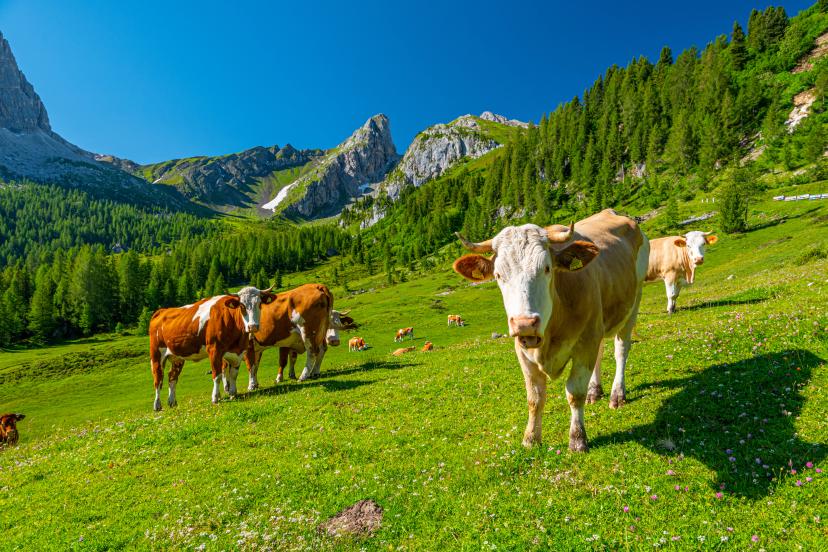
What to expect: Gentle rolling terrain, possible wildlife sightings (chamois, marmots), your legs finding their rhythm
Day 3: Berggasthaus Pederü → Rifugio Lagazuoi
A demanding historical stage climbing toward Lagazuoi’s summit and its World War I relics.
Distance: ~15 km
Elevation gain: ~1,100m
Highlights: [Lagazuoi] summit area, WWI tunnels carved through the mountain, optional cable car
What to expect: Steeper climbing, historical sites at every turn, panoramic ridge walking with 360-degree views

Day 4: Rifugio Lagazuoi → Rifugio Nuvolau / Rifugio Averau
A spectacular ridge traverse through the Cinque Torri and Nuvolau group, rich in Dolomite drama.
Distance: ~10 km
Elevation gain: ~500m
Highlights: [Nuvolau Group], Cinque Torri (Five Towers), Alta Via 1's most photographed section
What to expect: Rocky terrain, iconic Dolomite spires rising on all sides, probably your favorite day
Day 5: Rifugio Nuvolau/Averau → Rifugio Città di Fiume
A quieter southern shift with rolling terrain and pastoral views beneath Monte Pelmo.
Distance: ~14 km
Elevation gain: ~900m
Highlights: Crossing multiple passes, entering the quieter southern sections
What to expect: Noticeably fewer hikers, pastoral alpine meadows, a shift from tourist trail to true mountain route
Day 6: Rifugio Città di Fiume → Rifugio Vazzoler
A scenic descent and climb toward the mighty Civetta walls, entering one of AV1’s grandest sectors.
Distance: ~12 km
Elevation gain: ~400m
Highlights: Approaching the [Civetta] massif—one of the Dolomites' most imposing vertical walls
What to expect: Close-up views of dramatic rock faces, anticipation building for tomorrow's stage
Day 7: Rifugio Vazzoler → Rifugio Carestiato
A short but intense traverse below Civetta’s massive northwest face toward Passo Duran.
Distance: ~13 km
Elevation gain: ~950m
Highlights: Hiking beneath Civetta's massive northwest face, crossing the Alleghe valley
What to expect: Big scenery, possible afternoon weather exposure, a challenging but unforgettable day
Day 8: Rifugio Carestiato → Rifugio Sommariva al Pramperet
A gradual transition into remote southern ridges and the wilder Pramperet landscapes.
Distance: ~11 km
Elevation gain: ~700m
Highlights: Entering [Pelmo]'s domain—the "Throne of the Gods"
What to expect: Quieter trails, classic Dolomite limestone architecture towering overhead
Day 9: Rifugio Sommariva → Rifugio Furio Bianchet
A final mountain crossing over Cima de Zita before the long descent begins.
Distance: ~14 km
Elevation gain: ~400m
Highlights: Final high-mountain views before descending toward southern valleys
What to expect: A mix of high alpine route and forested descent, bittersweet feelings as the end approaches
Day 10: Rifugio Furio Bianchet → Belluno/La Stanga
A gentle return to valley life as the trail leaves the high peaks for forests, villages, and Belluno.
Distance: ~15 km
Elevation gain: ~200m
Highlights: Long final descent through Val Cordevole, completion celebration
What to expect: Gradual return to civilization, valley towns, restaurants, and a well-earned beer
Total commitment: 10 hiking days + arrival/departure days = 12 days minimum for the full experience.
Experience this tour:
Alta Via 1 South (7 Days)
What Does It Look Like?
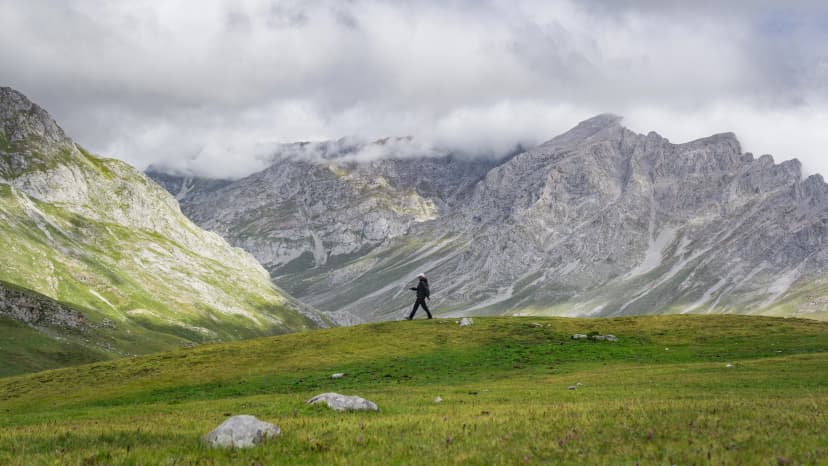
The southern half of Alta Via 1 delivers all the mountain drama with fewer crowds and lower costs. You'll still cross high passes, sleep in rifugios, and hike beneath iconic peaks like Civetta and Pelmo—but you'll skip the busier northern section around Lago di Braies and Lagazuoi.
Key Advantages
Iconic peaks: Civetta and Pelmo dominate the scenery—these are true Dolomite giants
Less crowded: Far fewer tourists than the famous northern start
More affordable: Shorter duration means lower overall cost
Still challenging: All the elevation gain, technical terrain, and mountain experience you want
Perfect for: Intermediate hikers with 7-9 days available, those wanting dramatic southern peaks without the full northern commitment.
Map
Stage Breakdown
Day 1: Cortina d’Ampezzo → Rifugio Nuvolau / Averau
A direct start into one of the southern AV1’s signature panoramas around Cinque Torri and Nuvolau. A lift can reduce the initial climb, giving a faster entry into high-level ridge walking with views toward the Cortina basin.
Distance: ~5.5 km (or +10 km if starting from town without lift)
Elevation gain: ~610 m
Highlights: Cinque Torri, Nuvolau ridgeline views, fast entry into high alpine terrain
What to expect: A short but steep first stage with optional lift support, immediate Dolomite panoramas, and a scenic ridge-top finish
Day 2: Rifugio Nuvolau / Averau → Rifugio Città di Fiume
Traverse toward Passo Giau and enter quieter terrain as the crowds fade behind you. Meadows and open viewpoints lead you toward the northern walls of Monte Pelmo, whose twin summits dominate the evening sky.
Distance: ~15 km
Elevation gain: ~570 m
Highlights: Passo Giau meadows, open southern ridges, evening views of Monte Pelmo
What to expect: A rolling traverse into quieter terrain, long downhill sections, and a gradual shift from rocky ridges to pastoral slopes
Day 3: Rifugio Città di Fiume → Rifugio Vazzoler
A descent to Passo Staulanza sets up the long ascent to Forcella Coldai. From here the landscape turns dramatic beneath the cliffs of Monte Civetta before you drop into the forested basin around Rifugio Vazzoler.
Distance: ~18 km
Elevation gain: ~940 m
Highlights: Ascent to Forcella Coldai, sweeping views over Alleghe, massive Civetta cliffs
What to expect: A demanding day with a major climb followed by a long, scenic descent beneath one of the Dolomites’ most dramatic faces
Day 4: Rifugio Vazzoler → Rifugio Carestiato
Begin with a brief descent, then climb steadily to Forcella del Camp on Civetta’s southern ridge. The route then contours below steep rock faces before reaching the panoramic terrace above Passo Duran.
Distance: ~9 km
Elevation gain: ~620 m
Highlights: Forcella del Camp, southern Civetta walls, late-day views toward Passo Duran
What to expect: A shorter but concentrated stage with one main ascent and a contouring traverse below steep rock faces
Day 5: Rifugio Carestiato → Rifugio Sommariva al Pramperet
Descend to Passo Duran, then rise onto remote grassy ridges marking the southern frontier of the Dolomites. Broad, open terrain and quieter paths lead into the wild Pramperet area.
Distance: ~12.8 km
Elevation gain: ~700 m
Highlights: Grassy southern ridges, Tamer Grande massif, increasingly remote valleys
What to expect: Mixed forest and ridge terrain leading into one of the most solitary sectors of the southern AV1
Day 6: Rifugio Sommariva al Pramperet → Rifugio Furio Bianchet
Cross Cima de Zita—one of the last demanding climbs of the AV1—before dropping through a funnel-shaped valley past Rifugio Pian de Fontana. The long descent continues to the forested slopes around Bianchet.
Distance: ~11 km
Elevation gain: ~800 m
Highlights: Crossing of Cima de Zita, descent past Pian de Fontana, final major mountain views
What to expect: The last big climb followed by a long, decisive descent into the wooded lower slopes of the Schiara group

Day 7: Rifugio Furio Bianchet → La Stanga (Belluno)
A sustained descent through Val Cordevole eases the final day, avoiding the Schiara via ferrata section. The trail gradually widens as you exit the mountains and reach the bus connection to Belluno.
Distance: ~6.8 km
Elevation gain: ~45 m
Highlights: Val Cordevole descent, first villages of the Belluno foothills
What to expect: A relaxed final stage avoiding the via ferrata sections, easing gradually back into valley life with a soft finish to the route
Highlights On The Way
What you'll miss: Lago di Braies, Fanes plateau, Lagazuoi's WWI history (though you can visit these separately as day trips)
What you'll gain: More time in the dramatic southern peaks, easier logistics, focused mountain experience, and a route that still feels complete from start to finish.
Experience this itinerary:
Alta Via 1 Highlights (4 Days)
What Does It Look Like?
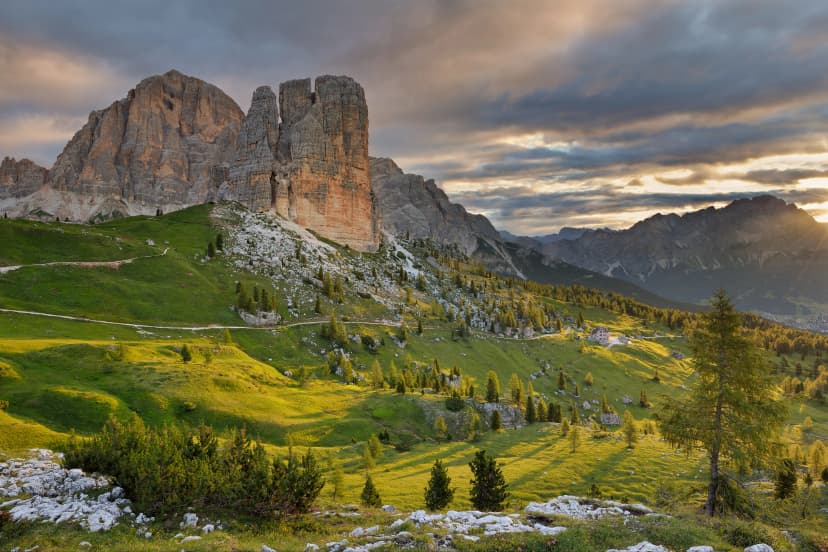
This is Alta Via 1's best-of compilation—the iconic northern section that appears in every guidebook and Instagram feed. In just 4 hiking days, you'll experience Lago di Braies, the Fanes plateau, Lagazuoi's dramatic ascent, and the legendary Cinque Torri. It's the perfect introduction to Dolomites hiking without the 10-day commitment.
Key Advantages
Time-efficient: Experience Alta Via 1 in just 4 days
Iconic scenery: All the postcard locations
Lower commitment: Perfect for testing your interest before tackling longer routes
Beginner-friendly: Shorter stages, easier bail-out options if needed
Perfect for: First-time Dolomites hikers, those with limited vacation time, anyone testing whether multi-day hut-to-hut hiking is for them.
Map
Stage Breakdown
Day 1: Lago di Braies → Rifugio Biella / Rifugio Sennes
The classic Alta Via 1 start—leave the crowds at the lake and climb into alpine meadows
Distance: ~6.5 km
Elevation gain: ~930 m
Highlights: Lago di Braies, Forcella Sora Forno, wide-open Sennes plateau
What to expect: A steep but rewarding first ascent from the lake into high meadows, with airy scenery and early alpine atmosphere
Day 2: Rifugio Sennes → Berggasthaus Pederü / Rifugio Lavarella
Crossing the serene Fanes plateau—one of the Dolomites' most peaceful high basins
Distance: ~7.5 km
Elevation gain: ~60 m
Highlights: Mountain stream crossings, WWI history at Pederü, high plateau above 2000 m
What to expect: A long descent followed by a gentle reclimb into a secluded basin dotted with alpine lakes and two traditional rifugios

Day 3: Berggasthaus Pederü → Rifugio Lagazuoi
The big day—climbing to Lagazuoi, exploring WWI tunnels, ridge walking with endless views
Distance: ~18 km
Elevation gain: ~1700 m
Highlights: Lago di Limo, Forcella di Lago pass, panoramic Lagazuoi summit ridge
What to expect: A demanding day with sustained climbing, dramatic rocky terrain, and a spectacular finish atop one of the Dolomites’ most famous peaks
Day 4: Rifugio Lagazuoi → Cortina d'Ampezzo
Descent past Cinque Torri, finishing in the heart of Cortina for celebratory pizza and gelato
Distance: ~4 km (or +10 km if hiking down to Cortina instead of taking the bus)
Elevation gain: ~30 m
Highlights: WWI tunnels and fortifications, views of Tofana di Rozes, Falzarego Pass
What to expect: A historic descent through wartime landscapes, leading to an easy connection back to Cortina for a celebratory finish
Highlights On The Way
What you'll experience: All of Alta Via 1's northern classics—the most photographed, most accessible, most beginner-friendly section. This is Dolomites hiking at its most inviting.
What you'll miss: Southern peaks (Civetta, Pelmo) and the quieter, more remote final days. But honestly? Most first-timers find this 4-day route completely satisfying.
Alta Via 1 Hidden Corners (3 Days)
What Does It Look Like?
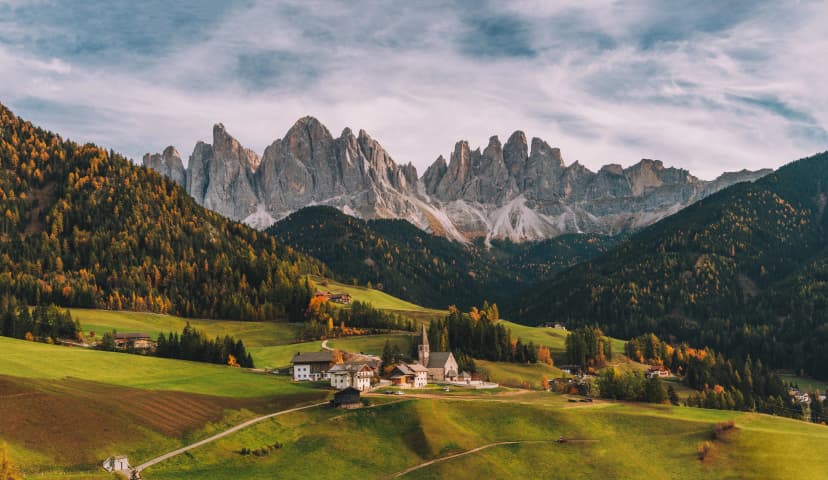
This isn't the "Instagram Alta Via"—it's the authentic mountain experience most tourists never see. You'll hike through remote alpine basins, peaceful woodland trails, and lesser-known passes where chamois outnumber hikers. It's shorter, quieter, and offers a completely different perspective on the Dolomites.

Key Advantages
Genuine solitude: Far fewer tourists than any other Alta Via 1 section
Unique terrain: Remote valleys, gentle meadows, peaceful rifugios
Short commitment: Just 3 hiking days—perfect for a long weekend
Different character: See the pastoral, peaceful side of the Dolomites
Perfect for: Experienced hikers seeking solitude, those who've done the main route and want something different, adventurers with just a long weekend.
Map
Stage Breakdown
Day 1: Forno di Zoldo → Rifugio Sommariva al Pramperet
Entering the remote Cima Prampèr area—high meadows and towering peaks
Distance: ~10 km
Elevation gain: ~1000 m
Highlights: Pian dei Palui, Malga Prampèr, Pra’ de la Vedova meadows, Cima Prampèr backdrop
What to expect: A steady climb from valley roads into remote alpine basins, finishing in a peaceful high meadow beneath dramatic limestone walls
Day 2: Rifugio Sommariva → Refuge Furio Bianchet
Crossing wild, lesser-known passes through terrain that feels untouched
Distance: ~11 km
Elevation gain: ~800 m
Highlights: Crossing Cima de Zita, funnel-shaped descent, Rifugio Pian de Fontana
What to expect: One of the route’s more demanding sections, with a cautious traverse and a long descent into quiet forested slopes toward Bianchet
Day 3: Refuge Furio Bianchet → La Stanga
Final descent through serene valleys—a gentle farewell to the mountains
Distance: ~7 km
Elevation gain: ~50 m
Highlights: Val Cordevole, serene woodlands, open meadows, views toward Belluno
What to expect: A gentle, non-technical descent that avoids the via ferrata section, guiding you through tranquil forests as you re-enter valley life
Highlights On The Way
What makes it special: This route trades dramatic spires for authentic mountain calm. You'll have rifugios nearly to yourself, encounter local shepherds, and experience the Dolomites as they were before Alta Via 1 became famous.
Who it's NOT for: First-timers wanting iconic views, photographers, or those seeking the "classic" Dolomites experience.
Alta Via 1 Southern Highlights (5 Days)
What Does It Look Like?
If you only have a standard work week but want to experience Alta Via 1's most dramatic southern section, this is your route. You'll hike beneath Civetta's imposing walls, circle Pelmo's throne-like summit, and finish in the peaceful Agordo valley—all without the gentler (some say less interesting) final descent days.
Key Advantages
Focused on icons: Civetta and Pelmo are absolute must-sees
Week-long trip: Fits perfectly with standard vacation time
Great value: Maximum dramatic scenery per day
Moderate difficulty: Challenging but manageable for fit hikers
Perfect for: Hikers with 5-7 days total vacation, those wanting Civetta and Pelmo without the full southern route, anyone seeking maximum scenery per day invested.
Map
Stage Breakdown
Day 1: Cortina d'Ampezzo → Rifugio Averau
A sharp, scenic ascent into the Nuvolau group, weaving past Cinque Torri toward one of the most panoramic huts on the entire route.
Distance: ~5.5 km
Elevation gain: ~610 m
Highlights: Falzarego Pass, Cinque Torri, dramatic Nuvolau ridgeline views
What to expect: A concentrated start with a steady climb into rocky high terrain, finishing at one of AV1’s most scenic huts
Day 2: Rifugio Averau → Rifugio Città di Fiume
A long traverse through open alpine meadows and quiet southern basins, ending beneath the commanding twin summits of Monte Pelmo.
Distance: ~15 km
Elevation gain: ~570 m
Highlights: Passo Giau meadows, wide alpine basins, Monte Pelmo’s imposing twin peak.
What to expect: A quieter southern traverse combining rolling paths with long descents and classic Dolomite pastoral scenery
Day 3: Rifugio Città di Fiume → Rifugio Vazzoler
A varied mountain day climbing toward Coldai before contouring directly under Civetta’s immense cliffs—one of AV1’s most dramatic sections.
Distance: ~18 km
Elevation gain: ~940 m
Highlights: Passo Staulanza, Forcella Coldai, enormous cliffs of Monte Civetta
What to expect: One of the route’s big days—an early climb, high-level traverse, and a long descent beneath Civetta’s monumental walls
Day 4: Rifugio Vazzoler → Rifugio Carestiato
A shorter but rugged stage crossing the southern shoulder of Civetta, with steep rock walls and airy views guiding you toward Passo Duran.
Distance: ~9 km
Elevation gain: ~620 m
Highlights: Forcella del Camp, Civetta’s southern rock faces, vistas toward Passo Duran
What to expect: A shorter but scenic stage with one main ascent and a contouring traverse below steep limestone slopes
Day 5: Rifugio Carestiato → Agordo
A gentle descent from high meadows into forests, pastures, and old mountain hamlets, easing you out of the high peaks and into the peaceful Agordo valley.
Distance: ~8 km
Elevation gain: ~60 m
Highlights: Moiazza massif views, dense woodlands, Don hamlet, traditional alpine pastures
What to expect: A gentle, varied descent through meadows and forest, passing rustic farms before joining the road into Agordo for a relaxed valley finish
Highlights On The Way
The sweet spot: You get all of southern Alta Via 1's drama—Civetta, Pelmo, high passes—without extending into the flatter, less scenic final days. For many hikers, this is the perfect balance.
How to Choose Your Alta Via 1 Itinerary
Still not sure which route fits? Here's a comparison table to help you decide:
Route | Duration | Hiking Days | Total Days | Fitness | Best For | Key Highlights |
Full Alta Via 1 | 10 days | 9-10 | 12+ | 3/5 | Experienced hikers, bucket-list seekers | Complete experience, all major peaks, Lago di Braies to Belluno |
Alta Via 1 South | 7 days | 6-7 | 9-10 | 3/5 | Intermediate hikers, budget-conscious, those avoiding northern crowds | Civetta, Pelmo, southern solitude |
Alta Via 1 Highlights | 4 days | 3-4 | 6-7 | 3/5 | First-timers, limited time, families with teens | Lago di Braies, Lagazuoi, Cinque Torri, northern classics |
Hidden Corners | 3 days | 2-3 | 5-6 | 2/5 | Experienced seekers of solitude, repeat visitors | Remote basins, peaceful trails, authentic mountain life |
Southern Highlights | 5 days | 4-5 | 7-8 | 3/5 | Work-week travelers, peak-focused hikers | Civetta, Pelmo, best southern scenery |
Quick Decision Guide
Choose the FULL 10-DAY route if you want the complete Alta Via 1 experience and have time to commit.
Choose ALTA VIA 1 SOUTH if you prefer dramatic southern peaks over northern tourist hotspots and want a complete start-to-finish arc.
Choose ALTA VIA 1 HIGHLIGHTS if you're new to hut-to-hut hiking, have limited time, or want the iconic Instagram locations.
Choose HIDDEN CORNERS if you're an experienced hiker who values solitude over famous landmarks.
Choose SOUTHERN HIGHLIGHTS if you want Civetta and Pelmo in a standard work-week timeframe.
Practical Tips for Planning Your Stages
Can you combine or skip stages?
Yes, but with considerations. Strong hikers sometimes combine two shorter stages into one long day—but this requires rifugio availability to align and significantly increases difficulty.
Skipping stages means missing terrain and potentially breaking the narrative flow of the route. Make conscious choices about what you're willing to miss.
What if you need a rest day?
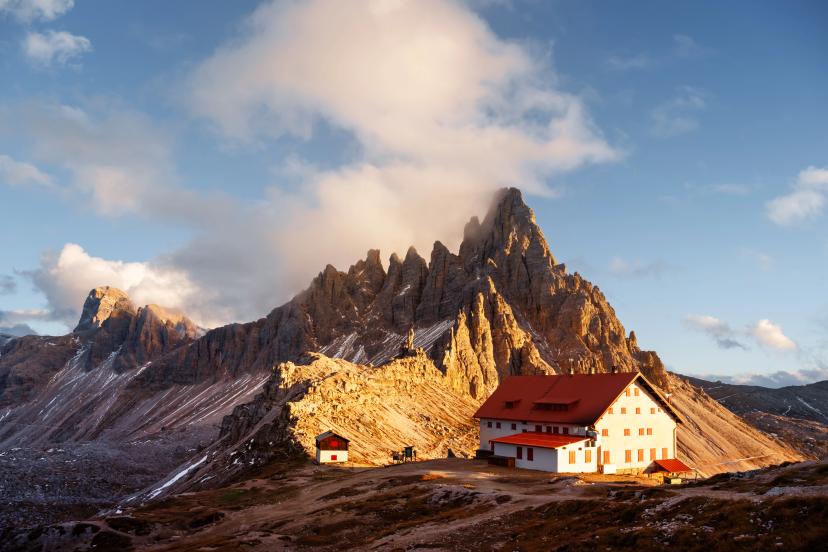
Most rifugios allow multi-night stays if booked in advance. Common rest points include:
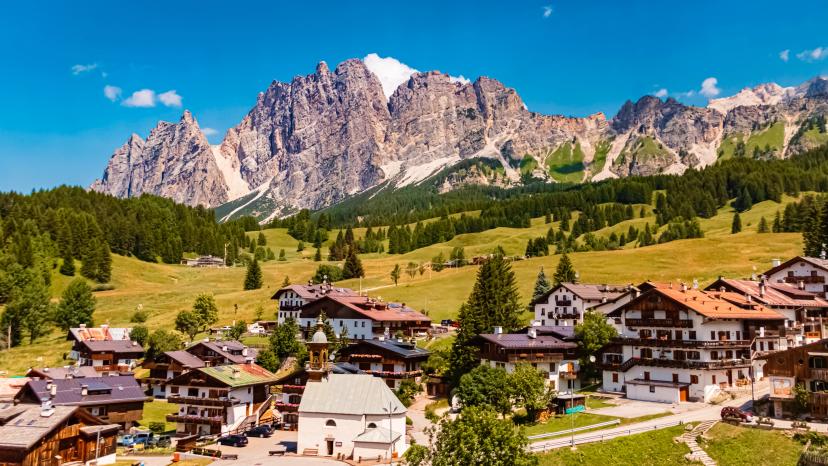
Cortina d'Ampezzo (between stages)—town comforts, restaurants, gear shops
Rifugio Lagazuoi—stunning views, optional cable car day trips
Rifugio Vazzoler—peaceful base for exploring near Civetta
Rest days let you tackle side trips: summit ascents, via ferrata routes, photography missions, or simply recovery with a book and mountain views.
What about fitness levels?
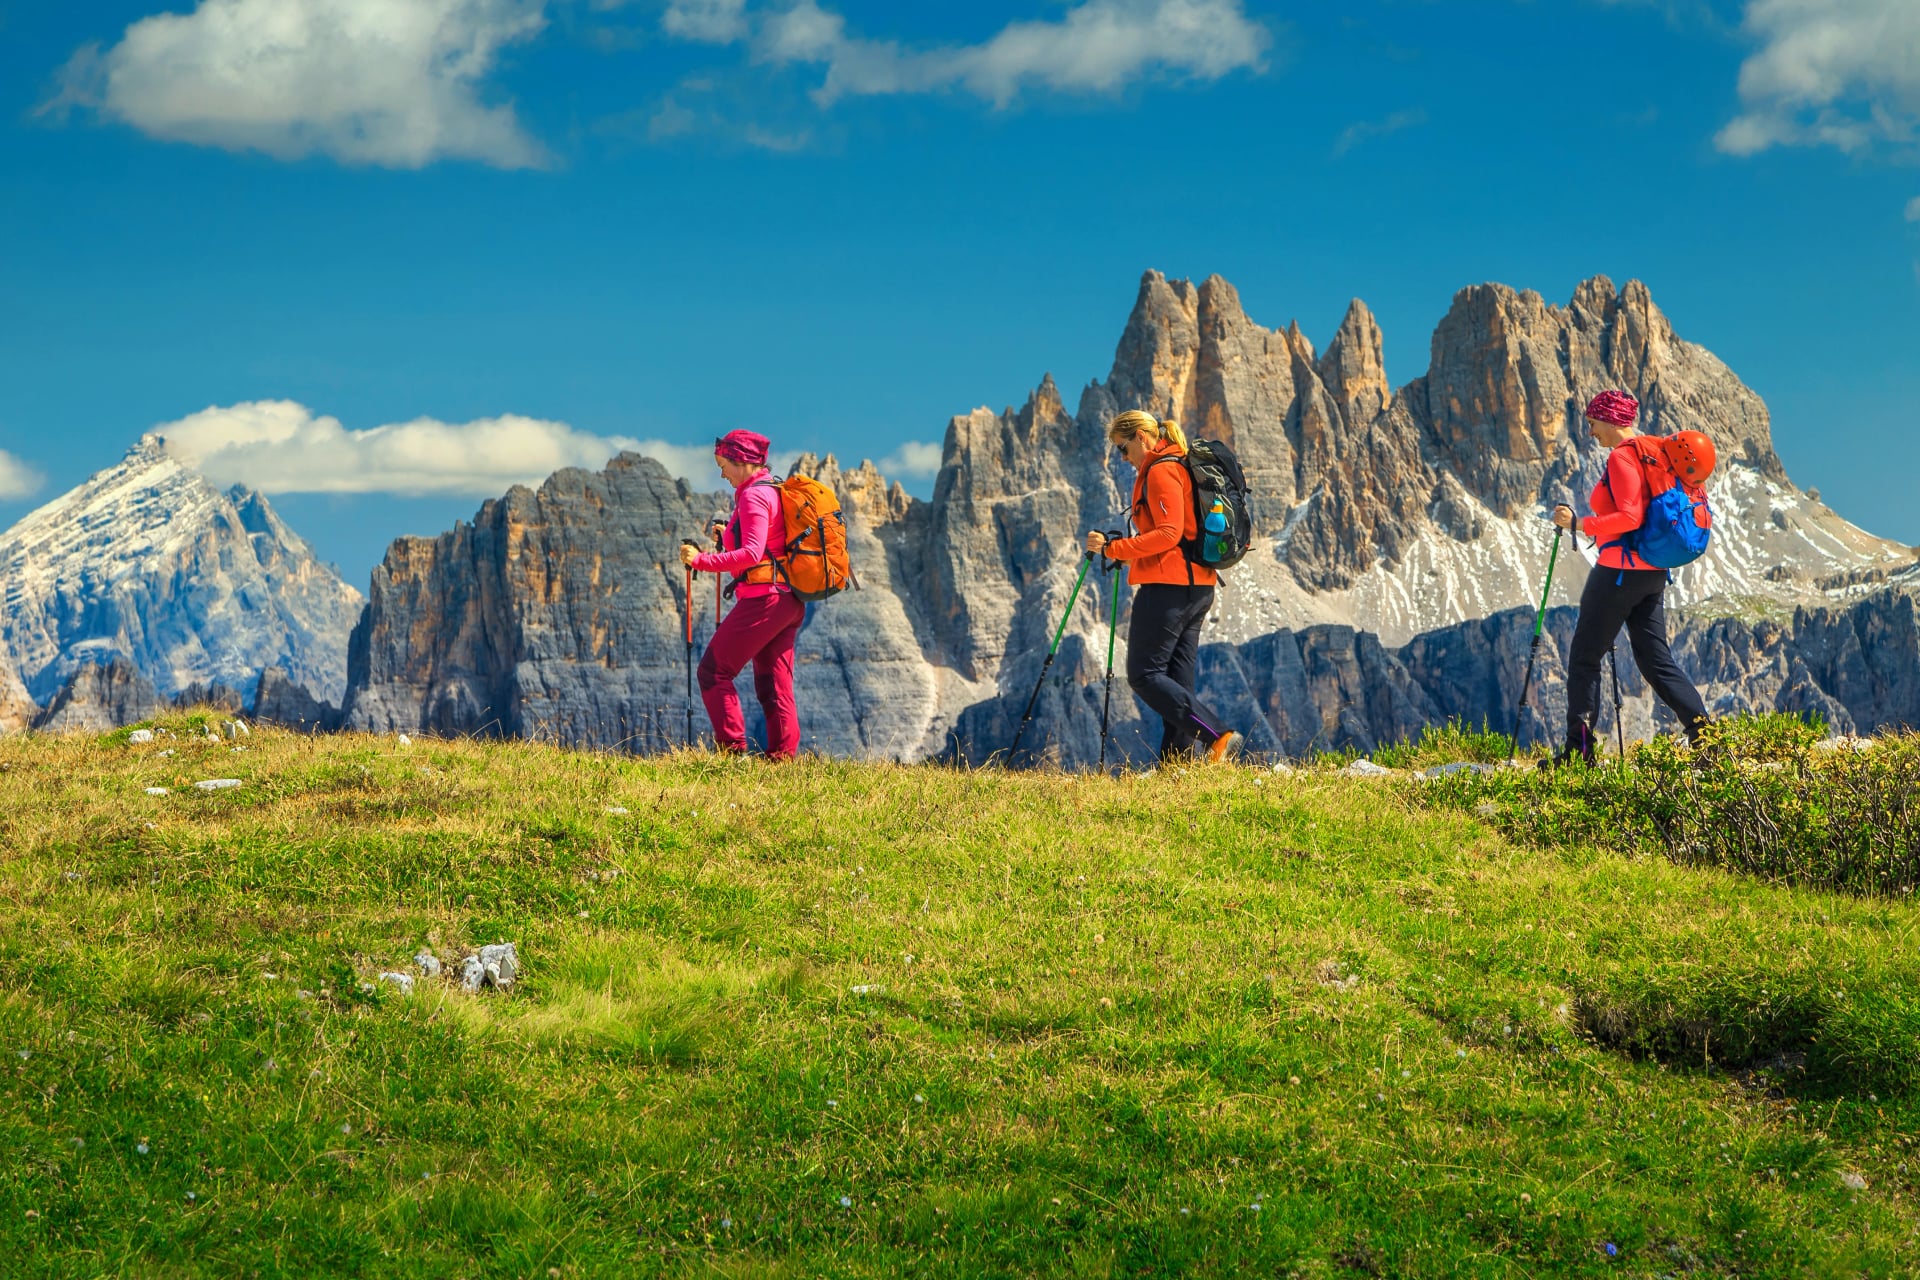
All Alta Via 1 routes demand reasonable fitness—expect 4-7 hours of hiking daily with elevation gains of 400-1,100m. The full 10-day route requires endurance more than technical skill—your legs need to handle back-to-back mountain days without breaking down.
Shorter routes (Highlights, Hidden Corners) have similar daily demands but less cumulative fatigue. If you can comfortably hike 6 hours with a 10kg pack and recover overnight, you're ready for any of these itineraries.
Rifugio booking tips:
Book 2-3 months ahead in peak season (July-August)—popular rifugios fill up fast
Half-board (dinner + breakfast) is standard and highly recommended
Check rifugio opening dates—most operate late June through mid-September only
Have backup options in case of bad weather, injury, or unexpected closures
Not sure where to start? Our tours include all rifugio bookings, route planning, GPS files, and emergency support. Pick one of our Alta Via 1 tours and let us handle the logistics.
Typical Day Structure on Alta Via Hikes
Here's what a standard Alta Via 1 hiking day looks like:
Morning (7:00-9:00 AM)

Rifugio breakfast (coffee, fresh bread, jam, cheese, sometimes eggs)
Pack up gear, check weather forecast
Hit the trail by 8:00-9:00 AM (earlier starts avoid afternoon storms)
Midday (12:00-2:00 PM)
Lunch break—packed lunch from your rifugio or stop at a mid-route hut
Rest in the shade, hydrate, and enjoy the views
Check progress on GPS and adjust pace if needed
Afternoon (3:00-5:00 PM)
Arrive at your next rifugio
Claim your bunk, shower (if available—not all rifugios have them), relax
Socialize with other hikers in the common room—swap stories, share trail beta
Evening (6:00-9:00 PM)
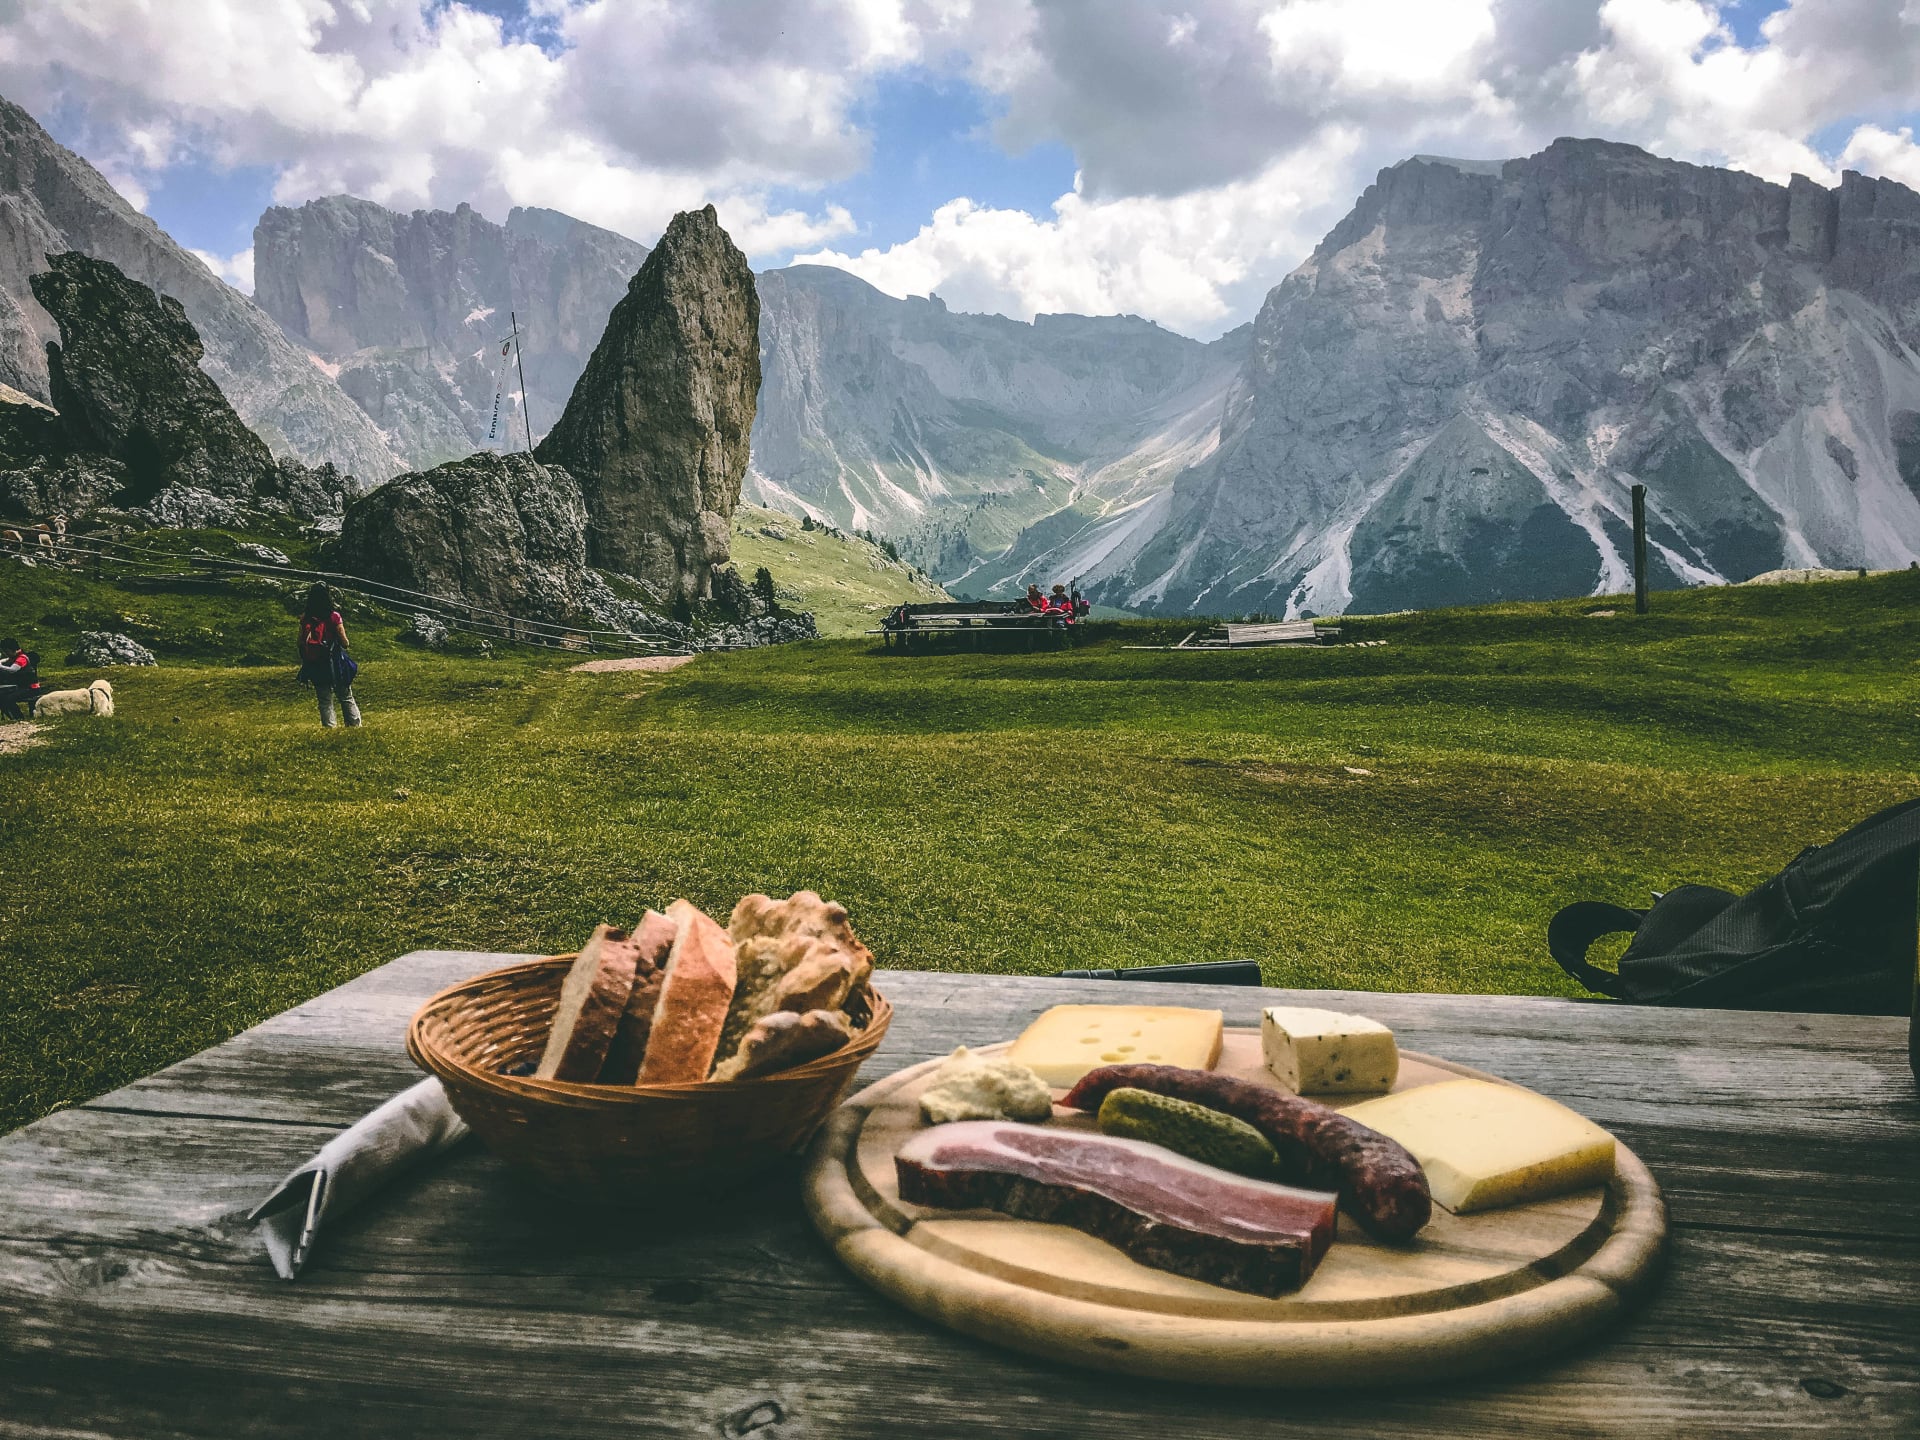
Rifugio dinner—multi-course, hearty mountain fare (pasta, polenta, stew, dessert)
Plan tomorrow's stage over wine or grappa
Early to bed—mountain life starts at sunrise
Daily stats you can expect
Hiking time: 4-7 hours (not including breaks)
Distance: 10-15 km
Elevation gain: 400-1,100m depending on stage
Terrain: Mix of rocky trails, grassy paths, occasional light scrambling
For more details on rifugio life, what to pack, and daily routines, see our Ultimate Guide to Hiking in the Dolomites.
Planning Checklist
Before you commit to an Alta Via 1 itinerary, run through this checklist:
Pre-trip planning
Check rifugio opening dates for your travel window
Assess your fitness honestly—can you hike 5-7 hours daily for multiple consecutive days?
Count total days including arrival/departure buffer (don't cut it too tight)
Review historical weather patterns for your chosen month
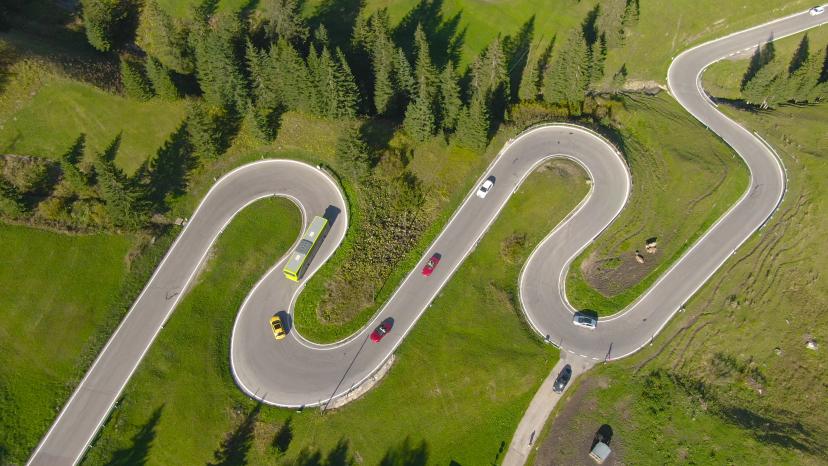
Confirm transport logistics to/from start and end points
Let us know of your chosen tour package 2-3 months ahead for peak season for easier booking
Get travel insurance that covers mountain hiking up to 3,000m
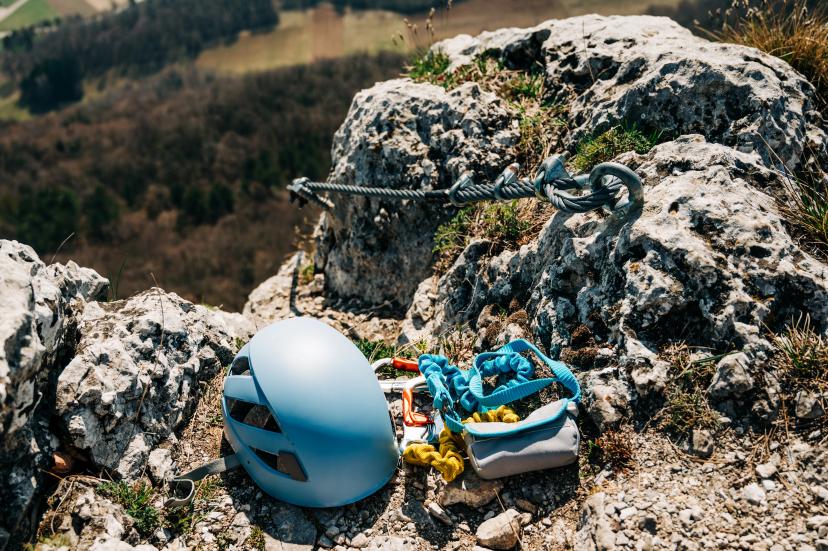
Gear preparation
Break in hiking boots with at least 100km of walking
Test your backpack fully loaded on a long day hike
Assemble first-aid kit with blister treatment
Pack layers for variable mountain weather
Bring trekking poles (your knees will thank you on descents)
Pack in accordance with our full Alta Via packing checklist
Final week
Go through our Ultimate Alta Via Hiking Guide
Check weather forecasts and adjust clothing accordingly
Share your itinerary with someone back home
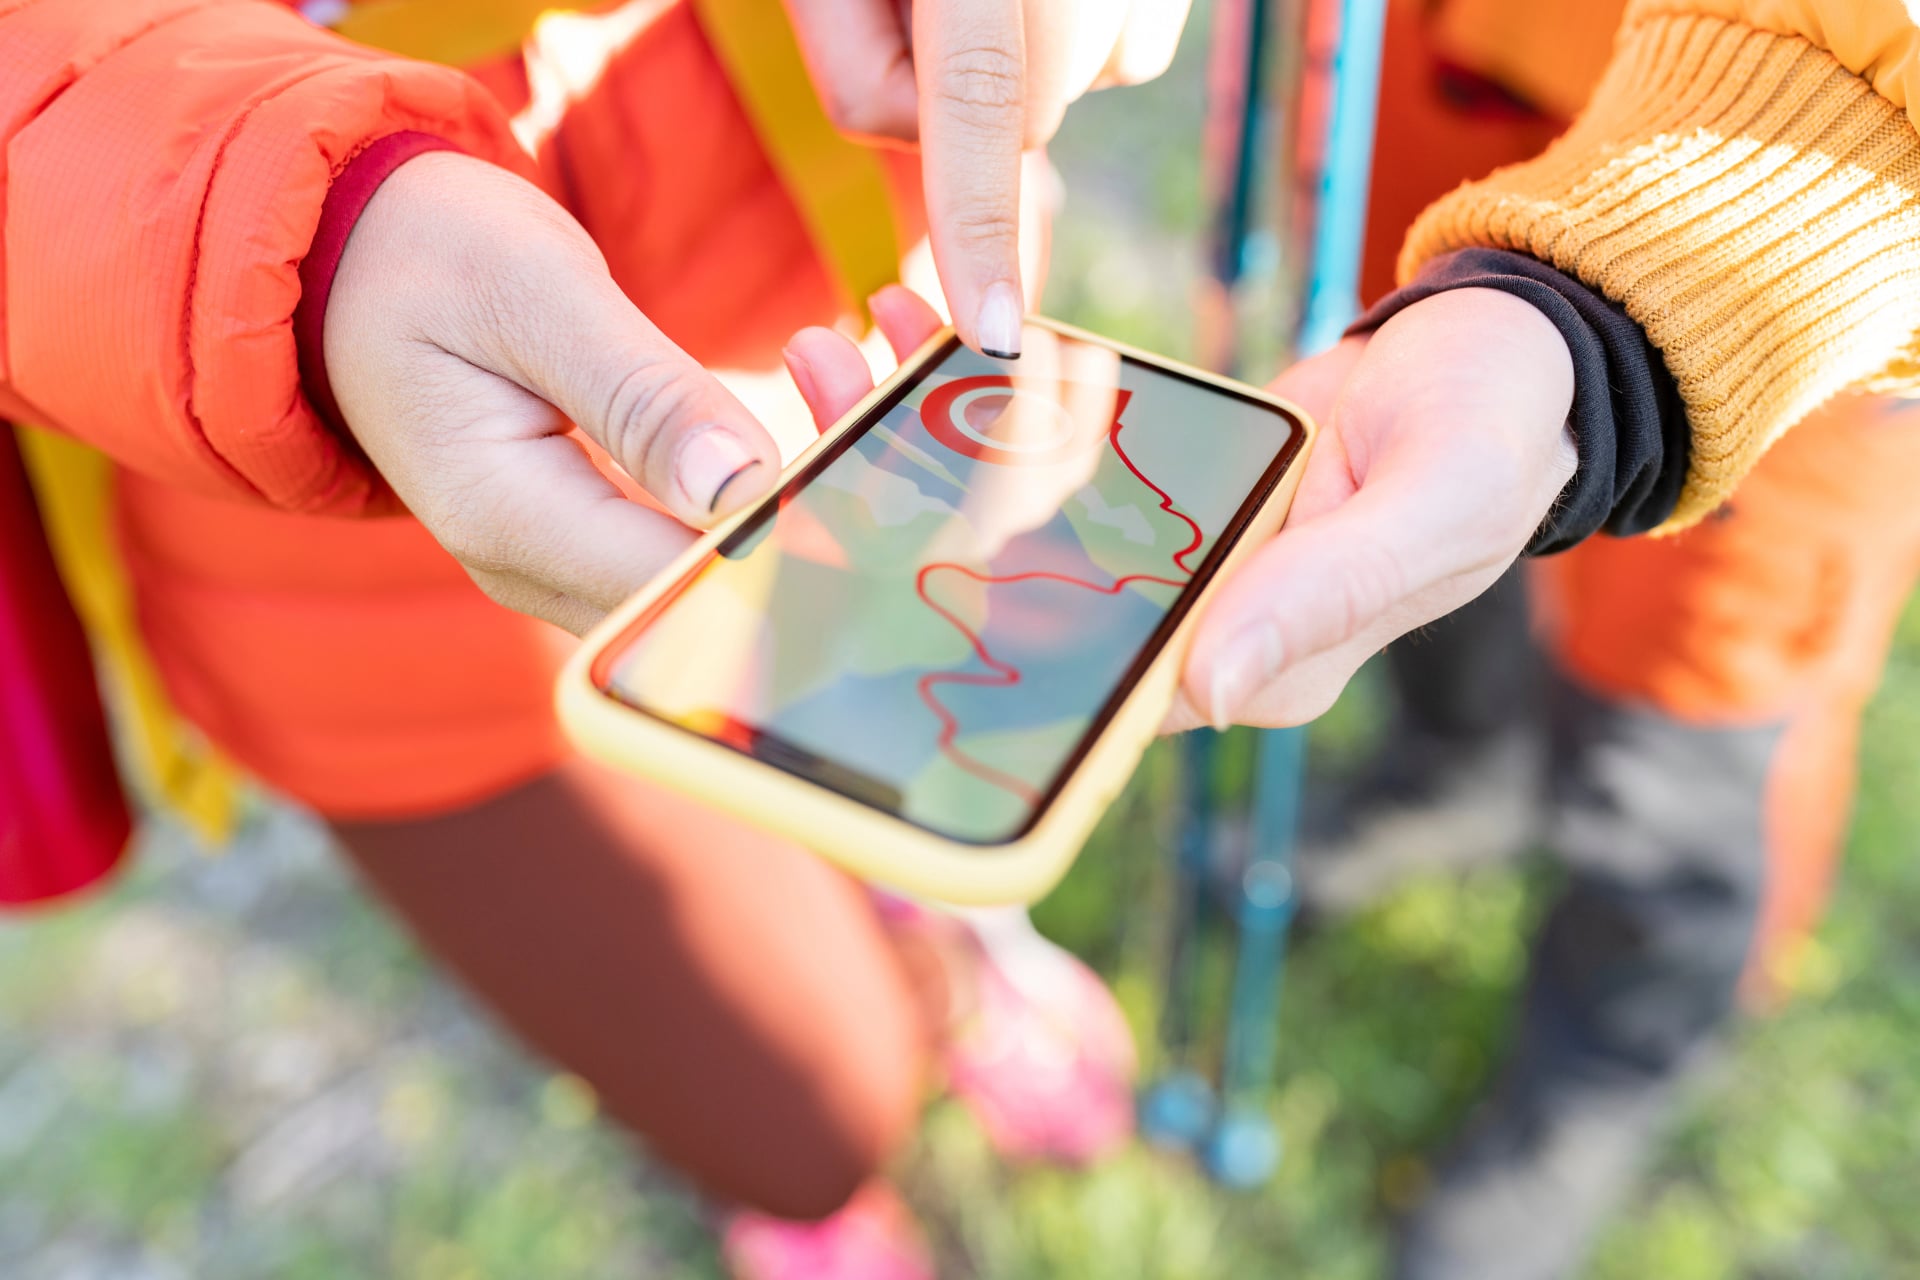
Load GPX files onto your phone and ensure offline maps work
Not sure which itinerary fits your experience level and goals? Book a call with our team—we'll walk you through the options and help you choose the route that's right for you.
Find Your Alta Via 1 Adventure
Whether you have 3 days or 10, there's an Alta Via 1 itinerary that delivers the Dolomites experience you're dreaming of.
The best itinerary is the one you'll actually do. Choose the route that matches your reality—your available time, your fitness, your budget, your goals—and commit to it. And trust us—after your first Alta Via 1, you'll want to come back.
Ready to hike Alta Via 1? Browse our complete collection of Alta Via tours with detailed itineraries, rifugio bookings, GPS navigation, and full support. Or get in touch for help planning your perfect itinerary—we handle the logistics so you can focus on the views.

About this author
Anja is our lead travel advisor and a lifelong hiker who has planned countless adventures across Europe. She prefers sunsets to sunrises — unless coffee is involved — and, ever since her first rock-climbing course, joins friends on climbing trips whenever she can.